10
•
After clearing the snow
, let the motor run for a few
minutes so the ice doesn’
t freeze any moving parts.
Shut off the motor
, wait for all moving parts to stop,
and wipe the ice and snow of
f the snowthrower
. Rotate
the chute crank several times to remove the snow from
the snowthrower
.
•
Lock the snowthrower when you are not using the
snowthrower
. Disconnect the extension cord. Hold the
key down, turn it clockwise and remove it from the
handle to prevent an unauthorized person from using
the snowthrower
.
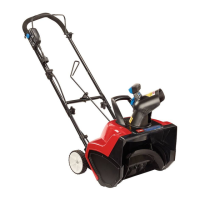
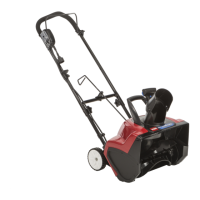
Maintenance
Note:
Determine the left and right sides of the
snowthrower by standing in the normal operating position.
POTENTIAL HAZARD
•
If the extension cord is plugged into the
snowthr
ower and the key is in the handle,
someone could accidentally operate
snowthr
ower while you ar
e performing
maintenance on it.
WHA
T CAN HAPPEN
•
Operating the snowthr
ower while performing
maintenance on it can cause serious personal
injury.
HOW T
O A
V
OID THE HAZARD
•
Disconnect the extension cord before you
perform any maintenance. Hold the key down,
turn it clockwise and r
emove it fr
om the
handle.
Lubricating
the Snowthrower
You
do not need to lubricate the snowthrower; all the
bearings were lubricated at the factory for the life of the
snowthrower.
Replacing
the Scraper
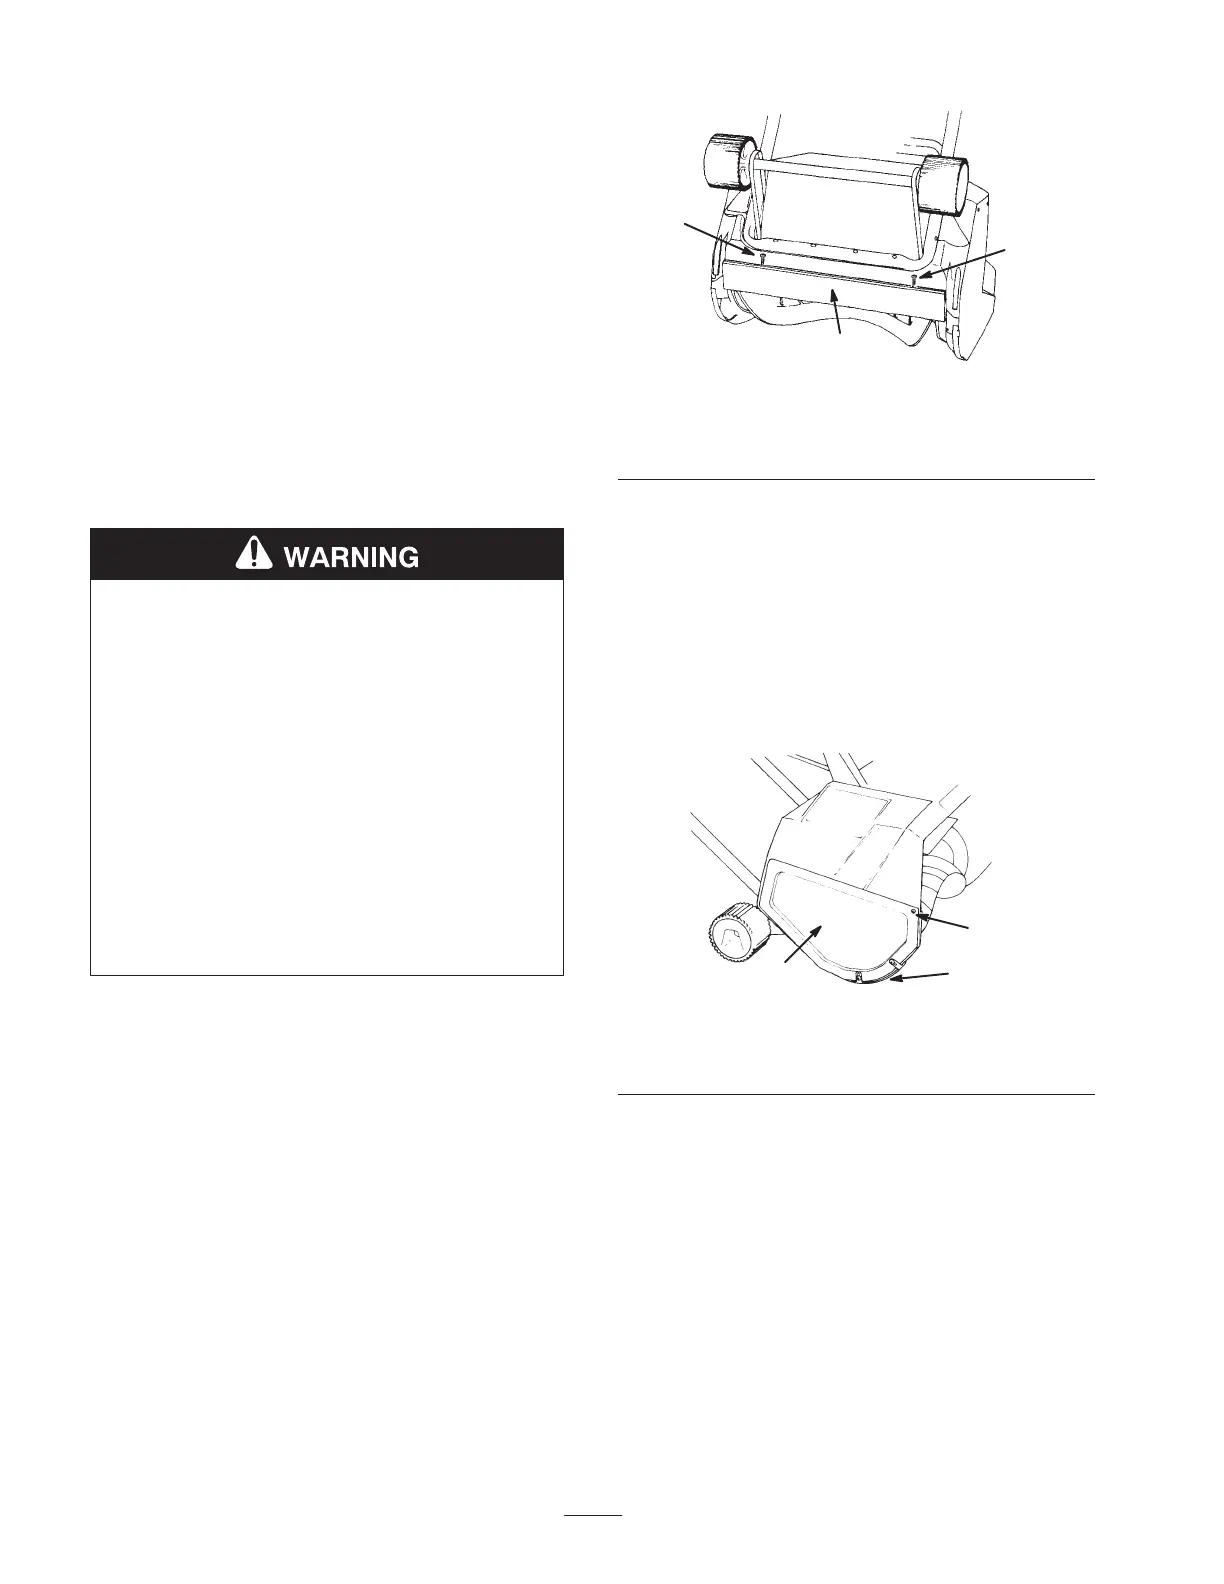
The
scraper is located at the bottom of the rotor housing
as shown in Figure 12.
1517
1
2
2
Figure
12
1. Scraper 2. Screw
1. Remove
the two screws that secure the scraper to the
snowthrower (Fig. 12).
2.
Install the new scraper and fasten it securely with two
screws.
Replacing
the Rotor
1. Remove
the three screws that secure the right side
cover and the skid to the snowthrower frame (Fig. 13).
1537
1
3
2
Figure
13
1. Right
side cover
2. Screw
3. Skid
2. Using
a 3/8-in. Allen wrench, turn the rotor shaft
clockwise (left hand thread) while holding the rotor
(Fig. 14).
Note:
Y
ou may need to tap the Allen wrench with a
hammer to loosen the rotor shaft. W
edge a stick or a
hammer handle in the rotor to prevent rotation.
 Loading...