Setup
LooseParts
Usethechartbelowtoverifythatallpartshavebeenshipped.
ProcedureDescription
Qty.
Use
Handle1
Bolt(5/16x1-1/4inches)
2
Washer4
Thinlocknut(5/16inch)
2
Bolt(5/16x1-1/2inches)
2
Locknut(5/16inch)
2
Bagsupportrod1
Caplocknut
2
1
Cabletie
1
Installthehandle.
Self-tappingscrew
2
2
Fueltank1
Installthefueltank.
3
Dischargetunnelplug1Installthedischargetunnelplug.
4
Nopartsrequired
–
Fillthecrankcasewithoil.
Note:Determinetheleftandrightsidesofthemachine
fromthenormaloperatingposition.
1
InstallingtheHandle
Partsneededforthisprocedure:
1Handle
2
Bolt(5/16x1-1/4inches)
4Washer
2
Thinlocknut(5/16inch)
2
Bolt(5/16x1-1/2inches)
2
Locknut(5/16inch)
1Bagsupportrod
2
Caplocknut
1
Cabletie
Procedure
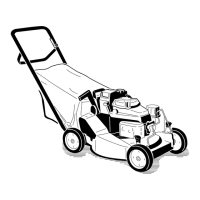
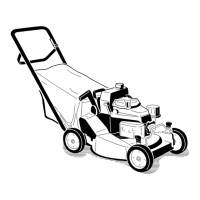
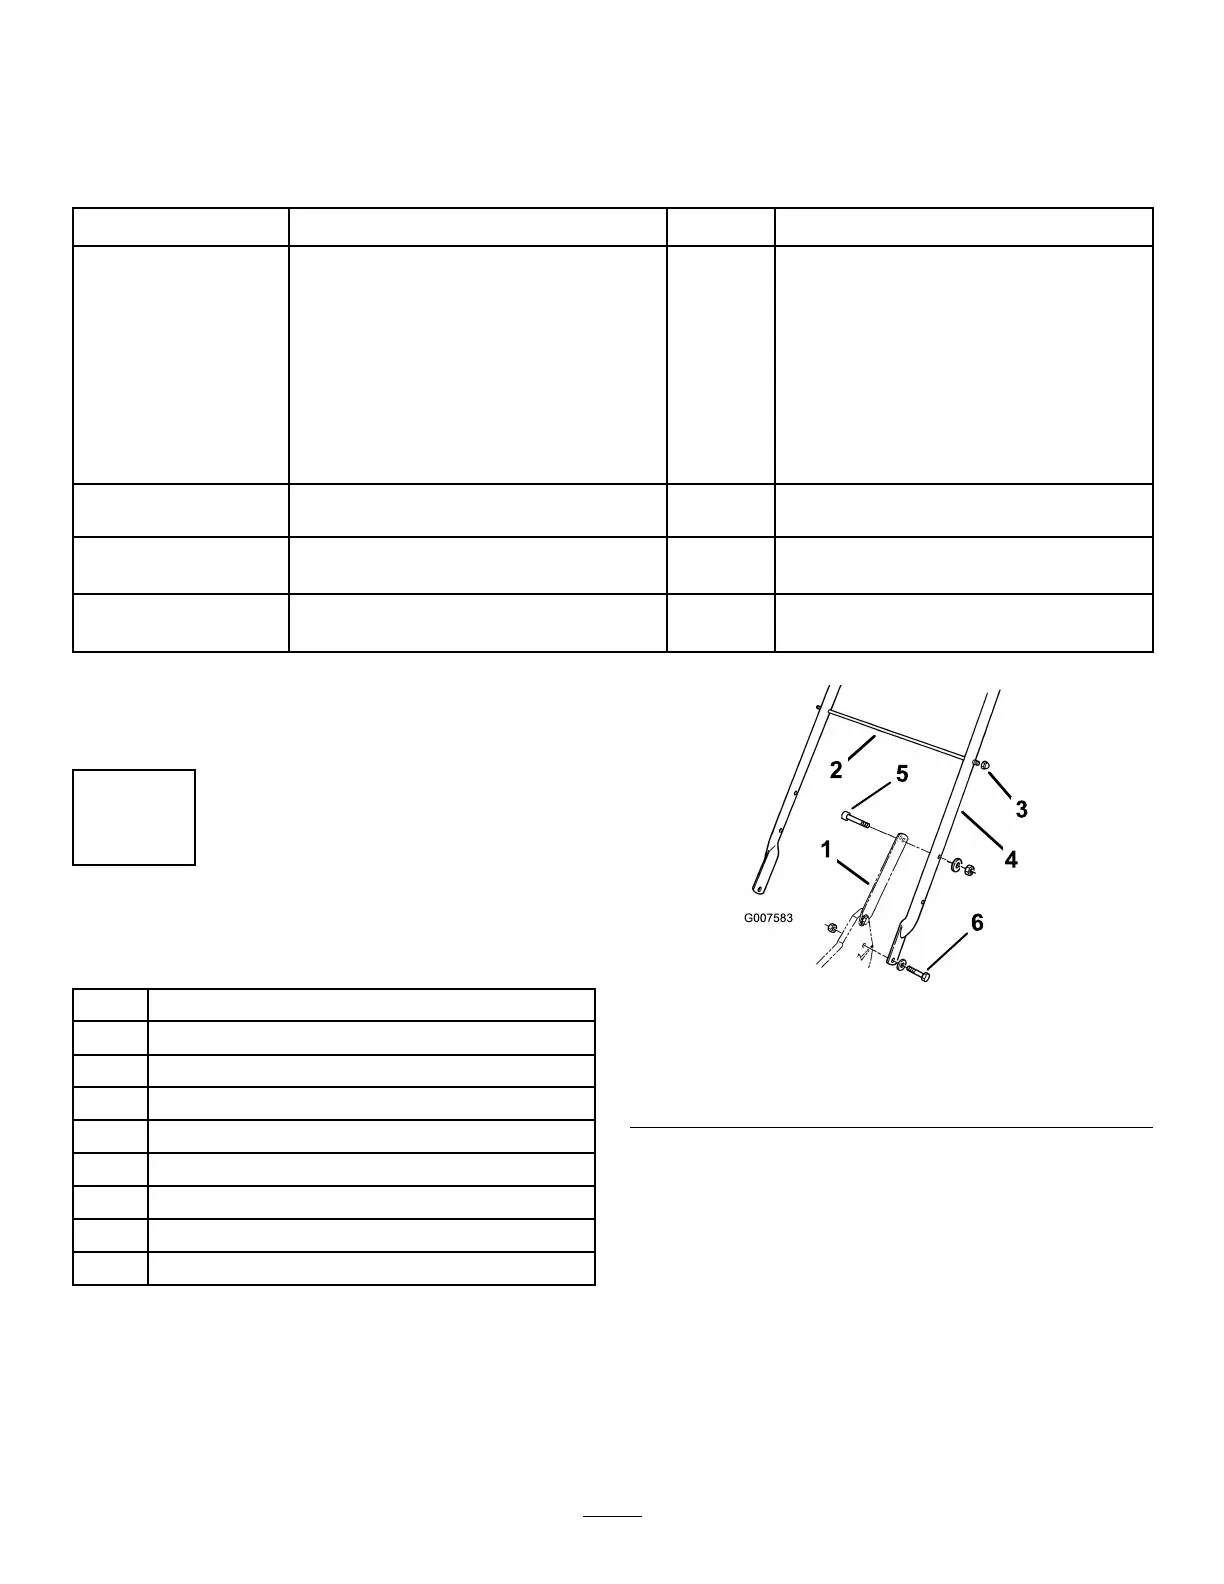
1.Mountthehandletotheoutsideofthelawnmower
housing(usingthebottomhole)with2bolts(5/16
x1-1/4inches),washers,andthinlocknuts(5/16
inch)(
Figure3).
Figure3
1.Handlelatch4.Handle
2.Bagsupportrod
5.Bolt(5/16x1-1/2inches)
3.Caplocknut(2)6.Bolt(5/16x1-1/4inches)
2.Securethehandlelatchestothehandlewith2bolts
(5/16x1-1/2inches),washers,andlocknuts(5/16
inch)(Figure3).
Note:Youcanadjustthehandleheightfor
comfortableoperation.Standbehindthehandleto
determinetheheight.Toadjustthehandleheight,
positionthecapscrewsandthelocknutsthatsecure
thehandlelatchestothehandleintotheother
mountingholesinthelatches.
7

 Loading...