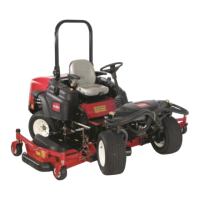
Pull filter out of pump body (Fig. 34).
&%0-$
&(/$-
%*$/
If filter is to be cleaned, wash thoroughly in
cleaning solvent and blow compressed air from inside
toward outside of element. Hold air nozzle at least one
inch (25 mm) from filter and move up and down while
rotating filter. Do not exceed 100 psi (689 kPa) to avoid
filter damage.
+/$ Replace the filter if there is any visible dirt which
cannot be washed out.
Inspect the two rubber gaskets; replace them if
damaged.
Clean magnet of any residue (Fig. 34), insert filter
into body and install cover.
Bleed the fuel system; refer to Bleeding Fuel
System.
+/$ This procedure should be used only if fuel
system has been purged of air through normal priming
procedures and engine still will not start; refer to
Bleeding Fuel System.
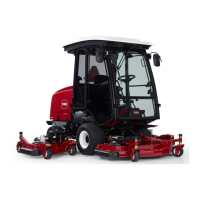
Loosen the pipe connection to the No. 1 nozzle and
holder assembly (Fig. 35).
Move throttle control to full FAST position.
Turn key in key switch to START position and watch
fuel flow around connector. Turn key to OFF position
when solid flow is observed.
Tighten pipe connector securely.
Repeat steps 1Ć4 on No. 2 and 3 nozzles.
&%0-$
0$( &*'$"/+-.
Check tension of all belts initially after the first day of
operation and every 100 hours thereafter.
(/$-* /+- $(/
To Check Tension:
Open hood.
Check tension by depressing belt midway
between alternator and crankshaft pulleys with 22 lb
(10Kg) of force. Belt should deflect 7/16 in. (9 to
11 mm). If deflection is incorrect, proceed to step 3. If
correct, continue operation.
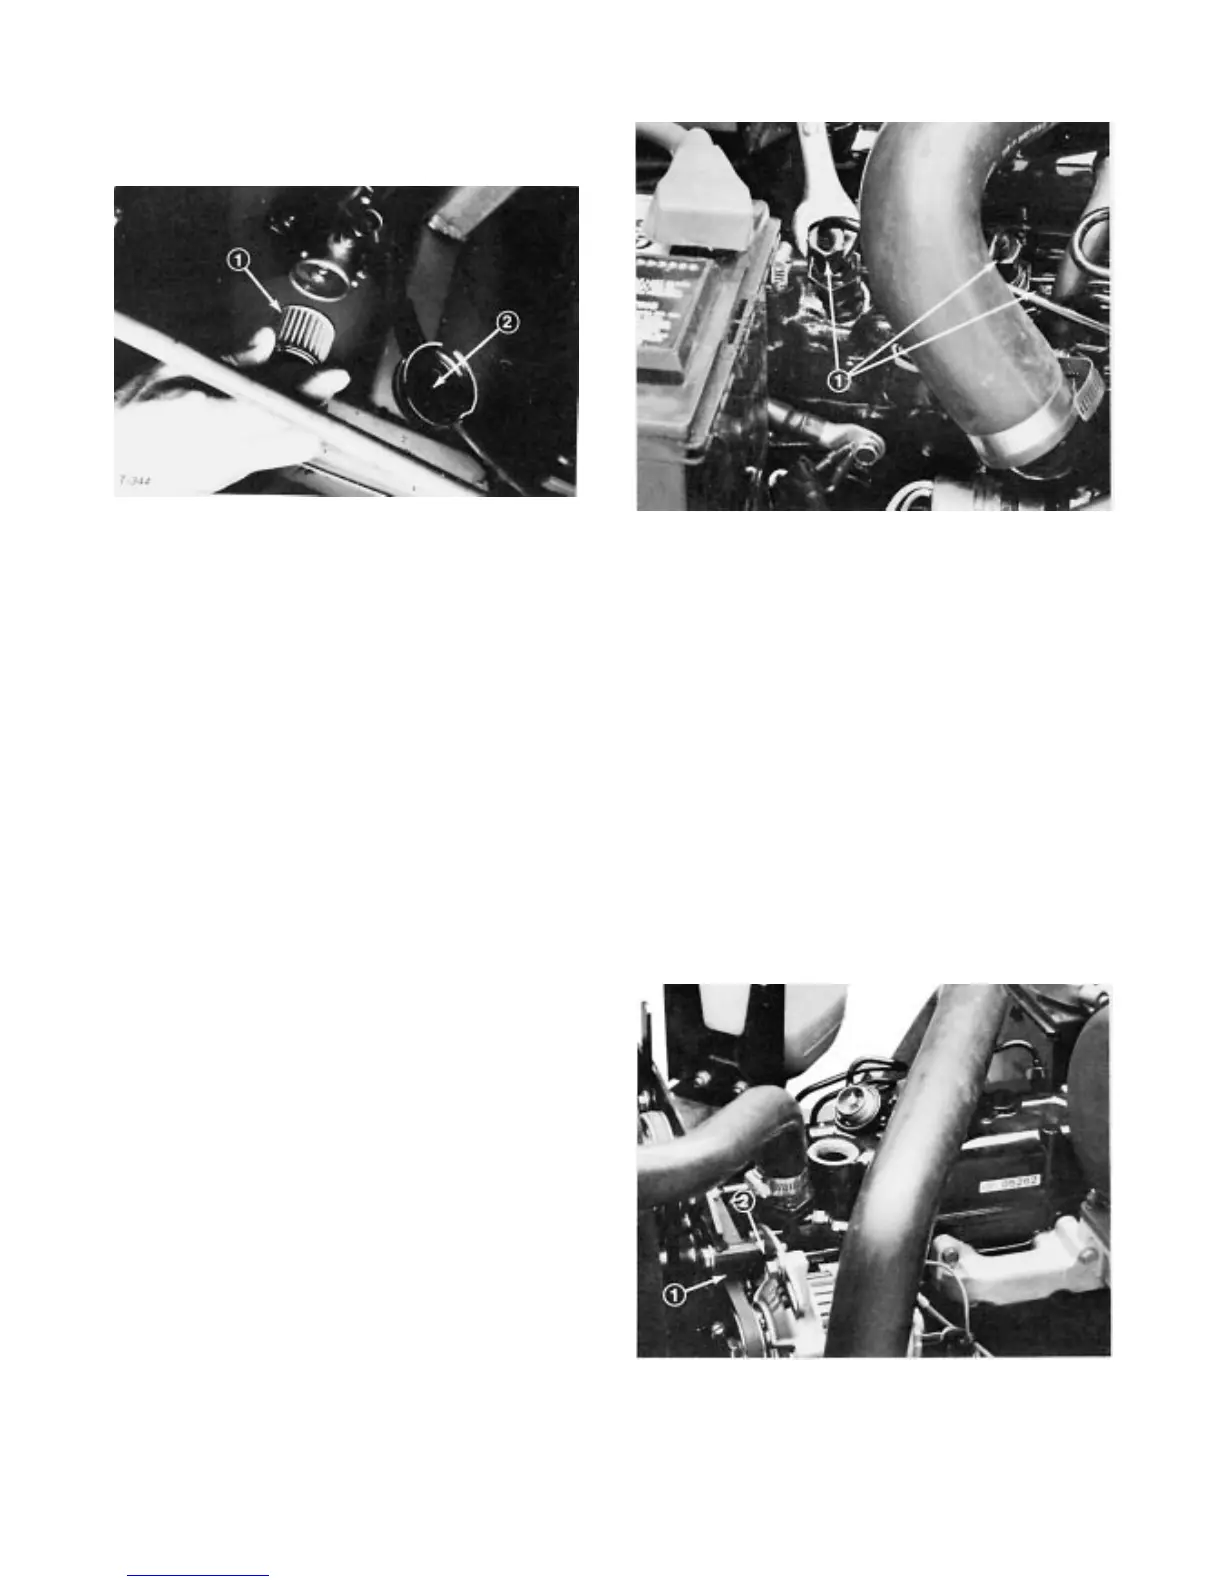
Loosen bolt securing brace to engine and bolt
securing alternator to brace (Fig. 36).
+/$ Metric wrenches will be required.
&%0-$
(/$-* /+-1 /$- ,0), !$(/
$*.&+* #'0./)$*/ !+(/
Insert pry bar between alternator and engine and
pry out on alternator.

 Loading...