6
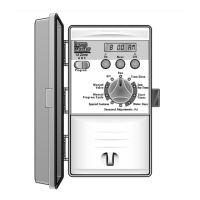
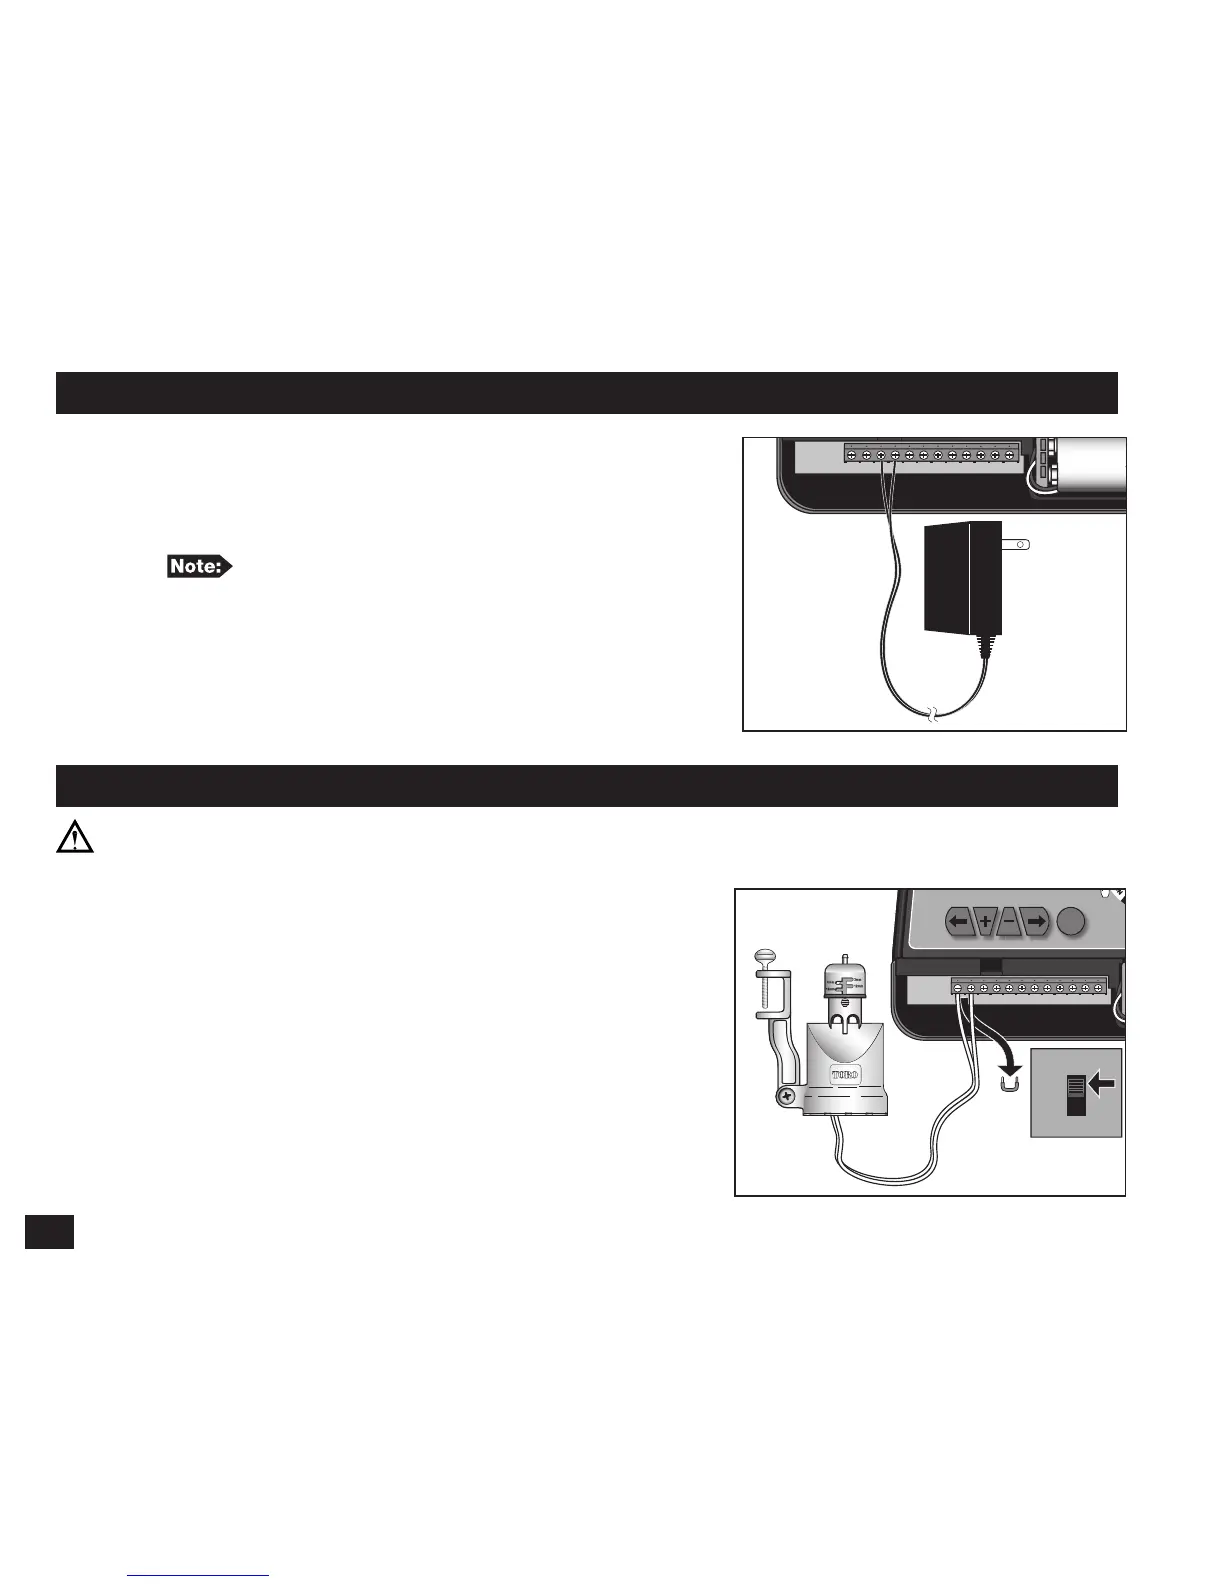
Power Connection
Step 1 – Remove the controller’s lower panel cover
to access the power supply terminals.
Step 2 – Connect the plug-in transformer cables to the
terminals labeled “AC1” and AC2”.
Polarity is not observed in this connection.
Step 3 – Replace the lower panel cover, making sure that
the transformer cable is routed through the
provided opening at the bottom of the controller.
Step 4 – Plug the transformer into a 120 VAC, 60Hz
wall outlet.
Rain Sensor Installation (Optional)
IMPORTANT! The sensor circuit is designed for a NORMALLY-CLOSED rain sensor.
If a rain sensor is not connected, the sensor switch must be in the “OFF” position or the
jumper wire must be installed.
Step 1 – Remove the controller’s lower panel cover
to access the sensor terminals.
Step 2 – Route the rain sensor’s cable to the controller.
Step 3 – Remove the jumper cable from the “RS1” and
“RS2” terminals. Connect the sensor cables to
the terminals.
Step 4 – Replace the lower panel cover.
Step 5 – Place the “SENSOR” switch to “ON” to
monitor the sensor status.
 Loading...