2 SENDING A FAX
8 Basic Procedure
Basic Procedure
The basic procedure for sending a fax (Network Fax / Internet Fax) is as follows.
You can use standard functions or set optional functions as well as the basic ones described in this section. For these
operations, see the following section.
P.19 “SETTING OPTIONS”
1
Start the application software and prepare a document to be sent.
2
Select [Print] from the [File] menu in the application software.
The procedure for displaying the print dialog box may differ from the above depending on the application
software.
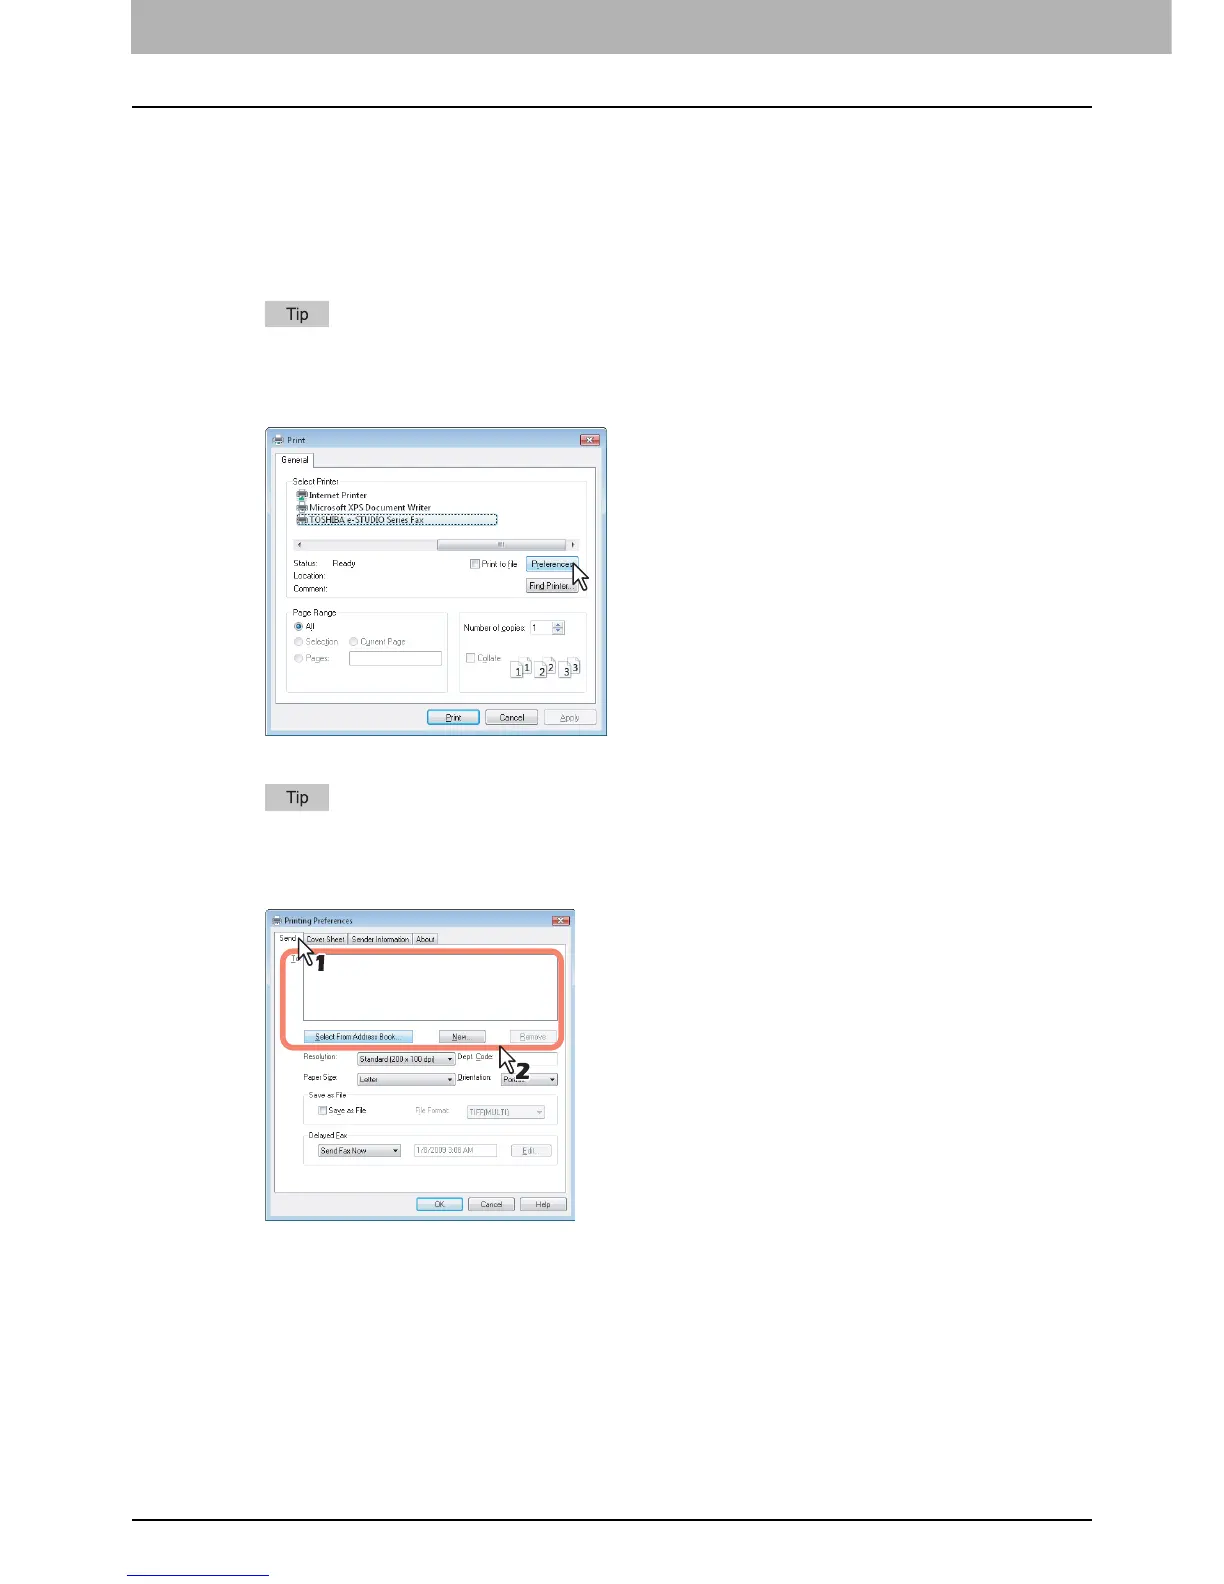
3
Select [TOSHIBA e-STUDIO Series Fax] for the printer and click [Preferences].
The dialog box of the N/W-Fax driver properties appears.
Note that the command name to open the driver properties may differ from [Preferences] depending on the
application software.
4
Click the [Send] tab and specify the recipients.
y To specify recipients, enter them with the keyboard or select them from the address book.
P.10 “Specifying Recipients”
y On the [Send] tab, you can set the resolution and paper size, etc. as well as specifying recipients.
P.21 “Setting up the [Send] tab”
y On the [Cover Sheet] and [Sender Information Properties] tab, the sender information for adding a fax cover
sheet can be set.
P.22 “Setting up the [Cover Sheet] tab”
P.23 “Setting up the [Sender Information] tab”

 Loading...


