2 SENDING A FAX
12 Specifying Recipients
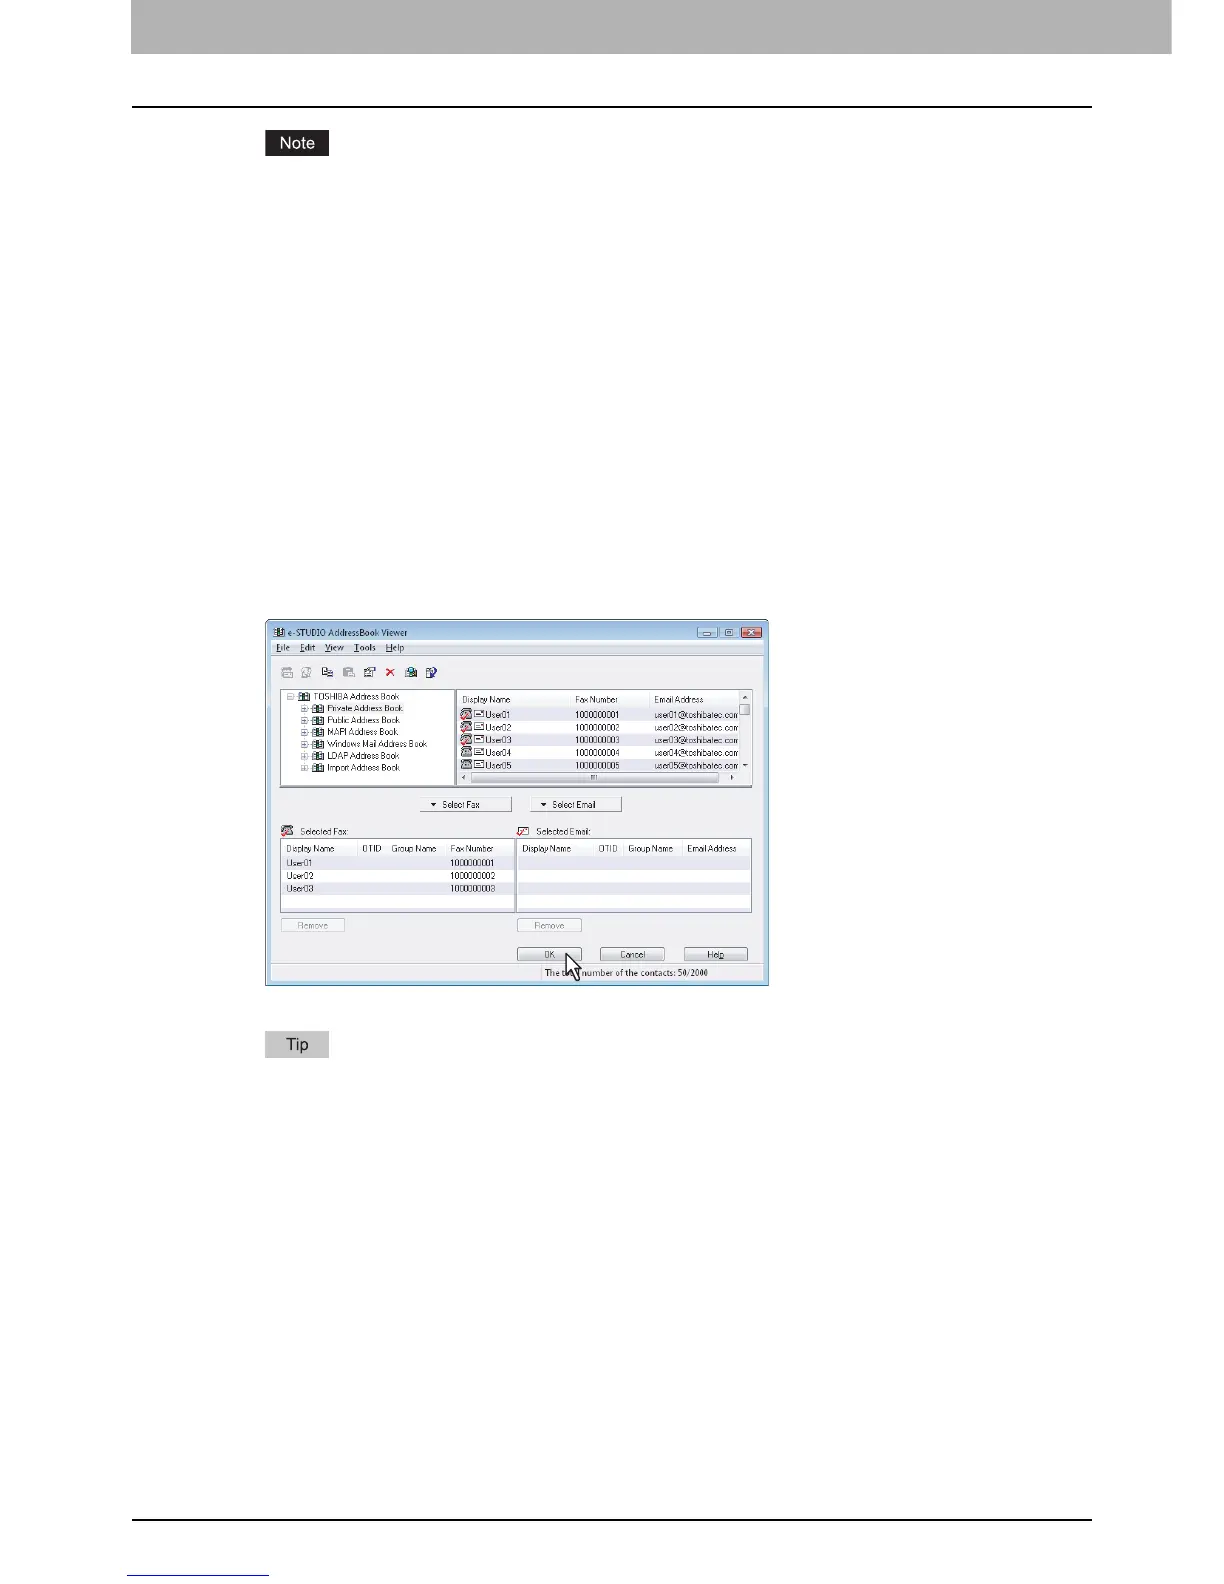
A contact, for which only a fax number is registered, cannot be displayed in the “Selected Email” and a contact,
for which only an Email address is registered, cannot be displayed in the “Selected Fax”.
You can select a recipient by the following operations:
Selecting a contact by dragging and dropping
Drag a contact in the contact list and drop it to the “Selected Fax” or “Selected Email”.
Selecting a contact by double-clicking on it
Double-click on a contact in the contact list. To change the setting of the recipient to be selected upon double-
clicking, select [Default Configuration], [Type Selection] in the [View] menu and then one of [Fax], [Email] and
[Both].
Selecting a contact from a shortcut menu
Right-click on the contact in the contact list, select [Select] from the shortcut menu and then either [Fax Number]
and [Email].
Removing a recipient
Select a recipient in the “Selected Fax” or “Selected Email” and click the corresponding [Remove] (Left: fax
number, Right: Email address).
3
Click [OK].
The AddressBook Viewer is closed and the recipients selected for “To” are listed.
When the fax transmission is completed, the recipients are automatically removed from the “To” list.

 Loading...


