8
Chapter 2
Connect the Hardware
2. 1. Position Your Router
• The product should not be located in a place where it will be exposed to moisture or
excessive heat.
• Place the router in a location where it can be connected to multiple devices as well as
to a power source.
• Make sure the cables and power cord are safely placed out of the way so they do not
create a tripping hazard.
• The router can be placed on a shelf or desktop.
• Keep the router away from devices with strong electromagnetic interference, such as
Bluetooth devices, cordless phones and microwaves.
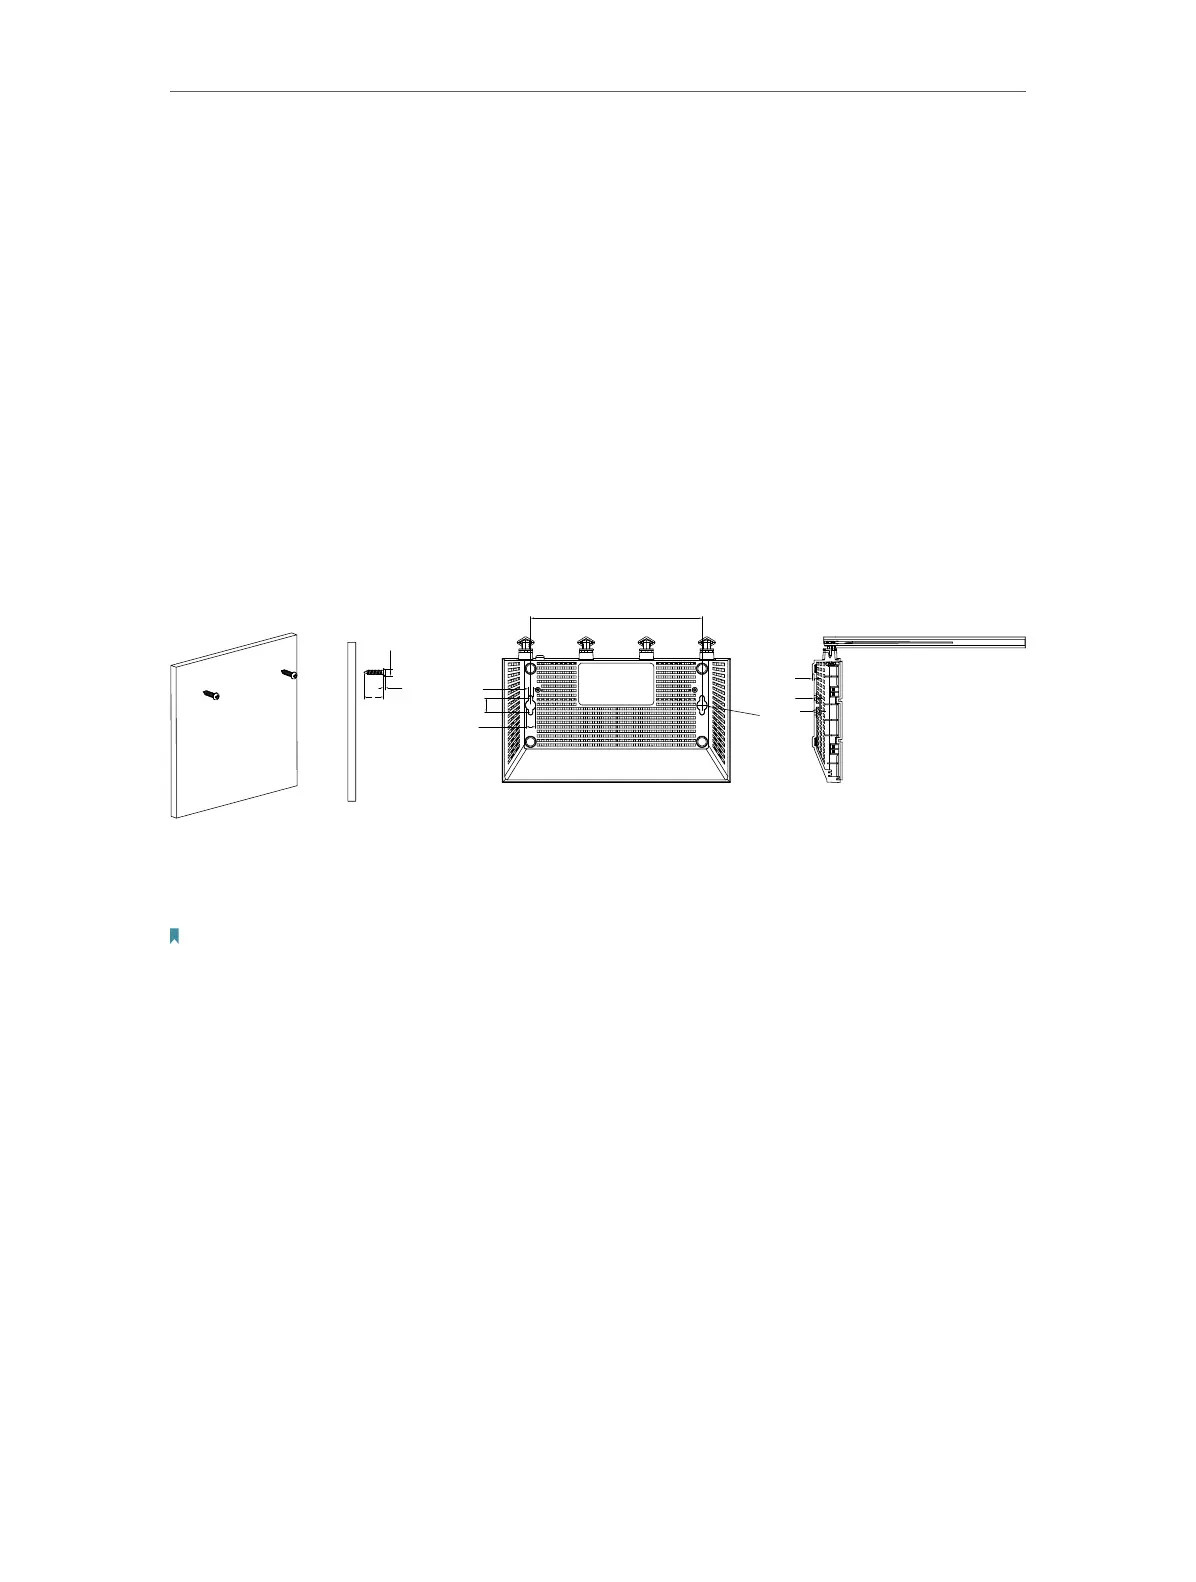
• Generally, the router is placed on a horizontal surface, such as on a shelf or desktop.
The device also can be mounted on the wall as shown in the following figure.
ΦD
H
NOTE
:
4.8
<
D
<
8.34mm
H
<
3mm
L
>
9.7mm
L
161.85
14
4.3
8.84
∅
9
.49
1.8
1.9
3
Note:
The diameter of the screw head is 4.8mm<D<8.34mm, and the distance of two screws is 161.85mm. The screw that
project from the wall need around 3mm based, and the length of the screw need to be at least 9.7mm to withstand the
weight of the product.
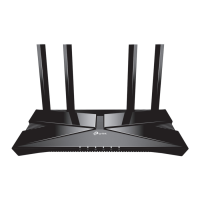
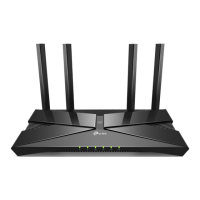
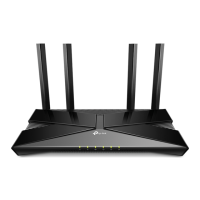
2. 2. Connect Your Router
Before you start:
1 ) Turn off your modem, if any, and remove the backup battery if it has one.
2 ) Place the router horizontally and orient the antennas vertically.
Follow the steps below to connect your router.
If your internet connection is through an Ethernet cable directly from the wall instead
of through a DSL / Cable / Satellite modem, connect the Ethernet cable to the router’s
WAN port, and then follow steps 3 and 4 to complete the hardware connection.
 Loading...