EasyManua.ls Logo

TP-Link NC250 User Manual

TP-Link NC250
51 pages
To Next Page IconTo Next Page
To Previous Page IconTo Previous Page
Page #42 background imageLoading...
Page #42 background image
NC230 HD Day/Night Wi-Fi Cloud Camera
HD Day/Night Cloud Camera, 300Mbps Wi-FiNC25
0
34
1. Enter the receiver’s E-mail address in Recipient E-mail Address, e.g. test@tp-link.com.
2.
Enter your E-mail address in Sender E-mail Address, e.g. test@gmail.com.
3. Enter the password required to access the SMTP server.
4. Enter smtp.gmail.com in SMTP server.
5. Select TLS as the SSL encryption and the SMPT server port number will be changed to 465
automatically.
6. Set the Sending Interval, e.g. 1m.
7. Click Save to save and enable the settings.
Click Test, and a test JPEG snapshot will be sent to the recipient E-mail address to check whether
your settings are correct.
If the settings are tested correct, click OK.
If the settings are tested incorrect, check your network and E-mail settings and try again later.
4.4.11 Advanced > LED
Refer to 4.3.5 Basic > LED.
4.5 System
Click the System menu to display the submenus including Account, Date/Time, Management,
and System Log.

Other manuals for TP-Link NC250

Question and Answer IconNeed help?

Do you have a question about the TP-Link NC250 and is the answer not in the manual?

TP-Link NC250 Specifications

General IconGeneral
BrandTP-Link
ModelNC250
CategorySecurity Camera
LanguageEnglish

Summary

Chapter 3 Set Up Your Camera

3.1 Set up the Camera with the tpCamera APP

Guides on setting up the camera using the tpCamera mobile app.

3.2 Position Your Camera

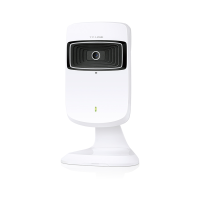
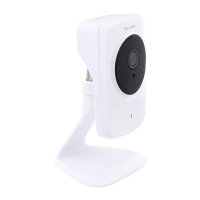
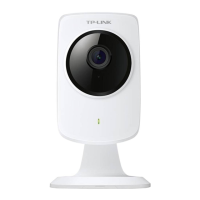
Provides instructions and safety guidelines for placing the camera.

Chapter 4 Configure Your Camera

4.1 Log in to Your Camera

Steps to access and log in to the camera's web management interface.

4.2 Live View

Explains how to view the live video feed from the camera.

4.3 Basic

Accesses basic camera settings like status, network, and wireless.

4.3.1 Basic > Status

Displays current camera configuration and read-only settings.

4.3.2 Basic > Network

Configures the camera's IP address settings (Dynamic or Static).

4.3.3 Basic > Wireless Connection

Connects the camera to a wireless network by scanning or manual entry.

4.3.4 Basic > Cloud Setting

Adds the camera to your TP-LINK Cloud account for remote viewing.

Appendix: Specifications

Related product manuals