12
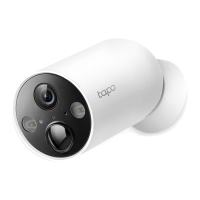
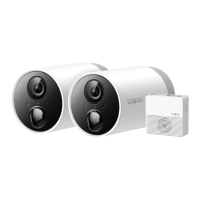
Mount Your Camera
When you nish adding your camera in the Tapo app, you can mount it on a wall or ceiling with the provided mounting template and screws. You can
also mount it on the pole with mounting loops. Follow the steps below to mount your new camera.
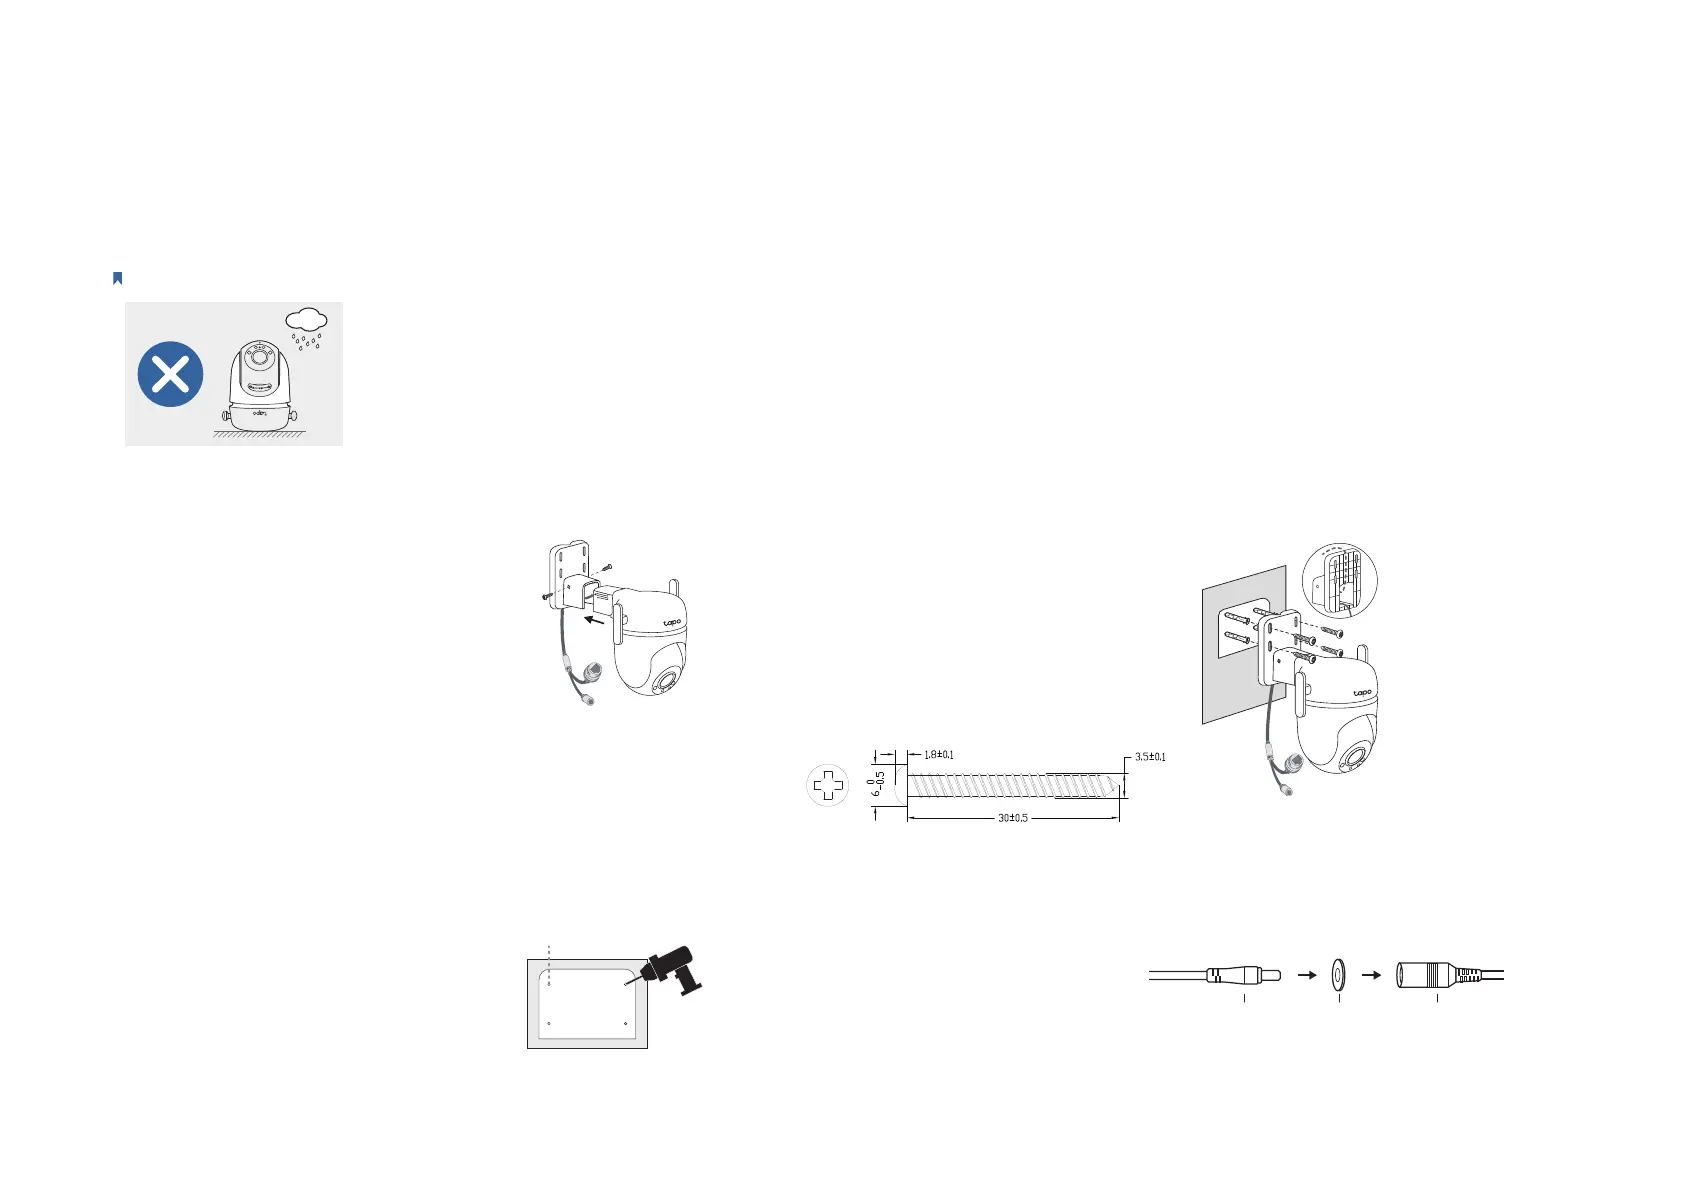
Note: The camera is not waterproof when set on a table or shelf. Mount the camera via Option 1, 2 or 3 when installing outdoors.
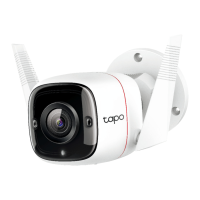
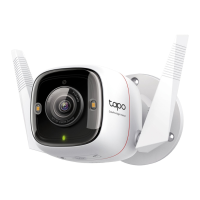
Option 1: Wall Mount
Route the camera power cord and
Ethernet cable through the
opening of the bracket. Use two
bracket screws to ax the bracket
and the camera.
1. Ax the Camera and Bracket
Insert four mounting anchors into
the holes, then use the mounting
screws to ax the camera and
bracket over the anchors.
Note: Adjust the external antennas to
be vertical for the best Wi-Fi signal.
3. Mount the Camera
4. Power Up the Camera
Stick the mounting template to
the desired mounting place. Drill
four screw holes according to
the template.
2. Drill Holes
Φ=6 mm (15/64 in.)
Connect the camera to a power
outlet using the provided power
adapter. Install the waterproof
seal for the power connectors.
Male Power Connector Waterproof Seal
Female Power Connector
 Loading...