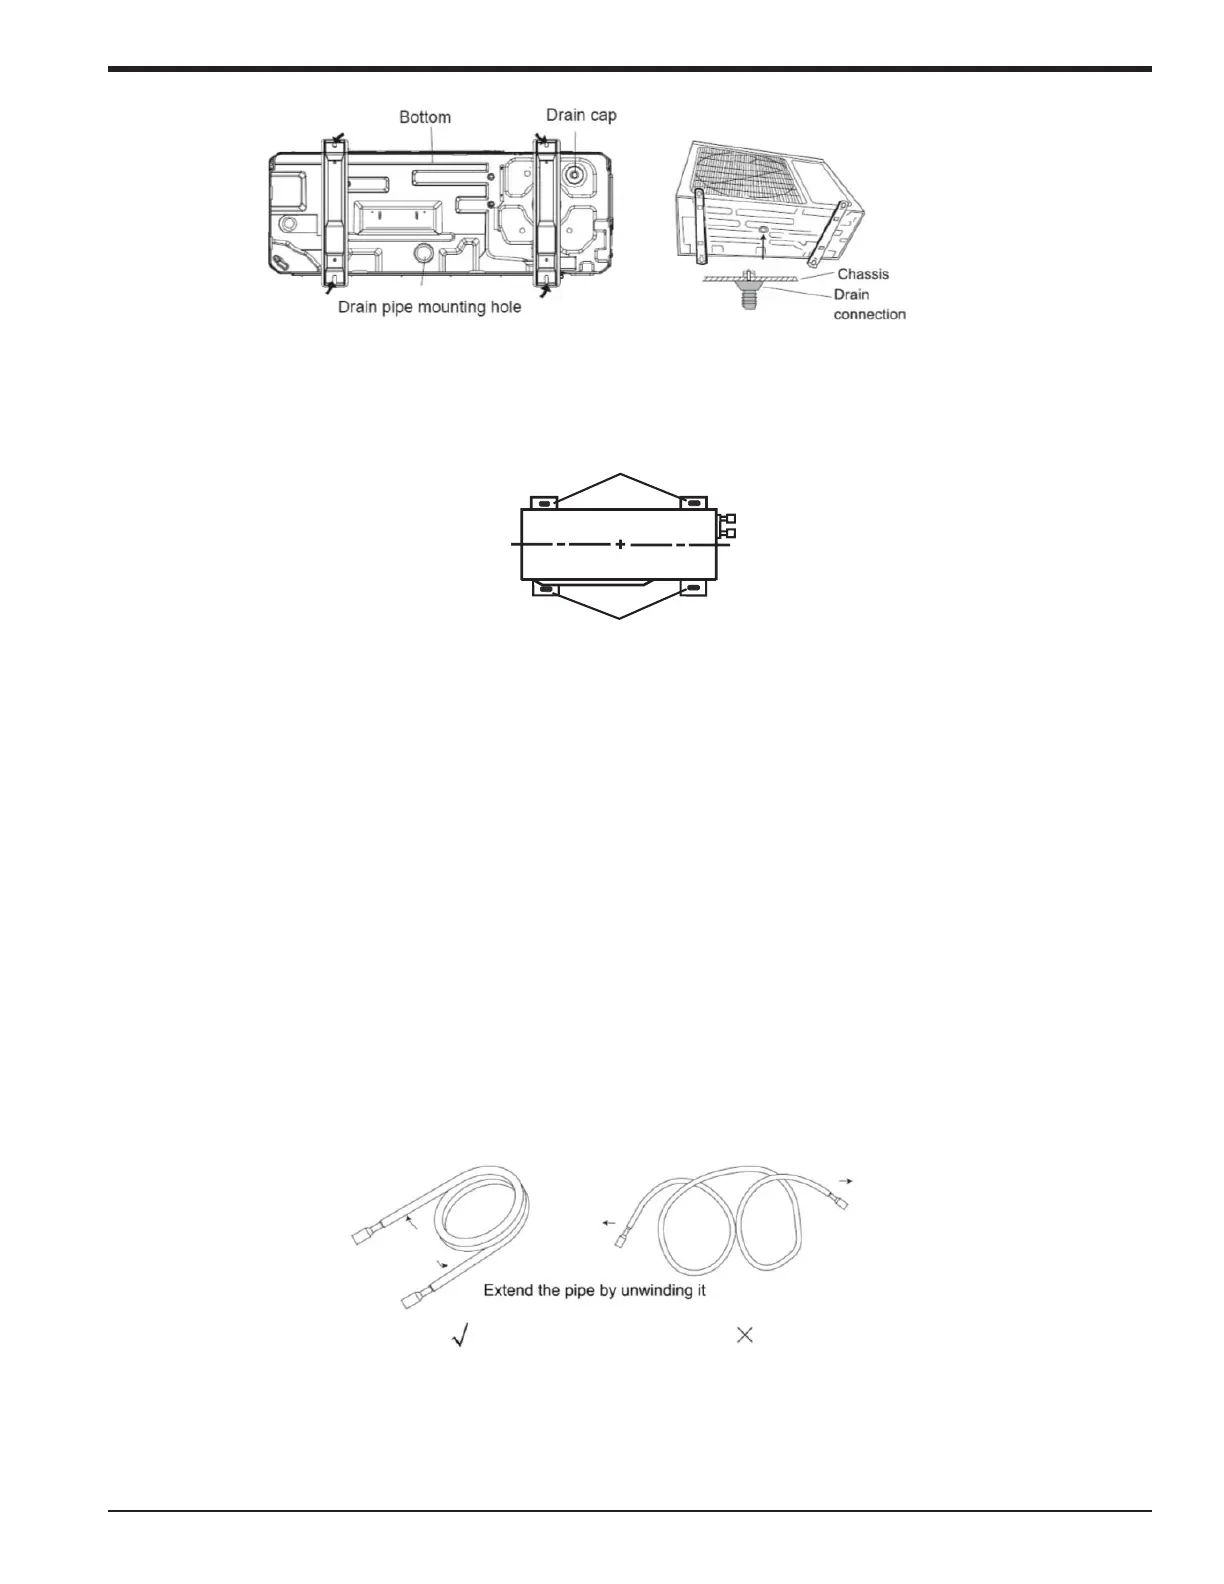
Bending Pipes
1. Use a refrigerant pipe bending tool to shape refrigerant piping; smaller diameter piping may
allow for light hand bending, providing minimum diameter of 6 inches.
2. Do not bend the pipes in an angle more than 90°.
3. When pipes are repeatedly bent or stretched, the material will be prone to damage, which may
lead to refrigerant leaks. Do not bend or stretch the pipes more than three times.
Installing the Refrigerant Piping
Flaring Process
1. Hold the pipe downward to prevent cuttings from entering the pipe.
2. Using an appropriate tube cutter and deburring tool, cut and deburr the refrigerant pipe.
3. Remove the are nuts at the stop valve of the outdoor unit and inside the accessory bag of the
indoor unit, put them onto the refrigerant pipe as shown below then are the refrigerant pipe
with a aring tool.
4. When aring copper tubing, only use aring tools that utilize an orbiting mandrel and clutched
handle. These are typically referenced as R410A aring tools which will create a 45° are. By
using this type of aring tool, the copper tubing is rolled while being pressed, thereby reducing
the probability of copper are cracking.
5. Check if the are part is spread evenly and there are no cracks.
4. Place the outdoor unit on the support base.
5. Secure the foot holes of the outdoor unit with bolts (shown below).
88-M4MHW18-1C-EN 21
Installer's Guide
 Loading...