48
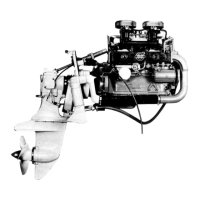
155. Place the screws in the exhaust pipe and hang
the gasket in position. NOTE! The marking “UT” is
turned outwards. Then fit the pipe to the engine. A
lifting eye is fixed with one of the screws.
156. Lay a sealing ring on the heat exchanger’s pipe
(1) and press the pipe into the circulation pump
and screw the heat exchanger to the exhaust
pipe.
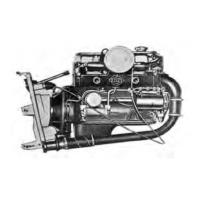
157. AQ145. Fit the cooling water pipes (1) and (2) be-
tween the oil cooler and the exhaust pipe and
heat exchanger respectively. The cooling water
pipe for AQ125 is connected from the exhaust
pipe to the heat exchanger. It may be necessary
to undo the centre screw (3) in the oil cooler’s co-
ver in order to align the cooling water pipes. Then
tighten all the screws. Tighten nut No. 4 as well.
Fit the engine mountings. Make sure that the rub-
ber bush 5 on the cooling water pipe comes into
the right position.
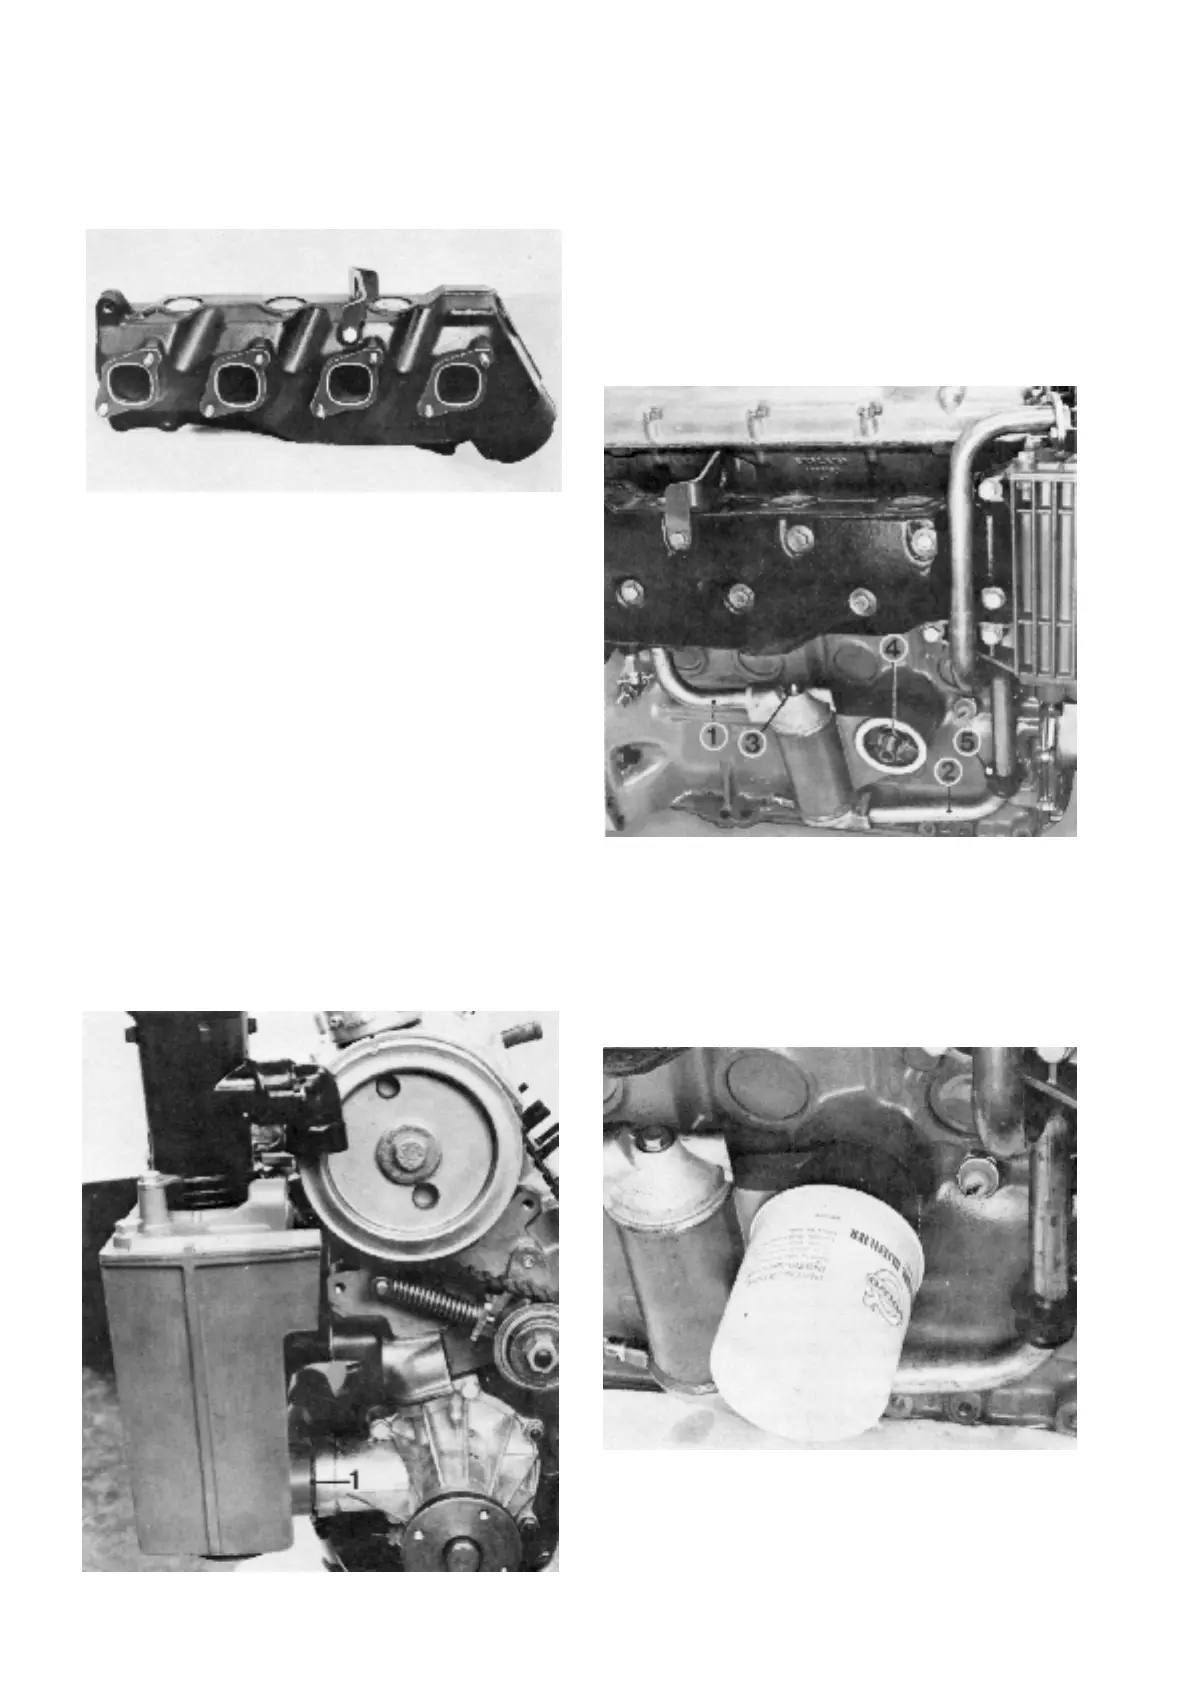
158. Oil the lubricating oil filter’s rubber packing and
screw the filter in sufficiently so that the rubber
packing just comes into contact with the engine
body. Then screw it another half turn by hand.
Check the oil pressure and for leakage around
the oil filter during the first test run.
 Loading...