4
Setup
This section describes the basic setup of your amplier.
NOTE:
This manual also describes safety precautions and functions. Be
sure to read the entire manual.
1. Set the VOLUME knob and TRIM knob to the minimum level.
2. Install baeries in the amplier. Alternatively, you can connect the
included AC adapter to the DC12V jack on the rear panel, then plug
the adapter into an AC outlet.
3. Plug your guitar into the INPUT jack on the top panel.
If you also plan to use a CD or MP3 player or a microphone, connect
the player to the AUX IN jack, or the microphone to the MIC IN jack
on the top panel.
4. Press and hold down the power buon until the power LED lights up
and the power turns on.
NOTE
: When turning o the power, press and hold down the power
buon until the power LED turns o.
5. Slowly raise the VOLUME Knob to the desired level.
When using a microphone, you can adjust its volume with the TRIM
Knob.
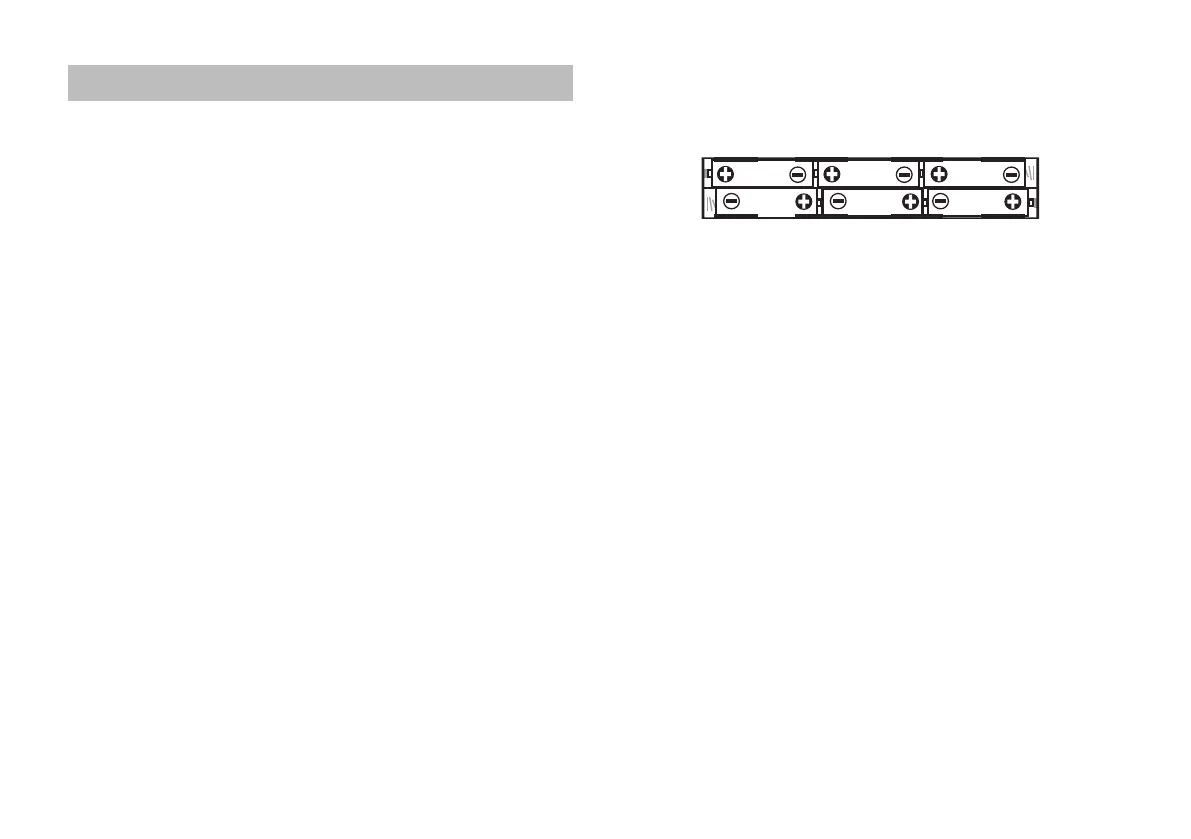
Installing Batteries
Remove the baery compartment cover that’s located on the boom of
the unit by pulling the ribbon. Insert six AA-size alkaline baeries as
shown in the gure.
NOTE:
Baeries are not included. You will need to purchase them sepa-
rately. Never use any type of baery other than alkaline baeries.
NOTE:
Be sure to install baeries in the correct orientation.
Replacing the Batteries
Replace the baeries when the power LED becomes dim.
NOTE
: If the baery level becomes low, noise may be generated.
NOTE:
Depleted baeries must be removed from the MINI3 G2 immedi-
ately. If you leave them in, malfunctions such as baery leakage
may occur. You should also remove the baeries if you’re not
going to be using the MINI3 G2 for an extended period of time.

 Loading...