5
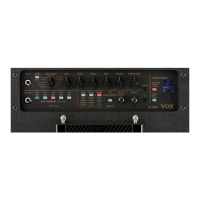
AMP section
This section enables you to adjust various amplier seings.
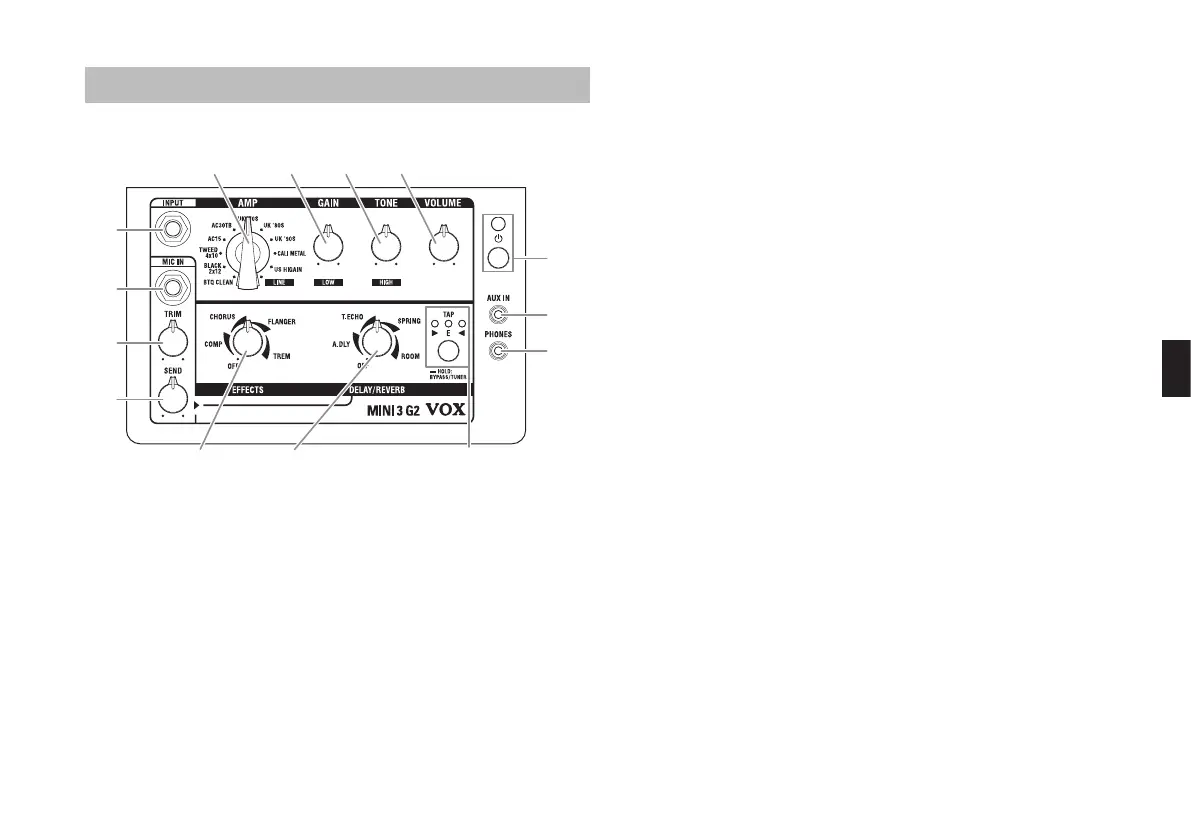
5. AMP selector
This selector enables you to choose an amp model. The gain circuit,
tone control characteristics, and circuit layout will be set automatically
in accordance with the selected amp model. For more information on
each amp model, please refer to “AMP model” on page 8.
6. GAIN knob
This knob enables you to adjust the pre amp gain for the selected
amp model.
7. TONE knob
This knob enables you to adjust the tonal color. The tone will be
changed automatically in accordance with the selected amp model.
8. VOLUME knob
This knob enables you to adjust the volume that is output from the
pre amp to the power amp. With this seing you can change the
power amp distortion.
NOTE:
The power amp distortion can also be changed with the GAIN
knob. The distortion will be eliminated depending on the set-
ting.
EFFECTS section
Here is where you can adjust the seings for the eects.
For additional details on each eect, refer to “Eects” on page 8.
9. EFFECTS knob
This knob enables you to choose the compressor/modulation eect
and set the intensity of the eect.
To bypass the eects, rotate the knob all the way to the le.
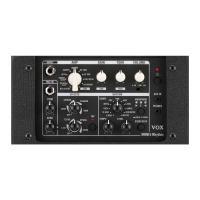
Parts and their function
Top Panel
2
3
4
1
12
13
14
10
11
9
INPUT Section
1. INPUT jack
This is where you plug in your guitar.
2. MIC IN jack
Connect a microphone here.
3. TRIM knob
This knob enables you to adjust the volume level of the microphone
input.
4. SEND knob
This knob enables you to adjust the volume that is sent from the
microphone input to the delay/reverb eect.
 Loading...