English
14 © Wagner Spray Tech - All Rights Reserved
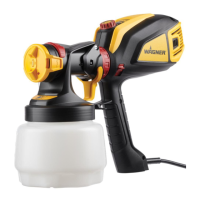
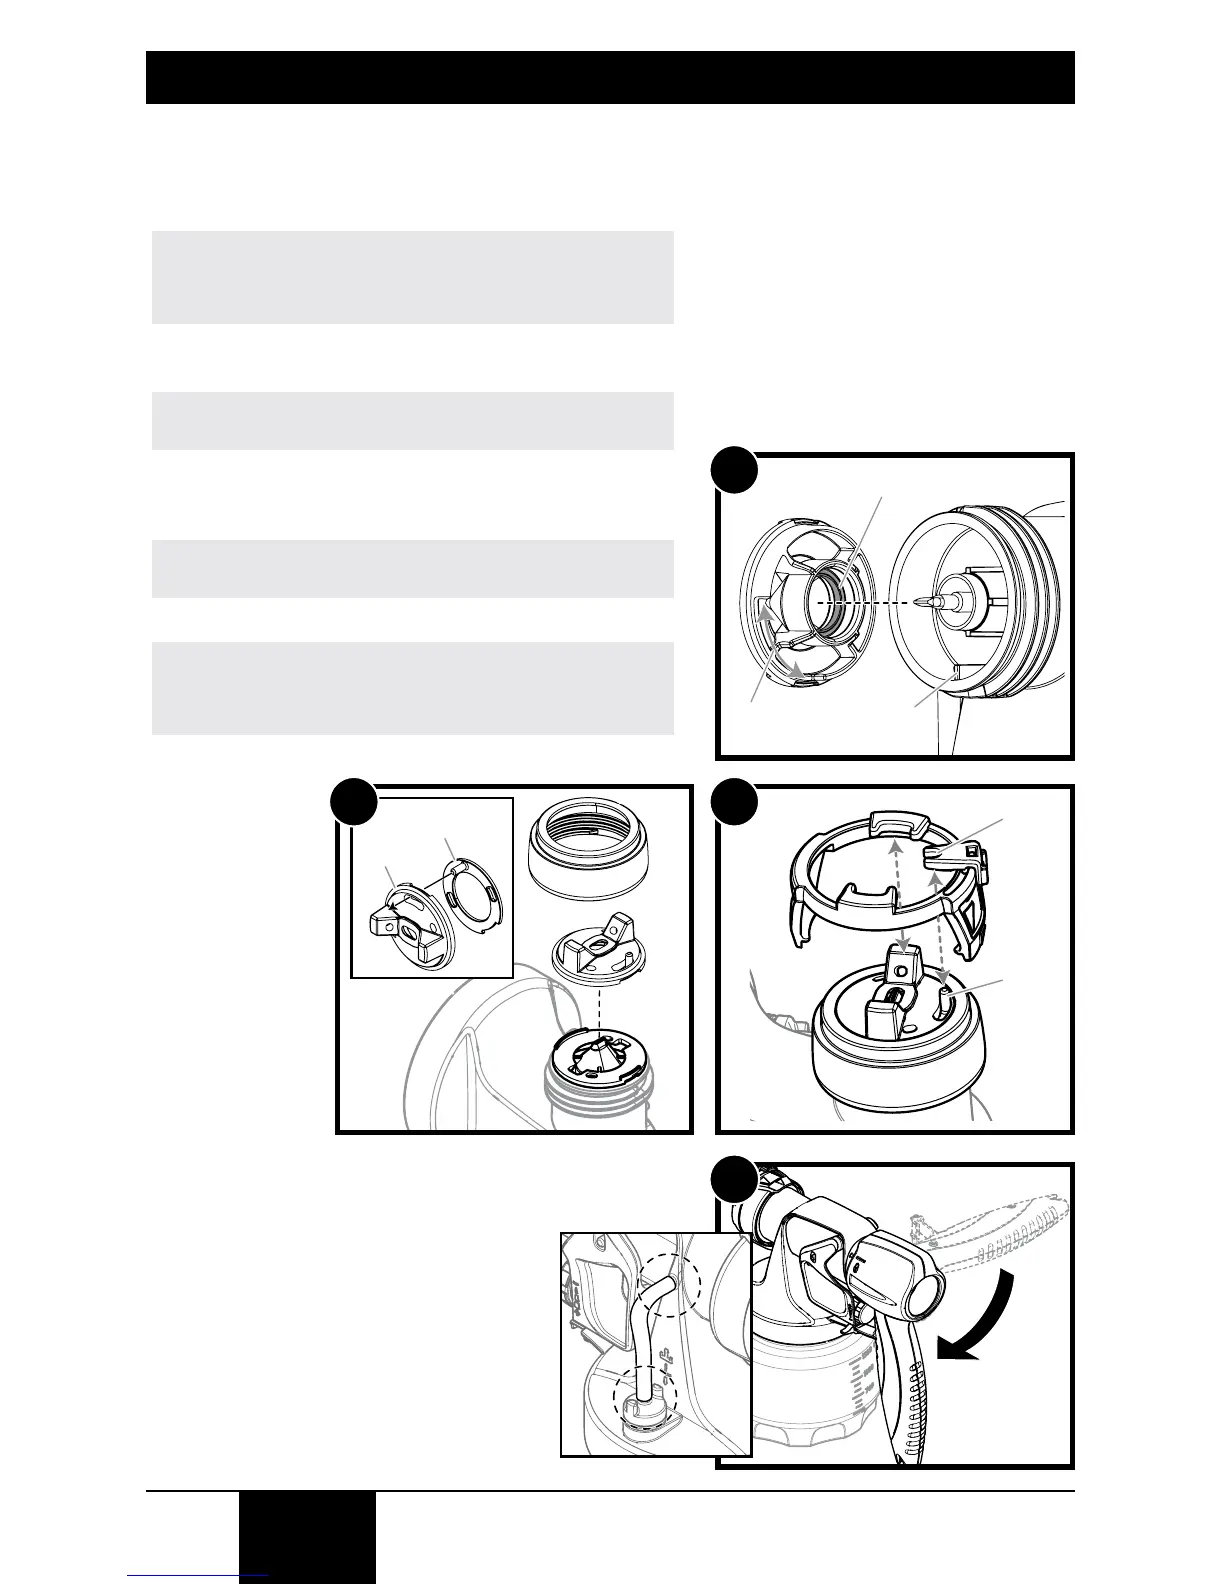
Reassembly
To Reassemble:
1. Insert the nozzle (1). Make sure to align the groove (a)
and notch (b) and align the nozzle opening with the
needle.
Note: Make sure the red nozzle seal is in place. Replace if it
falls out and is undamaged. Make sure the cup side of the
seal (the side with the groove) is facing out (c).
2. Put the air screen (d) in the air cap (e). Put both
(2)
on the
nozzle
(1)
and secure with the connecting nut
(3)
.
Note: This step is easier if the nozzle is facing up.
3. Snap the adjustment ring
(4)
into the connecting nut
(3)
,
enabling the adjustment lever (f) on the peg (g) to be
positioned in the air cap.
Note: Make sure that the two recesses on the adjustment
ring are engaged in the air cap tabs.
4. Reassemble the spray gun.
Note: Make sure the air valve tube is free of paint. If not,
clean the air valve tube by following the instructions on
the next page. If clean, make sure it is attached securely at
both ends (see inset).
4
2
3
1
 Loading...