5
English
Title
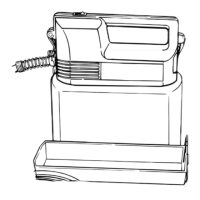
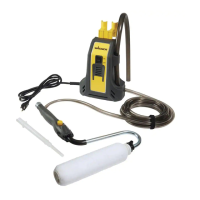
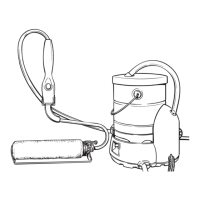
Painting
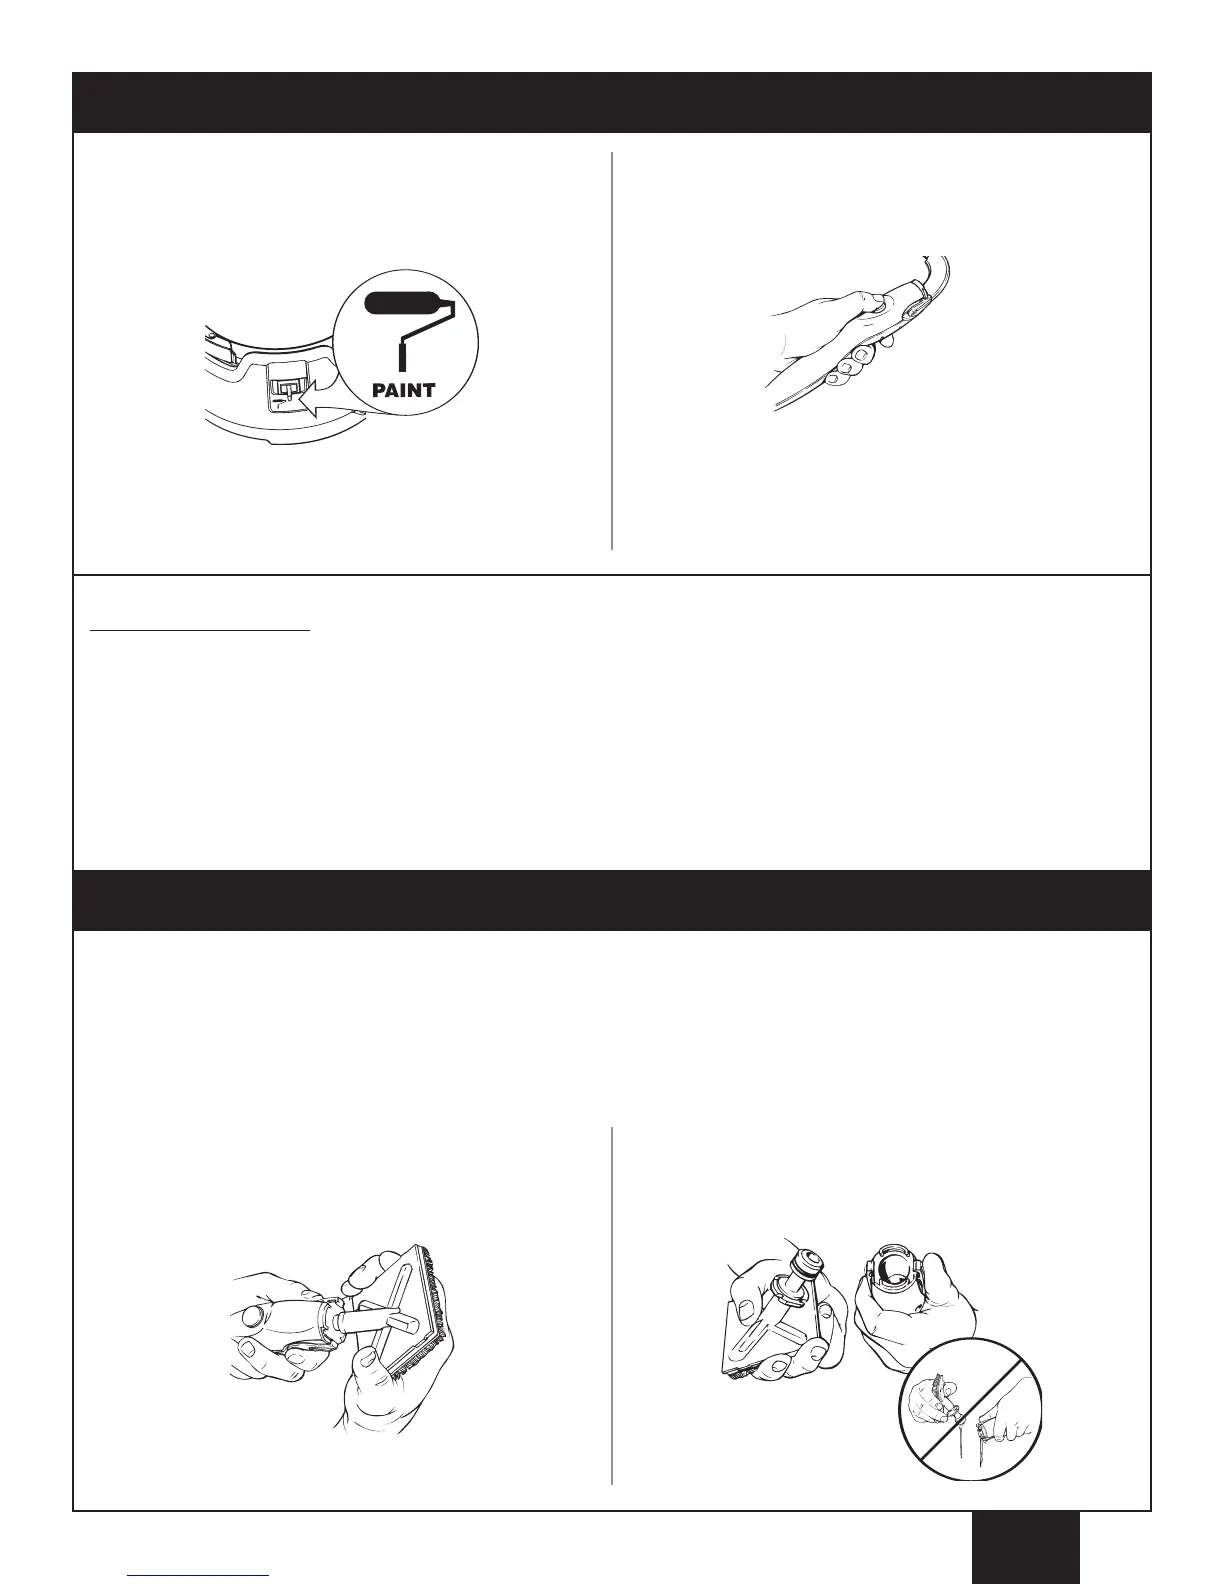
1. Plug in the power cord. Flip selector switch on base to
PAINT. No paint will flow until handle button is depressed.
2.
PRESS and HOLD handle button until paint appears
through the roller cover. When roller cover is saturated,
RELEASE the handle button and begin rolling. PRESS
a
nd
R
ELEASE
h
andle button as necessary for paint flow.
You may also prime your roller by flipping the selector
switch to CLEAN. The handle button will not need to be
pressed. T
urn the selector switch back to PAINT when
paint appears through the roller cover.
Helpful Painting Tips
• Practice controlling the paint flow while painting on a piece of scrap wood or cardboard. Do not overload the roller
with paint. An overloaded roller will slide, drip, and spatter excessively.
• When painting with the roller, make sure your woodwork, floor, and furnishings are sufficiently protected against any
drips or spatters.
• The spatter shield serves as a rest for the roller when the arm is not in use. Make sure the unit is turned OFF and
the roller cover is not saturated with paint when using the spatter shield for rest periods, or paint will drip and
accumulate in the spatter shield.
• During extended break periods, place your roller cover assembly in a plastic bag to keep it from drying out.
Changing Accessories
• When removing or changing any accessories from the roller handle, it is likely that some material will drip from the handle
and the accessory.
• Turn the unit OFF prior to removing any accessories or components, and make sure your floors and furnishings are
protected from dripping paint.
• To minimize dripping material from the handle and accessories, follow the steps below.
1.
Press the quick-release tabs on the handle (or the
extension).
2.
Pull the handle and the accessory apart, making sure to
keep the connecting ends pointed up.
 Loading...