UniControl 5
4 Installing the control
element
4.1 Notes on installation
CAUTION
Danger of fire due to drilling into electrical
cables
Burn injuries
Arrange electrical cables behind the installation
area outside the drilling points.
CAUTION
Injuries by touching sharp edges
Grazing of the skin, cuts
When installing use
protective gloves.
4.2 Installation location requirements:
Comply with legal requirements.
The installation location must satisfy the following requirements:
3
Vehicle interior
3
Ease of access
3
Clear visibility
3
Clean, dry and free of grease
3
Protected from moisture
3
Protected from heat, not in direct hot air flow
3
Sucient clearance behind installation location
4.3 Installing the control element
Installation
1
3
2
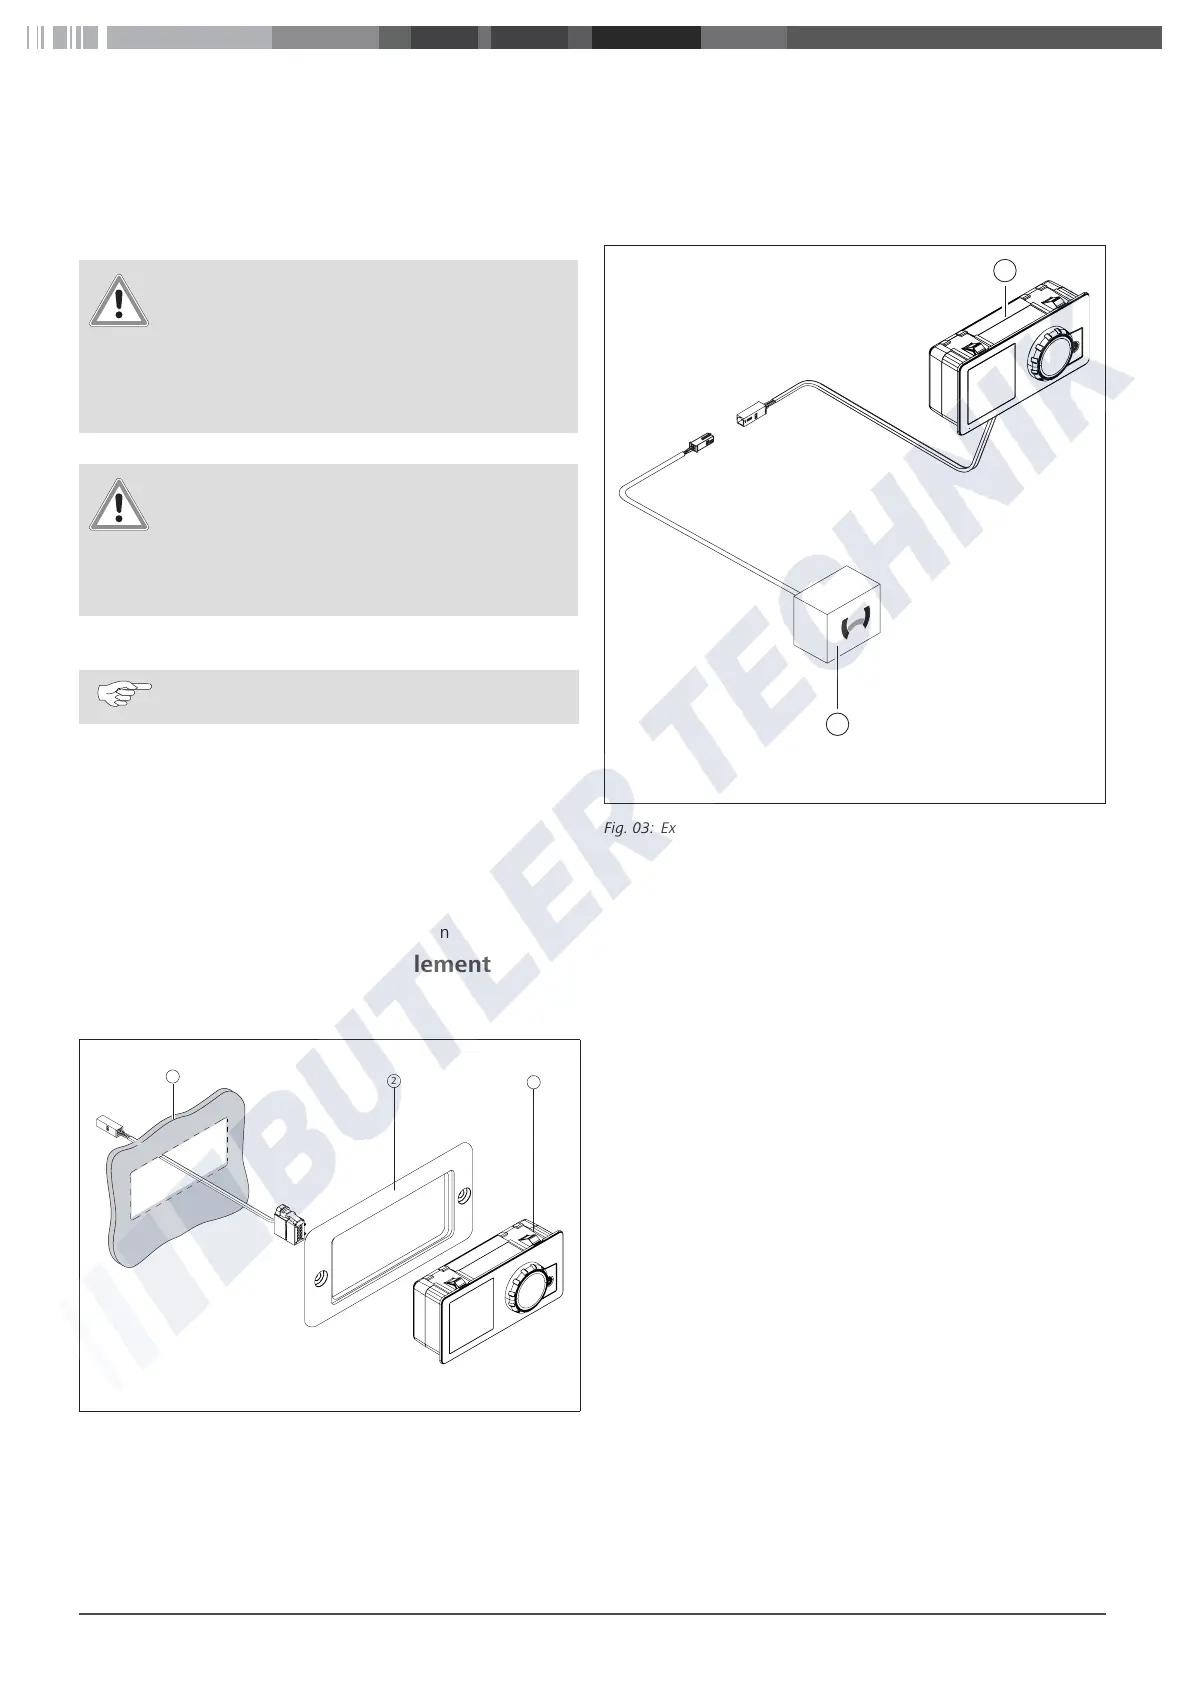
Fig. 02: Installing the control element
1 Installation location
2 Optional: installation frame
3 Control Element
Determine the installation location.
Cut out the installation opening.
Locate bushing for control element wiring harness.
Rotate control element wiring harness through installation
opening.
Attach connector.
Carefully latch control element into position.
1
2
Fig. 03: Example of connecting control element (1) to heater (2)

 Loading...