Setting
Value
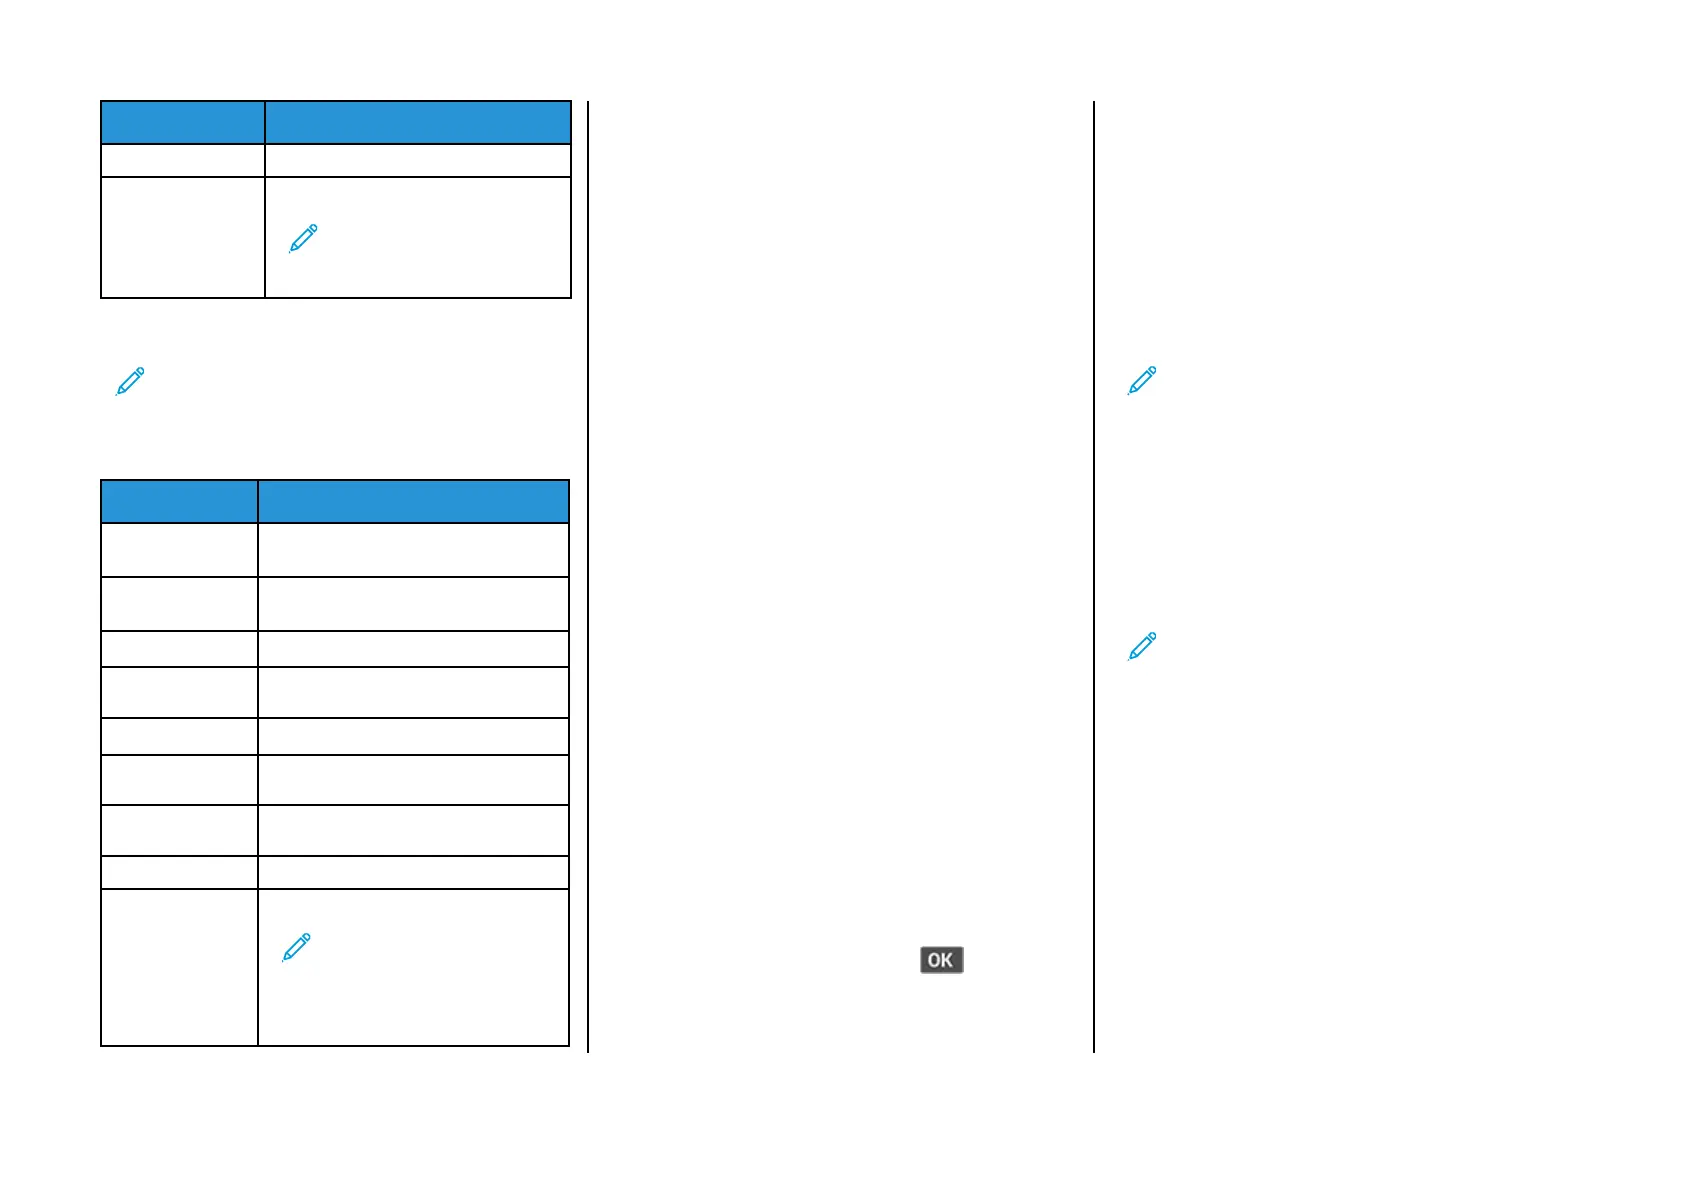
Device UserID Your email address
Device Password Independent password
Note: The independent password
is provided when IMAP/SMTP
service or POP3/SMTP service is
enabled.
Sina Mail
Note: Make sure that the POP3/SMTP service is enabled on
your account.
To enable the service, from the Sina Mail home page, click Settings >
More settings > User-end POP/IMAP/SMTP, and then enable POP3/
SMTP service.
Setting
Value
Primary SMTP
Gateway
smtp.sina.com
Primary SMTP
Gateway Port
587
Use SSL/TLS Required
Require Trusted
Certificate
Disabled
Reply Address Your email address
SMTP Server
Authentication
Login/Plain
Device-Initiated
Email
Use Device SMTP Credentials
Device UserID Your email address
Device Password Authorization code
Note: To create an authorization
code, from the email home page,
click Settings > More settings >
User-end POP/IMAP/SMTP, and
then enable Authorization code
status.
• If you encounter errors using the settings provided, then contact
your email service provider.
• For email service providers that are not on the list, contact your
provider and ask for the settings.
SSeennddiinngg aann EEmmaaiill
Before you begin, make sure that the SMTP settings are configured.
For more information, see Configuring the Email SMTP Settings.
UUssiinngg tthhee CCoonnttrrooll PPaanneell
1. Load an original document into the ADF tray or on the scanner
glass.
2. From the home screen, touch Email, and then enter the needed
information.
If necessary, configure the output file type settings.
3. Send the email.
UUssiinngg aa SShhoorrttccuutt NNuummbbeerr
1. Create an email shortcut.
a. Open a web browser, and then type the printer IP address in
the address field.
• View the printer IP address on the home screen. The IP
address appears as four sets of numbers separated by
periods, such as 123.123.123.123.
• If you are using a proxy server, then temporarily disable it
to load the web page correctly.
b. Click Shortcuts > Add Shortcut.
c. From the Shortcut Type menu, select Email, and then
configure the settings.
d. Apply the changes.
2. Load an original document into the ADF tray or on the scanner
glass.
3. From the control panel, navigate to:
Shortcuts > Email
For non-touch-screen printer models, press
to navigate
through the settings.
4. Select the shortcut.
5. Send the email.
Scan
SSccaannnniinngg ttoo aa CCoommppuutteerr
Before you begin, make sure that:
• The printer firmware is updated. For more information, see
Updating Firmware.
• The computer and the printer are connected to the same network.
FFoorr WWiinnddoowwss UUsseerrss
Note: Make sure that the printer is added to the computer.
For more information, refer to the User Guide.
1. Load an original document into the automatic document feeder
or on the scanner glass.
2. From the computer, open Windows Fax and Scan.
3. From the Source menu, select a scanner source.
4. If necessary, change the scan settings.
5. Scan the document.
FFoorr MMaacciinnttoosshh UUsseerrss
Note: Make sure that the printer is added to the computer.
For more information, refer to the User Guide.
1. Load an original document into the automatic document feeder
or on the scanner glass.
2. From the computer, do either of the following:
a. Open Image Capture.
b. Open Image Capture.
c. Open Printers & Scanners, and then select a printer. Click
Scan > Open Scanner.
3. From the Scanner window, do one or more of the following:
a. Select where you want to save the scanned document.
b. Select the size of the original document.
c. To scan from the ADF, select Document Feeder from the
Scan Menu or enable Use Document Feeder.
d. If necessary, configure the scan settings.
4. Click Scan.
5

 Loading...


