Xerox
®
W130 / W110 Scanner Installation
4-4 User Guide
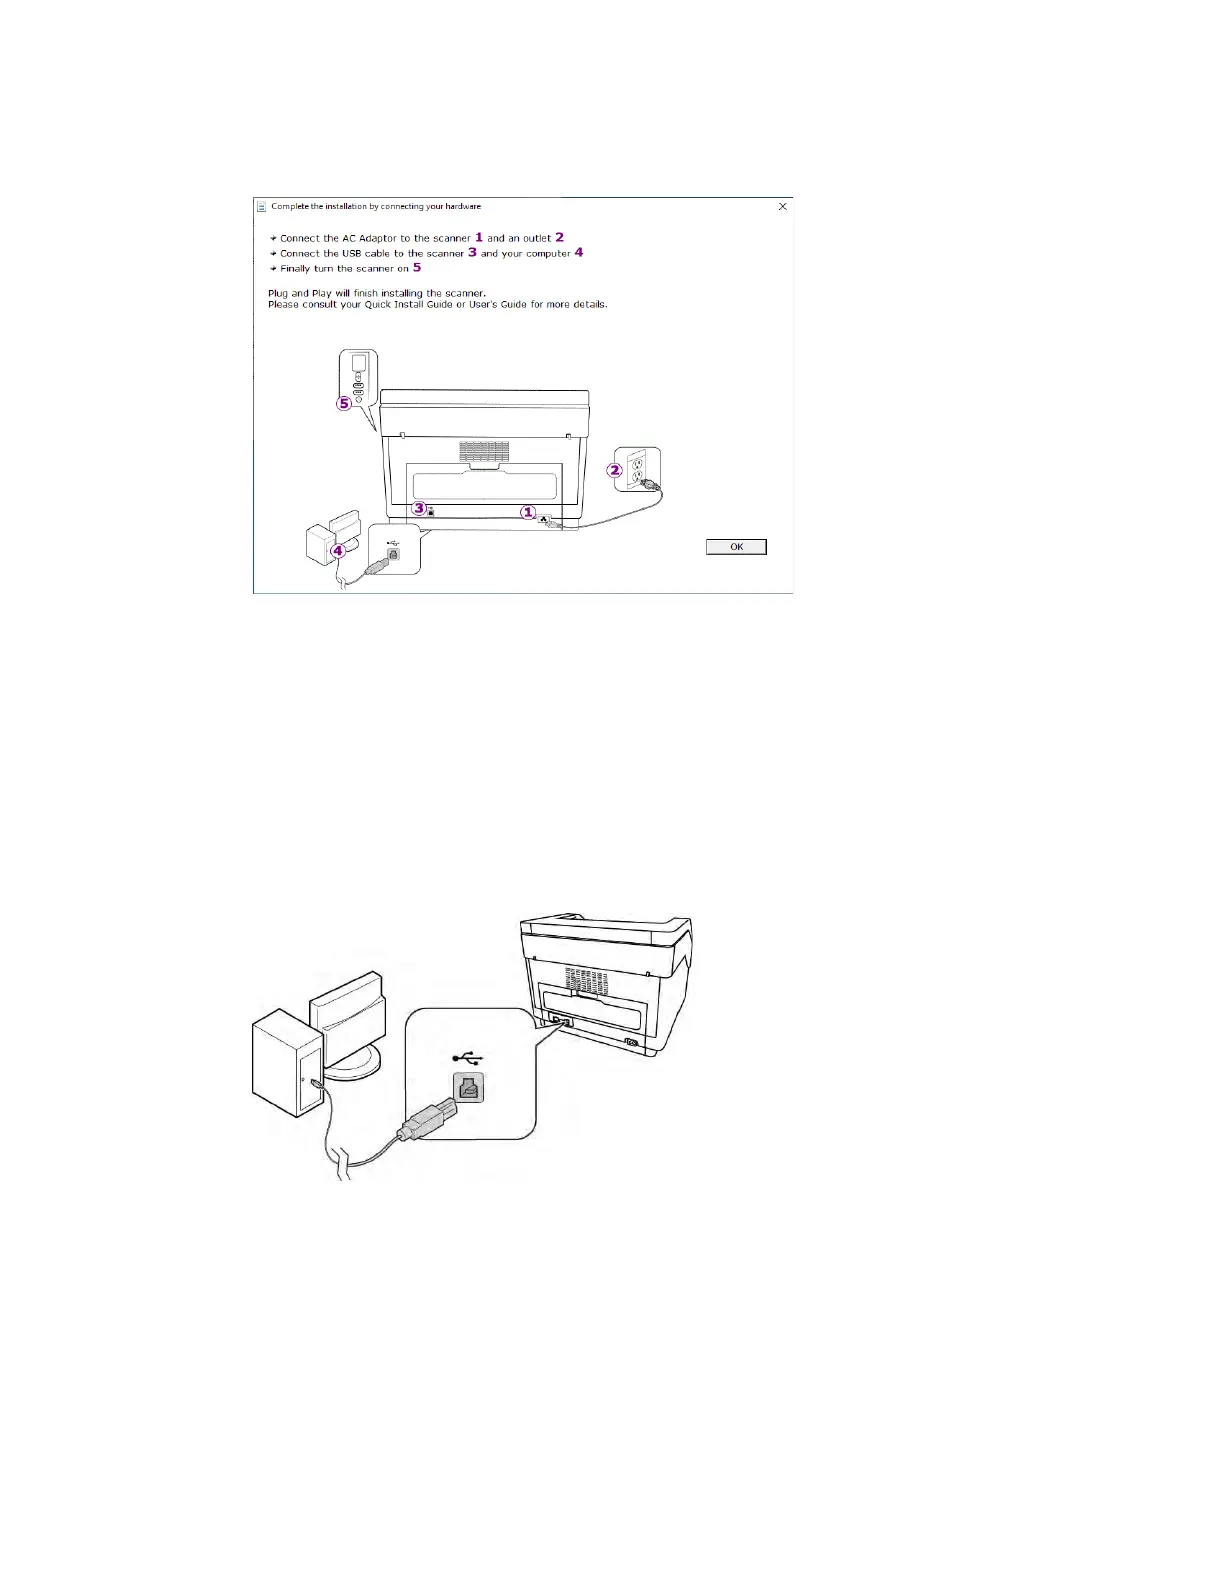
4. Stop when you see the “Complete the installation by connecting your hardware” window. Do
not click OK yet. Leave the window open and proceed to the next section.
Note: If you do not see this on-screen diagram for connecting the scanner, stop and follow
the instructions below.
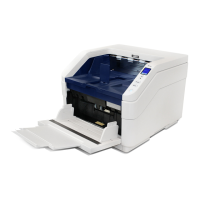
Connect the USB Cable and Turn on the Power
If you did not connect the scanner earlier, proceed with the instructions below. It is recommended
that the cable provided with the scanner is the one used.
1. Remove any tape from the USB cable.
2. Plug the USB cable into the USB port on the scanner then into a USB port on the computer.
Check your computer’s manual for USB port locations. If the plug does not attach easily,
make sure that you are plugging it in correctly. Do not force the plug into either connection.
3. Press the power button to turn on the scanner power.
The status light comes on and flashes indicating that the scanner is receiving power.
Your computer recognizes that a scanner has been plugged into the USB port and
automatically loads the appropriate software to run the scanner.