PERIODIC MAINTENANCE AND MINOR REPAIR
6-33
6
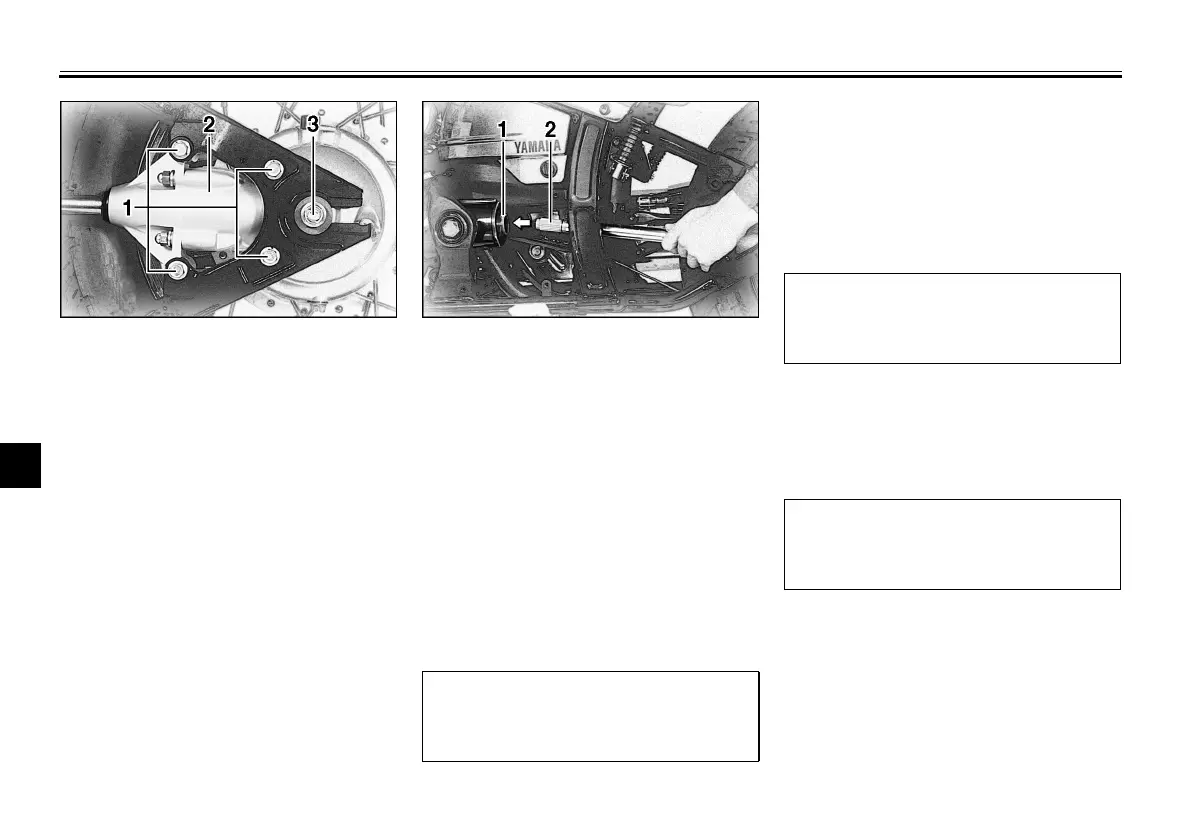
6. Remove the bolts that secure the
final gear case to the swingarm.
7. Elevate the rear wheel off of the
ground.
8. Pull the wheel backward while
supporting the drive shaft to re-
move the wheel, axle, final gear
case and drive shaft as an assem-
bly.
EAU01563
Rear wheel installation
1. Install the rear wheel, axle, final
gear case and drive shaft as an
assembly by pushing the wheel
forward and guiding the drive shaft
into the middle drive shaft U-joint.
2. Install the bolts that secure the fi-
nal gear case to the swingarm and
tighten to the specified tightening
torque.
3. Insert the brake rod into the brake
cam lever and install the brake
pedal free play adjusting nut.
4. Install the brake torque rod bolt
and tighten both bolts to the spec-
ified tightening torque.
5. Install panel “B”.
6. Let the motorcycle down.
7. Tighten the axle nut to the speci-
fied tightening torque.
8. Adjust the rear brake pedal free
play. (See page 6-19.)
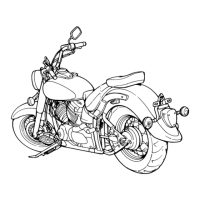
1. Bolt (× 4)
2. Final gear case
3. Axle nut
1. Middle drive shaft joint
2. Drive shaft
Specified torque:
Final gear case bolts:
90 Nm (9.0 m·kg)
Specified torque:
Brake torque rod bolts:
20 Nm (2.0 m·kg)
Specified torque:
Axle nut:
92 Nm (9.2 m·kg)
E_4xs_Periodic.fm Page 33 Tuesday, November 30, 1999 2:36 PM
 Loading...