Rack-mounting 25
■ The air is as free from dust as possible.
■ The unit is installed in a clean, air conditioned environment.
■ No more than eight Switch units are placed on top of one another, if
the units are free-standing.
■ The Switch is situated away from sources of conductive (electrical)
dust, for example laser printers.
■ The AC supply used by the Switch is separate to that used by units
that generate high levels of AC noise, for example air conditioning
units and laser printers.
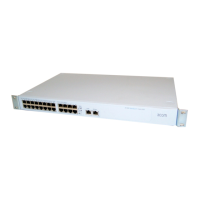
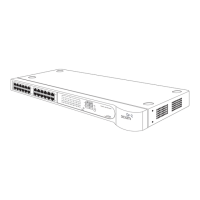
Rack-mounting The Switch 4400 is 1U high and will fit in most standard 19-inch racks.
CAUTION: Disconnect all cables from the Switch before continuing.
Remove all self adhesive pads from the underside of the Switch if they
have been fitted.
To rack-mount your Switch:
1 Place the Switch the right way up on a hard flat surface, with the front
facing towards you.
2 Locate a mounting bracket over the mounting holes on one side of the
Switch, as shown in Figure 8
.
DUA1720-3AAA05.book Page 25 Friday, March 7, 2003 11:53 AM
 Loading...