14 SCC-C Sample Gas Cooler Operator’s Manual 42/23-55 EN Rev. 1
Chapter 3 Maintenance
WARNING!
The operations described in this chapter require specialized knowledge, and
sometimes involve the necessity of working on the sample gas cooler with
its cover open and live. They must therefore only be carried out by qualified
and specially trained persons.
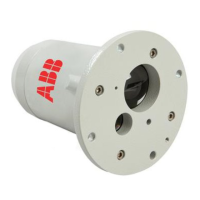
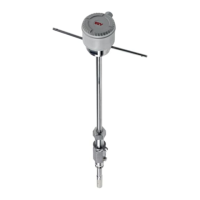
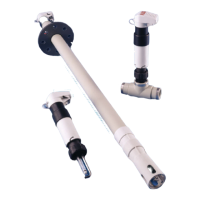
Removing and Installing Heat Exchangers
Cleaning the
Heat Exchanger
The heat exchanger must be removed and re-installed when it is dirty and requires
cleaning.
WARNING!
Residual condensate may be present in the heat exchanger. The condensate
is often acidic. Appropriate precautions should be taken, and relevant
regulations on disposal should be complied with.
Step Action
1
Stop the sample gas supply and shut off the sample gas cooler
power supply.
Remove the heat exchanger:
2 Disconnect sample gas and condensate pipes from connections 1
and 2 respectively of the heat exchanger.
3 Turn the heat exchanger slightly and draw it upwards to remove it
from the cooling block 3.
Prepare for installation of the heat exchanger:
4 Using a cloth, clean and dry the opening in the cooling block and the
heat exchanger.
5 Use some adhesive tape to close off the condensate outlet on the heat
exchanger in order to prevent the ingress of thermal conductive paste
into the heat exchanger during installation.
Removing and
Installing the
Heat Exchanger
(see Fig. 4)
6 Spread an even thin coating of thermal conductive paste over the en-
tire surface of the opening in the cooling block and the heat exchanger
in order to ensure good thermal transition.
Continued on next page
 Loading...