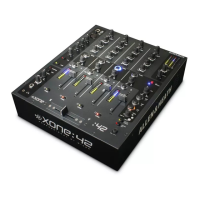
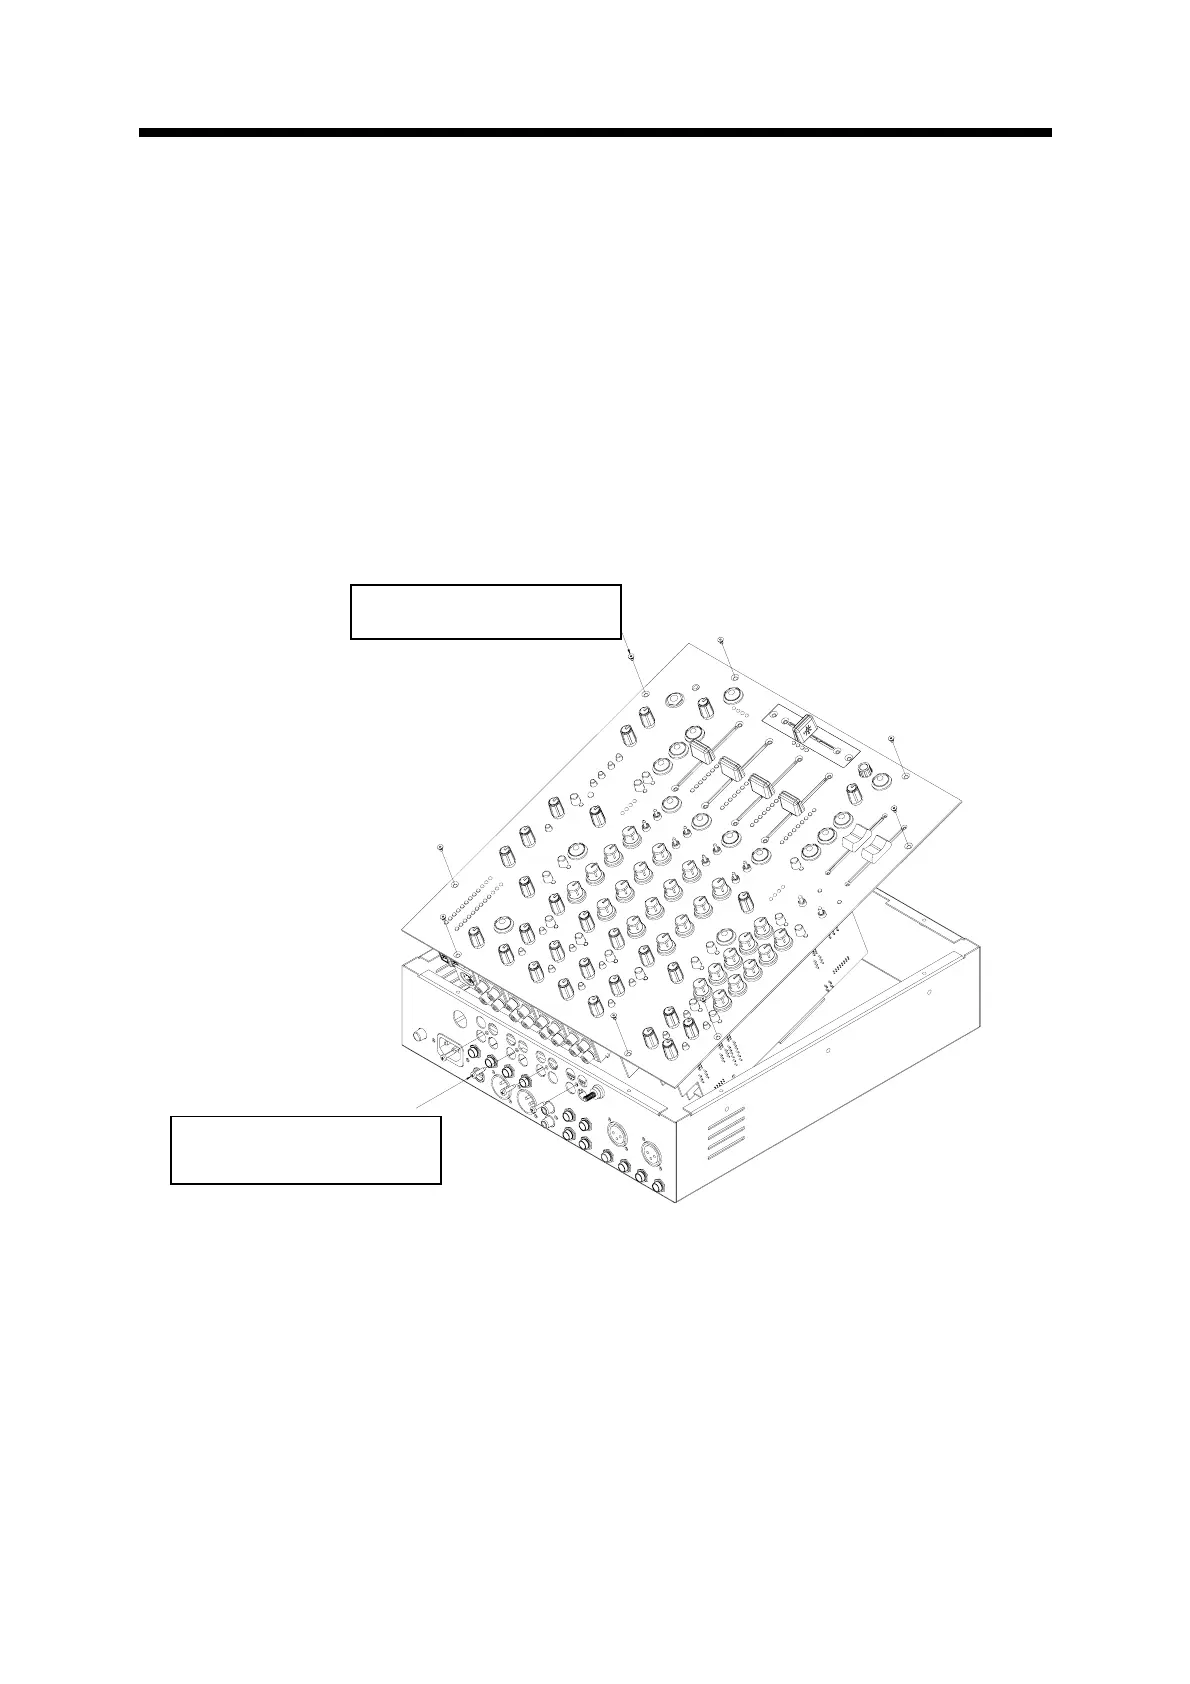
Removing the Top Panel Assembly
To gain access to the PCB assemblies the top panel assembly needs to be separated from the chassis. This
operation should only be carried out by qualified service personnel.
IMPORTANT! Disconnect mains input lead before removing the top panel
Removal of the top panel requires the use of a Torx T10 screwdriver. Use a good quality tool to prevent rounding
the screw heads. First remove the 4 pipped TORX screws located on rear panel in the center of each block of
input channel RCA (Phono) connectors, and then undo the 8 M3 x 8 screws that hold the front panel to the
chassis. Lift the front edge of the top panel until the two filter PCBs are clear of the chassis, and then pull the top
panel gently forward and up until access can be gained to unplug the power cable from the power supply located
on the right hand side of the chassis. Continue to lift the front edge of the top panel up until it is possible to
unplug the two harnesses from the rear connector PCB. Lift the top panel clear of the base and place on a clear
work surface.
Reassembly is the reverse procedure, but take great care to fit the harnesses correctly and to ensure that the
ribbon cables do not get trapped between any of the PCBs and the chassis. Refit the panel screws first and
tighten evenly with the chassis held firmly on a flat work surface. Finally refit the rear connector screws.
4 off AB2810 Pipped TORX
8 off AB3820 M3 x 8 SS

 Loading...