Installation
14
Installing the Switch on a Table or Desktop
If you are rackmounting an AT-FS724L switch, refer to “Rackmounting the
Switch” on page 15.
To install the switch on a table or desktop, perform the following procedure:
1. Remove all equipment from the packaging and store the packing material
in a safe place. In the event a problem occurs and you need to return the
unit, please use as much of the original shipping material as possible.
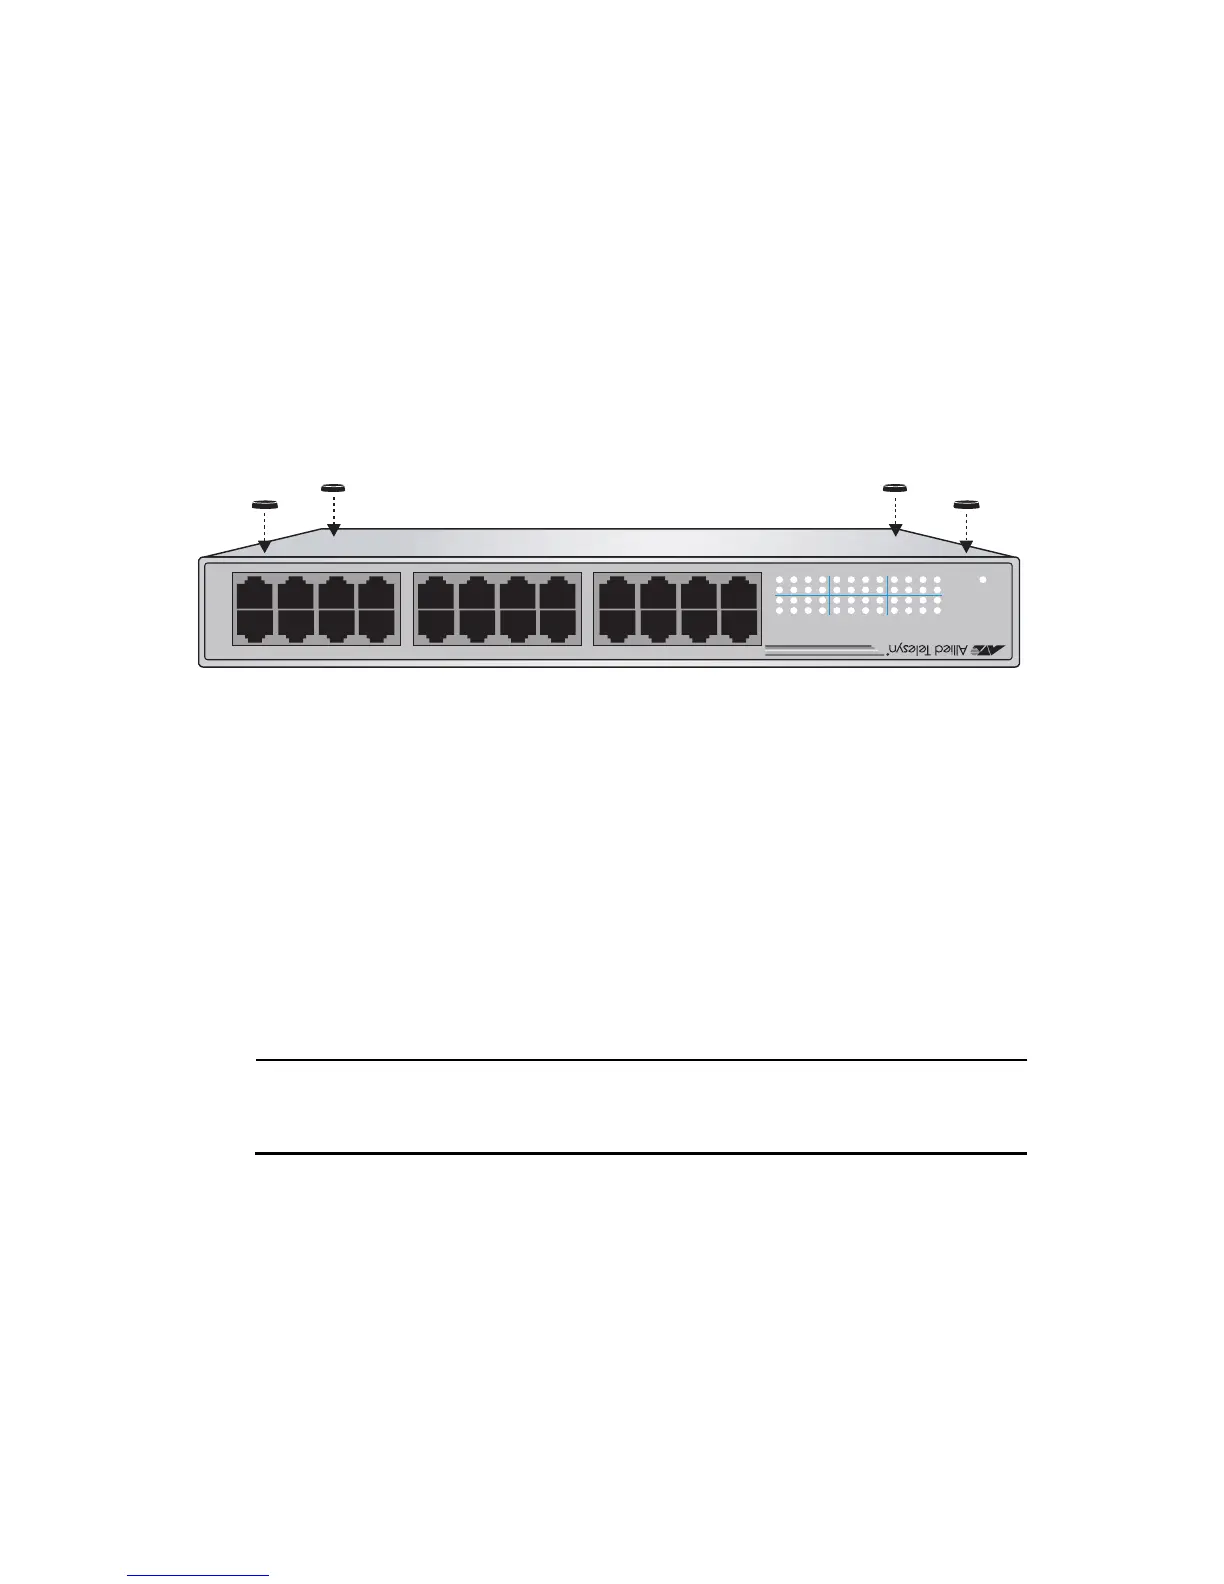
2. Attach the four protective feet to the bottom of the unit. See Figure 4.
Figure 4 Attaching the Rubber Feet
3. Place the switch on a flat, secure surface leaving ample space around the
switch for ventilation.
4. Apply power to the switch by plugging the AC/DC power adapter into an AC
power outlet, then plug the DC connector to the power receptacle located on
the back of the switch.
5. Verify that the POWER LED is green. If the LED is OFF, refer to
“Troubleshooting” on page 19.
Note
The switch performs a self-diagnostic test upon power up. This takes
about 20 seconds to complete.
6. Connect the twisted pair cables to a twisted pair ports on the switch and on
the end-nodes.
7. Power ON the end-nodes connected to the switch.
8. Check that the LINK/ACTIVITY LED for each port on the switch is green.
If a LED is OFF, refer to “Troubleshooting” on page 19.
The switch is now ready for use.
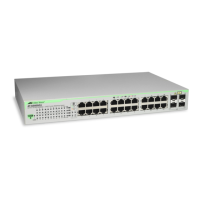
AT-FS724L
24 Port Fast Ethernet Switch
18 20 22 24
10 12 14 162468
91113151357
17 19 21 23
100M
LNK/ACT
100M
LNK/ACT
POWER
1 3 5 7 9 11131517192123
2 4 6 8 10 12 14 16 18 20 22 24
AUTO
MDI / MDI-X
 Loading...