AT-FS724L Fast Ethernet Switch Installation Guide
15
Rackmounting the Switch
The AT-FS724L switch can be used on a desktop or installed in a rack. For
desktop installation, refer to “Installing the Switch on a Table or Desktop” on
page 14.
To install an AT-FS724L in a rack, perform the following procedure:
1. If attached, remove the four protective feet from the bottom of the switch as
shown in Figure 5.
Figure 5 Removing the Rubber Feet
2. Remove the data cables and power cord from the switch.
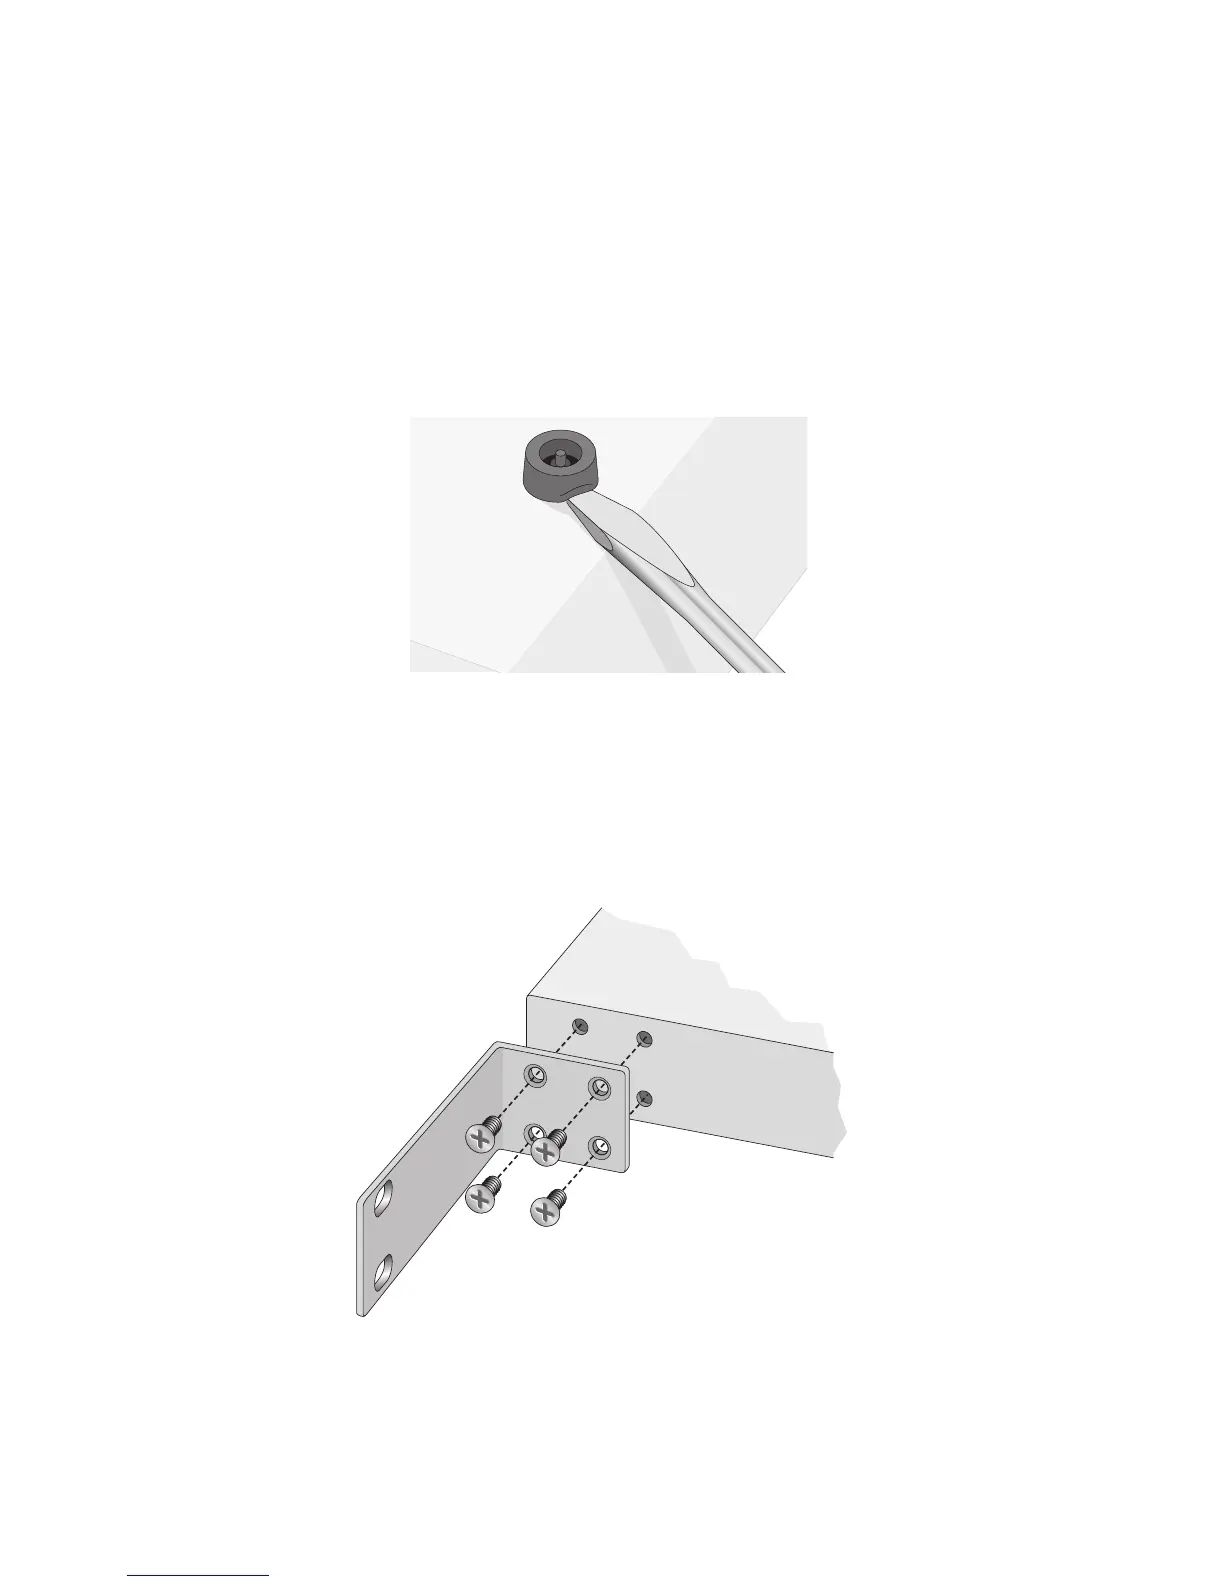
3. Attach the rackmounting brackets to each side of the switch using the
screws provided. See Figure 6.
Figure 6 Attaching the Rackmounting Brackets to the Switch
 Loading...