EasyManua.ls Logo

ASROCK G41M-S User Manual

ASROCK G41M-S
50 pages
To Next Page IconTo Next Page
To Previous Page IconTo Previous Page
Page #28 background imageLoading...
Page #28 background image
2828
2828
28
3.33.3
3.33.3
3.3
Smart ScreenSmart Screen
Smart Screen
In the Smart screen, you can load the BIOS setup according to your requirements.
BIOS SETUP UTILITY
Main
Advanced H/W Monitor Boot Security Exit
Smart Settings
Exit system setup
after saving the
changes.
F10keycanbeused
for this operation.
Select Screen
Select Item
Enter Go to Sub Screen
F1 General Help
F9 Load Defaults
F10 Save and Exit
ESC Exit
v02.54 (C) Copyright 1985-2005, American Megatrends, Inc.
Smart
Save Changes and Exit
Load BIOS Defaults
Load Performance Setup Default (IDE/SATA)
Load Power Saving Setup Default
BIOS Update Utility
ASRock Instant Flash
EZ Overclocking
Load Optimized CPU OC Setting [Press Enter]
Save Changes and Exit
When you select this option, it will pop-out the following message, “Save
configuration changes and exit setup?” Select [OK] to save the changes
and exit the BIOS SETUP UTILITY.
Load BIOS Defaults
Load BIOS default values for all the setup questions. F9 key can be used
for this operation.
Load Performance Setup Default (IDE/SATA)
This performance setup default may not be compatible with all system
configurations. If system boot failure occurs after loading, please resume
optimal default settings. F5 key can be used for this operation.
Load Power Saving Setup Default
Load power saving setup default. F6 key can be used for this operation.
ASRock Instant Flash
ASRock Instant Flash is a BIOS flash utility embedded in Flash ROM. This
convenient BIOS update tool allows you to update system BIOS without
entering operating systems first like MS-DOS or Windows
®
. Just launch
this tool and save the new BIOS file to your USB flash drive, floppy disk or
hard drive, then you can update your BIOS only in a few clicks without
preparing an additional floppy diskette or other complicated flash utility.
Please be noted that the USB flash drive or hard drive must use FAT32/16/
12 file system. If you execute ASRock Instant Flash utility, the utility will
show the BIOS files and their respective information. Select the proper
BIOS file to update your BIOS, and reboot your system after BIOS update
process completes.

Other manuals for ASROCK G41M-S

Question and Answer IconNeed help?

Do you have a question about the ASROCK G41M-S and is the answer not in the manual?

ASROCK G41M-S Specifications

General IconGeneral
Number of memory slots2
Maximum internal memory8 GB
Processor socketLGA 775 (Socket T)
Processor manufacturerIntel
Compatible processor seriesIntel® Celeron®
CPU fan connectorYes
Number of SATA connectors4
Number of Parallel ATA connectors1
Headphone outputs3
USB 2.0 ports quantityUSB 2.0 ports have a data transmission speed of 480 Mbps, and are backwards compatible with USB 1.1 ports. You can connect all kinds of peripheral devices to them.
Firewire (IEEE 1394) ports0
Audio chipRealtek ALC662
Power source typeATX
Audio output channels5.1 channels
Motherboard form factormicro ATX
Compatible operating systemsWindows 2000 / XP / XP 64-bit / Vista / Vista 64-bit
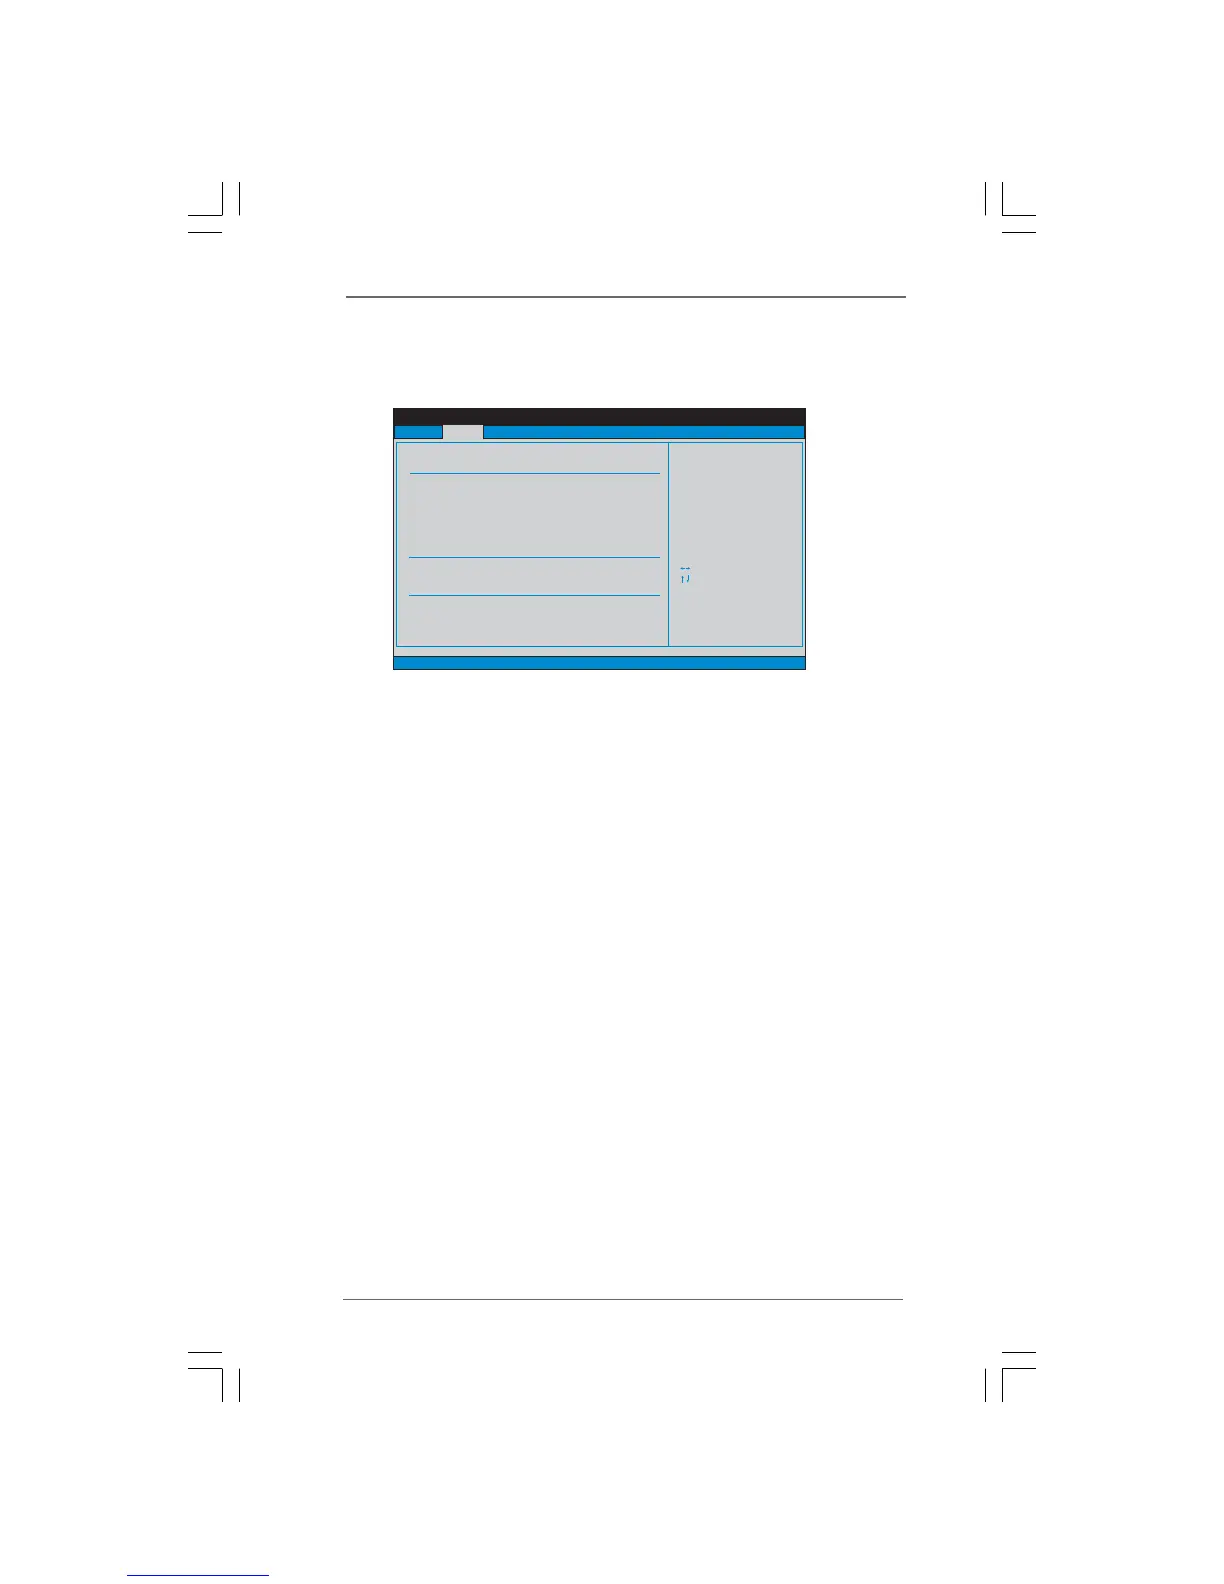
BIOS typeAMI
BIOS memory size64 Mbit
Maximum graphics card memory352 MB
Networking features10/100 Mb/s

Summary

Introduction

1.2 Specifications

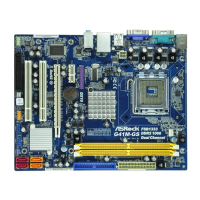
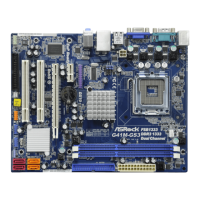
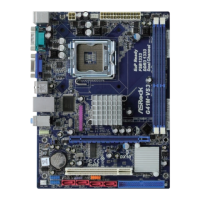
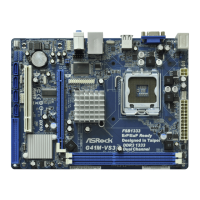
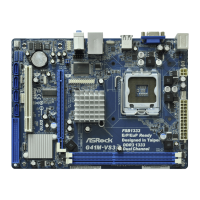
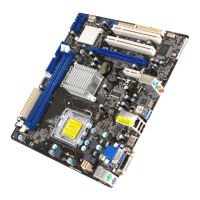
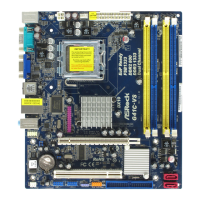
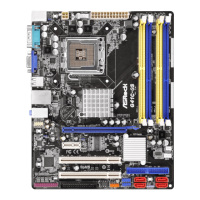
Details the technical specifications of the motherboard's platform, CPU, chipset, memory, expansion slots, graphics, audio, and I/O ports.

1.4 I/O Panel

Describes the rear panel connectors and their functions, including multi-streaming audio setup.

Motherboard Installation

2.2 Pre-installation Precautions

Essential safety and handling precautions before installing components to prevent static damage and physical injury.

2.3 CPU Installation

Step-by-step guide for correctly installing the Intel 775-LAND CPU into the motherboard socket.

2.4 Installation of CPU Fan and Heatsink

Instructions for mounting the CPU heatsink and fan, including thermal paste application and connector.

2.5 Installation of Memory Modules (DIMM)

Guide on installing DDR2 memory modules into the DIMM slots, emphasizing dual-channel configuration.

2.6 Expansion Slots (PCI and PCI Express Slots)

Explains the types of expansion slots (PCI, PCIe x1, PCIe x16) and how to install expansion cards properly.

2.8 Onboard Headers and Connectors

Identifies and describes onboard headers and connectors like FDD, IDE, SATA, USB, and front panel audio for system connection.

2.9 SATAII Hard Disk Setup Guide

Instructions for setting up SATAII hard disks to ensure optimal performance and compatibility with the motherboard.

BIOS Setup Utility

3.4.1 CPU Configuration

Settings for CPU frequency, overclocking mode, and other CPU-related features for performance tuning.

3.4.2 Chipset Configuration

Configuration options for DRAM frequency, timings, and memory remap features for memory performance.

3.5 Hardware Health Event Monitoring Screen

Monitoring of system hardware status like CPU temp, fan speed, and voltages for system health.

Related product manuals