Product Instructions EN Selector
4
© Atlas Copco Industrial Technique AB - 9836 1733 02
For Tensor DS this should not be changed.
For PF 3000, please read PF 3000 manual for detailed information
Pos. Node address
0 Internal relay in PF3000 (not used)
1 1
2 2
3 3
4 4
5 5
6 6
7 7
8 8
9 9
A 10
B 11
C 12
D 13
E 14
F 15
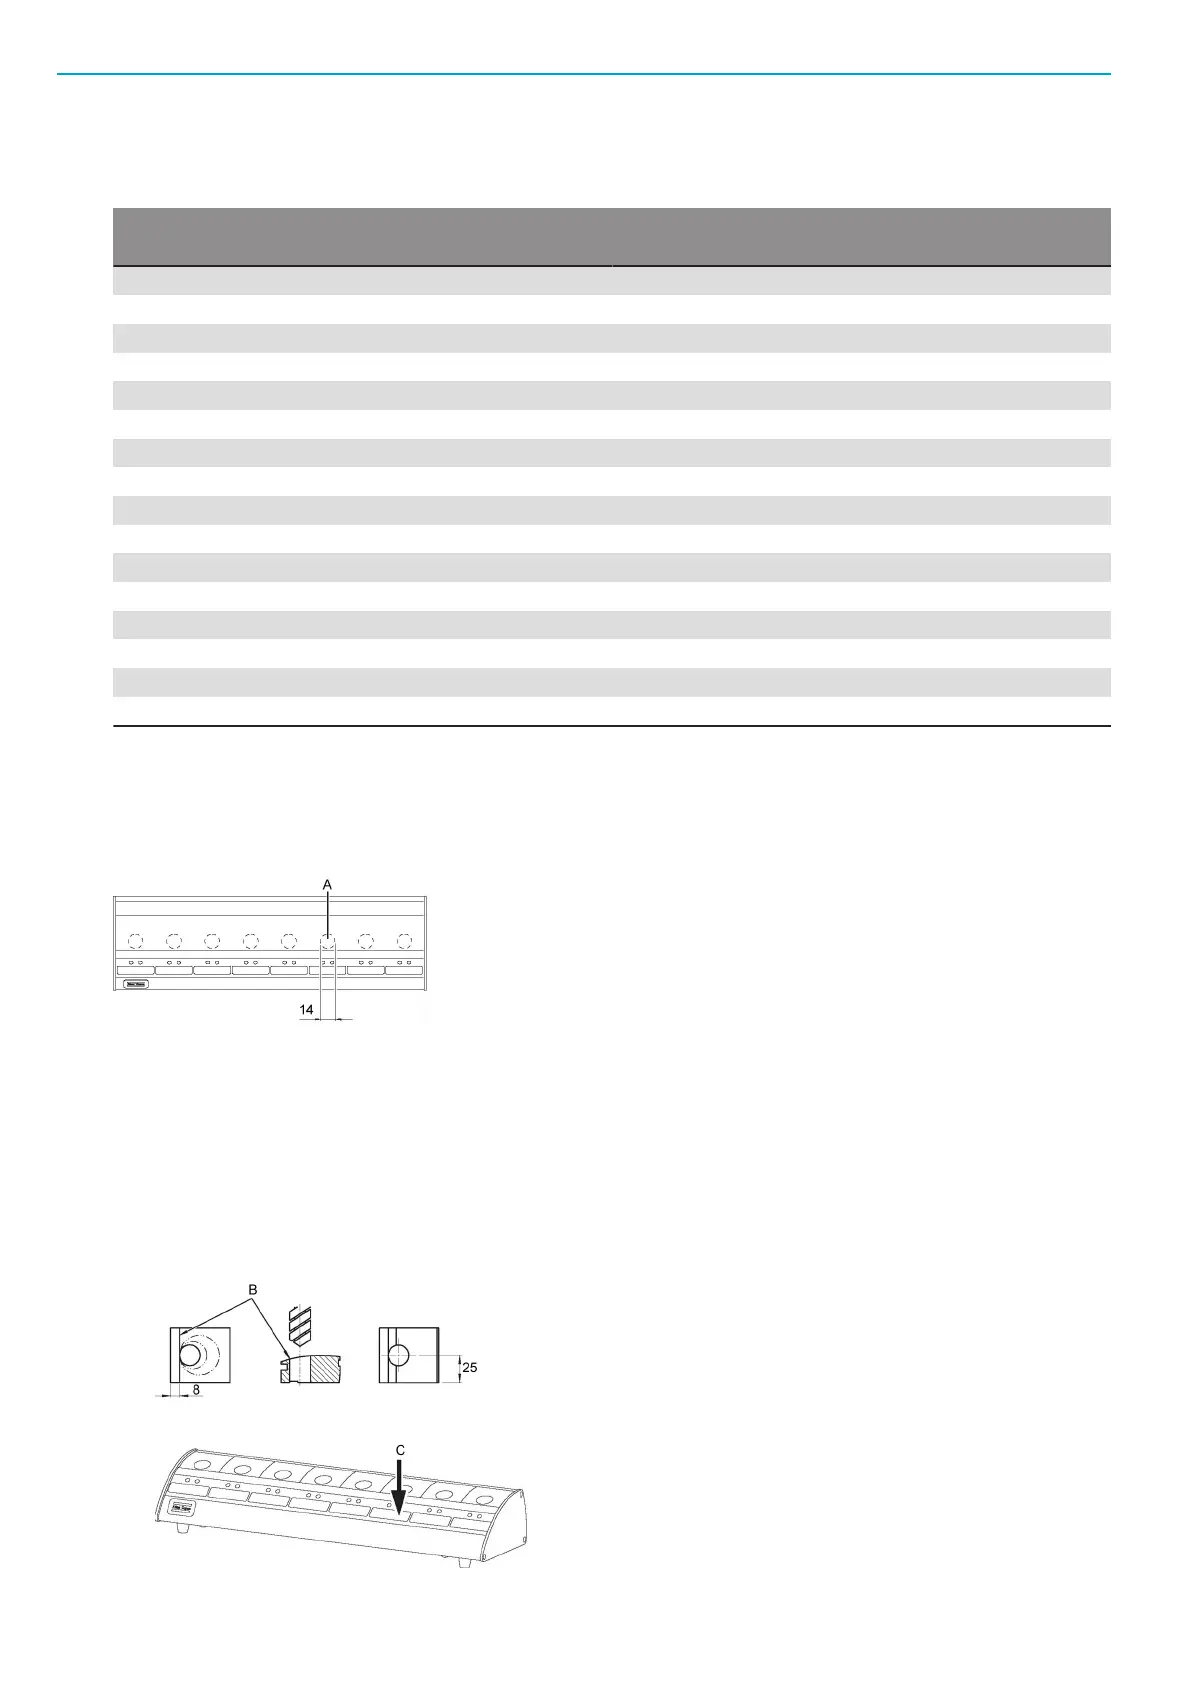
Socket holders
The socket holders are made of plastic. Holes shall be drilled so that the socket is close to the guiding line
on top of the socket holder. The active region (A) for the sensor for the socket is shown in the figure.
Make sure that the hole is drilled so that the socket is within this area. See drilling instructions below.
1. Loosen the screw at the rear side of Selector.
2. Remove the plastic socket holder by tilting forwards.
3. Measure the sockets that you are going to use.
4. Place the socketholder in a vice.
5. Line up the hole for the socket with the guiding line (B) on top of the socketholder, as shown in the
figure. Drill size = socket diameter + 1 mm.
6. Drill the hole according to the figure.
7. Mark the selector with the socket name (C).
 Loading...