Getting Started
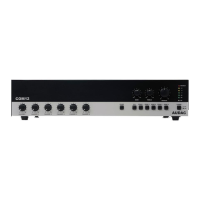
Before you install the CPA12 - 24 - 36 power amplifier, make sure you disconnect it: if the device
is powered-up, you push the power button to switch it off. Turn the level control down (minimal
level). When installed, the CPA12 - 24 - 36 can be switched on by pushing the power button on
the front panel. The blue Power indication LED will light up if the device is powered-up.
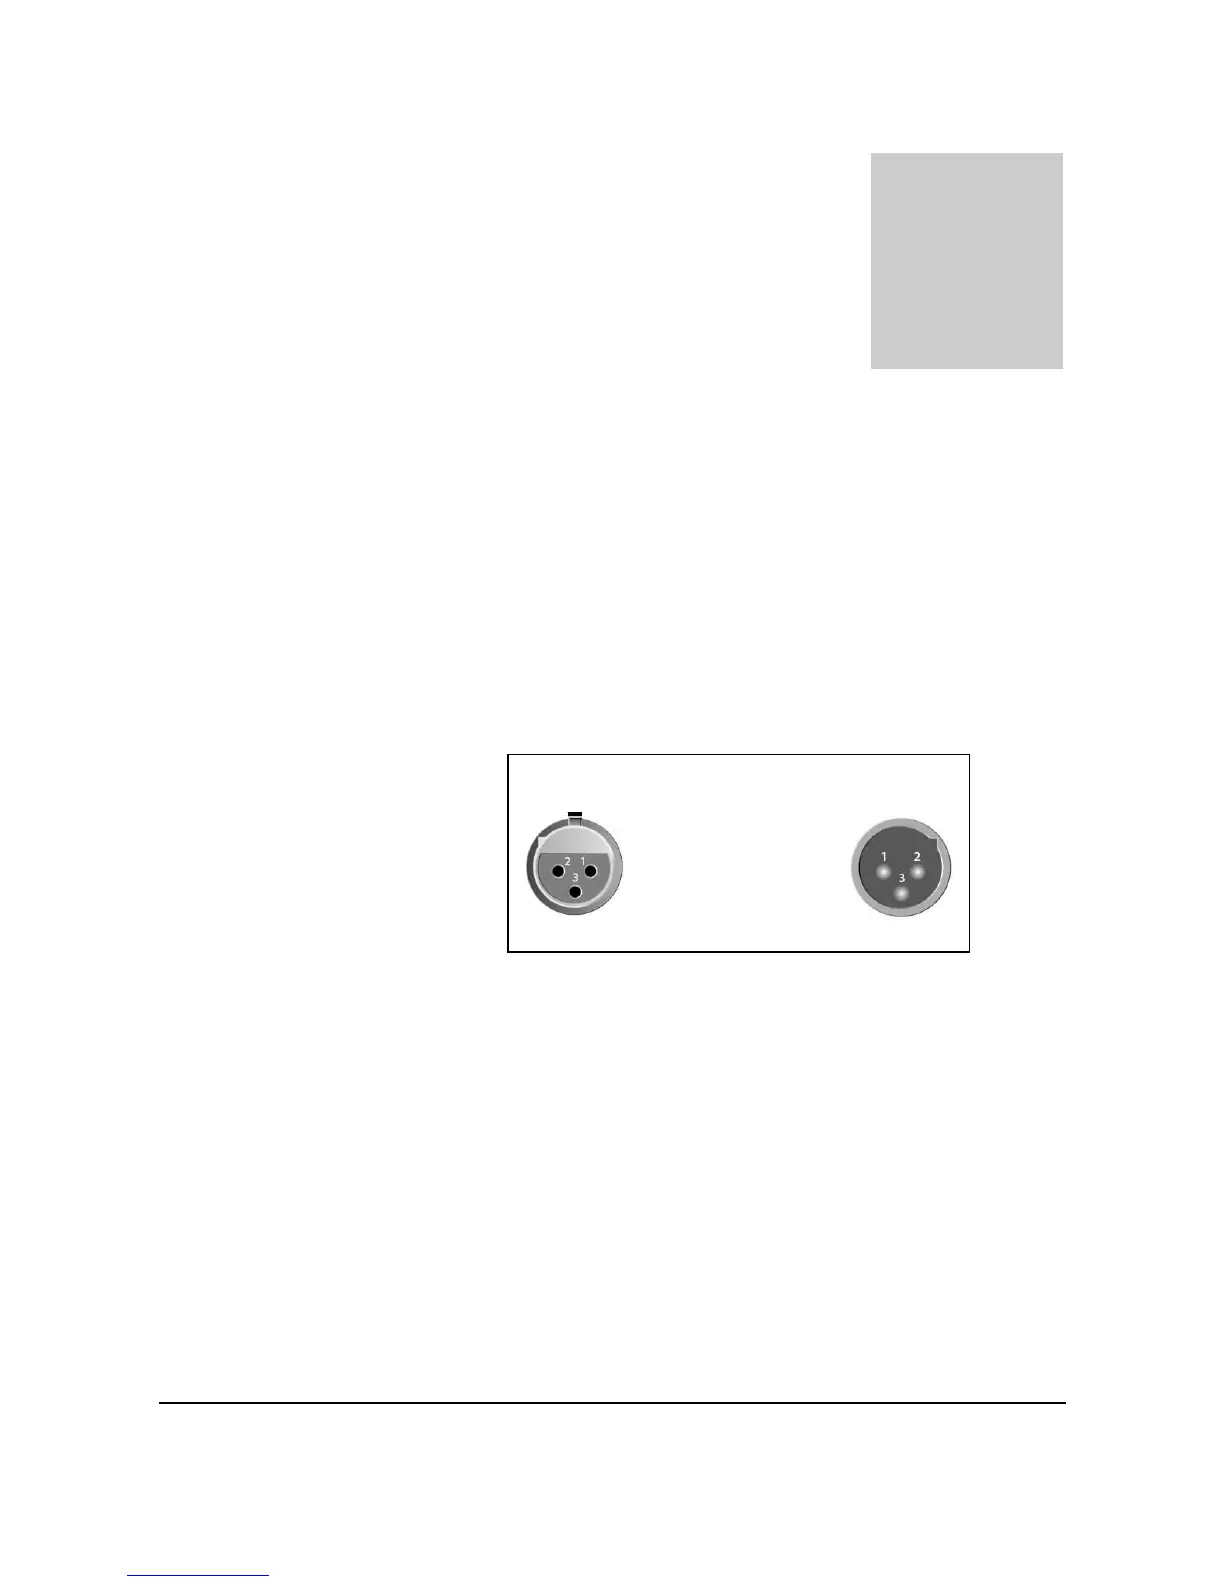
WIRING
Select the input wire and connectors. Pre-built or professionally wired balanced line cables are
recommended (22 to 24 gauge).
Select the output wire and connectors.
For the output connectors of the amplifier, the use of pre-built or professionally wired, heavy
gauged and high-quality speaker wires is recommended. EURO blocks can be used for the output
connectors. Wrap or insulate exposed loudspeaker cable connectors to prevent short circuit.
Custom wiring should only be performed by qualified personnel. Class 2 wiring is recommended.
 Loading...