T
H
R
E
A
D
I
N
G
17
When threading is complete, the loose threads should initially interlock on fabric. This is most
important when sewing the chain or cover stitches.
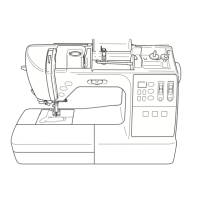
Start to Sew
A
B
C
1. Cut all threads to 4 inch (10cm) in length. All threads
should then be placed over the top and left of the presser
foot. The threads at this time cannot be placed under the
presser foot.
2. Place the fabric under the presser foot directly below the
needles (fig. A).
3. Lower the presser foot.
4. Turn the handwheel toward you to form 2 or 3 stitches.
5. Start to sew slowly.
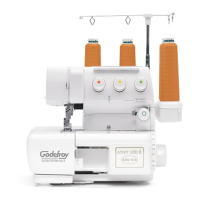
6. After the first few stitches, stop and cut excess threads
(fig. B).
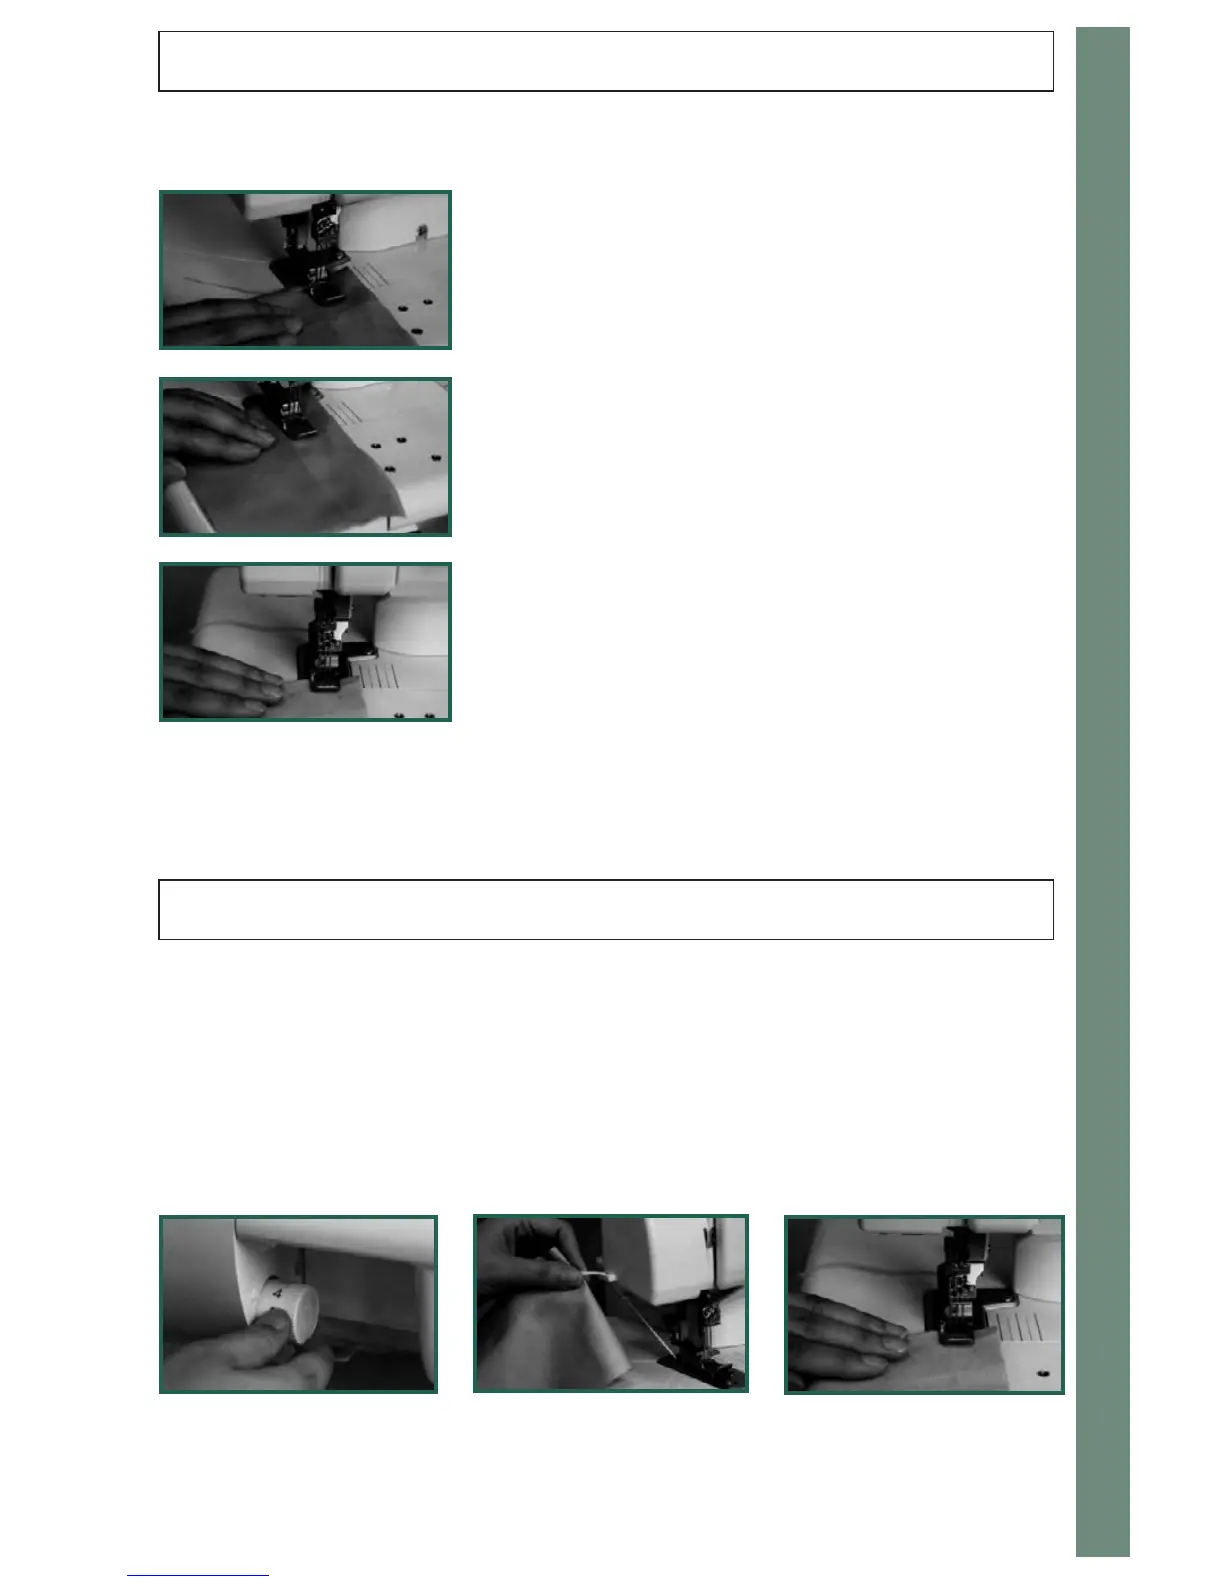
7. Start the next seam at the toe of the presser foot(fig.C).
8.You only need to raise and lower the presser foot when
working with thick fabric or when precise position is
required.
Note:
Be careful not to push or pull the fabric. The BLCS
will feed it evenly without help.
To Chain-Off of the Fabric
Your BLCS will sew a chain off the edge of the fabric. For best results, we recommend to follow
the instructions below.
1.At the end of the seam, change the stitch length to 4 (fig.A).
2. Let the thread flow from the back of the 2-4 inches without pulling (figB).
3. Start the seam at the toe of the presser foot (figC).
A
B
C
 Loading...