T
E
C
H
N
I
Q
U
E
S
29
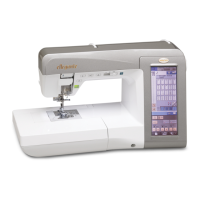
1. Leave one seam on the garment open.
2. Measure, turn up and press hem on garment.
3. On right side of garment mark hem allowance with mark-
ing pen.
4. Place garment right side up under the presser foot, align-
ing the marked hem with the needles. Make sure both nee-
dles are positioned on the raw edge of the hem (fig A).
5. Sew hem.
6. Sew seam on garment.
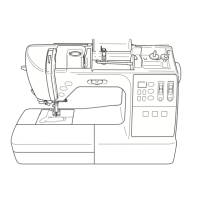
Note:
Optional guide or attachments will help with hem-
ming. (fig.B) Ask your Baby Lock retailer.
A
B
A
B
C
Flat Hemming - Cover Stitch
Hemming in the Round - Cover S
titch
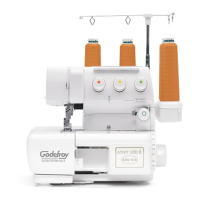
1. Sew all seams on the garment.
2. Measure, turn up and press the hem on garment.
3. Stitch around the hem, overlapping the hem approximate-
ly 1/2 inch (13mm). (fig.A)
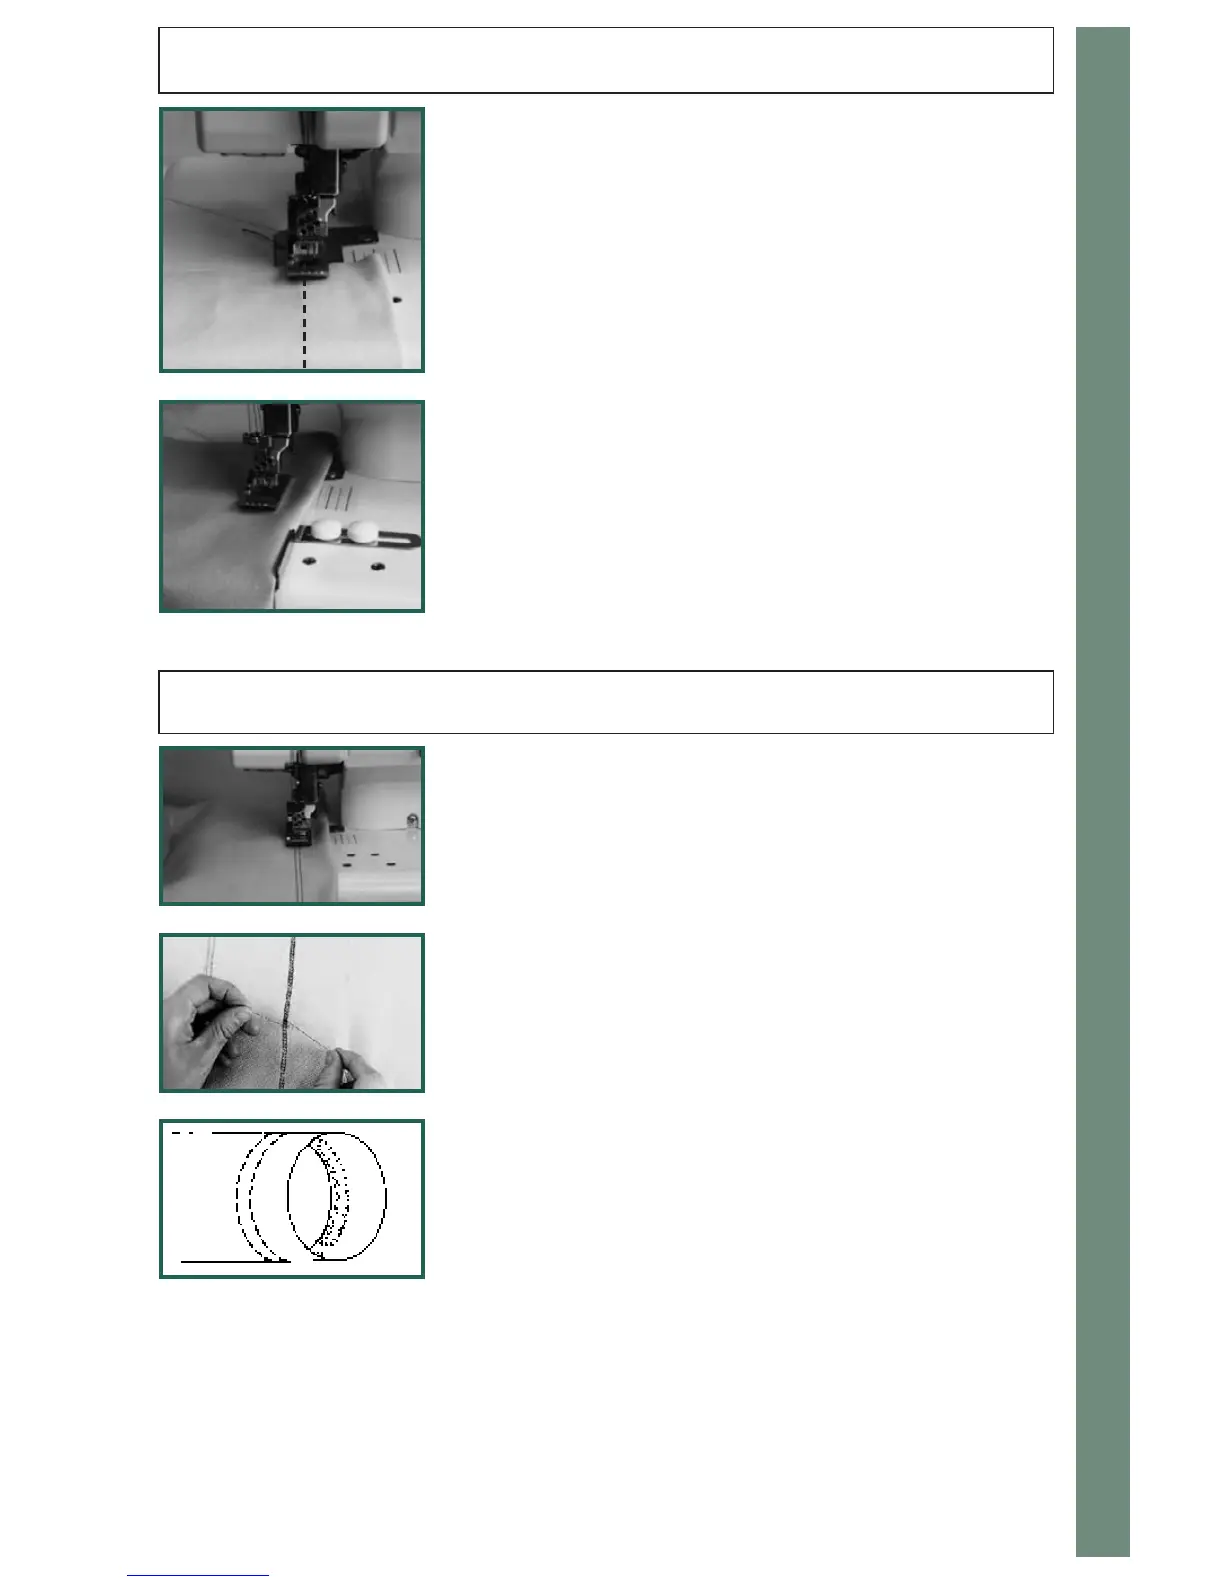
4. Turn the handwheel towards you until the needles are in
the lowest position in the fabric.
5. Carefully reverse the handwheel until the needles are in
the highest position.
6. Raise the presser foot to release the tension.
7. Carefully and firmly pull fabric and threads to the left.
Cut threads.
8. Pull threads to the back of fabric and tie off or use a seam
sealant to secure the threads at the tie off (fig.B) (fig.C).
 Loading...