4
802-11
AND
802W-II LOUDSPEAKER
TEST
PROCEDURE
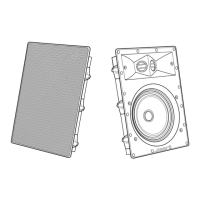
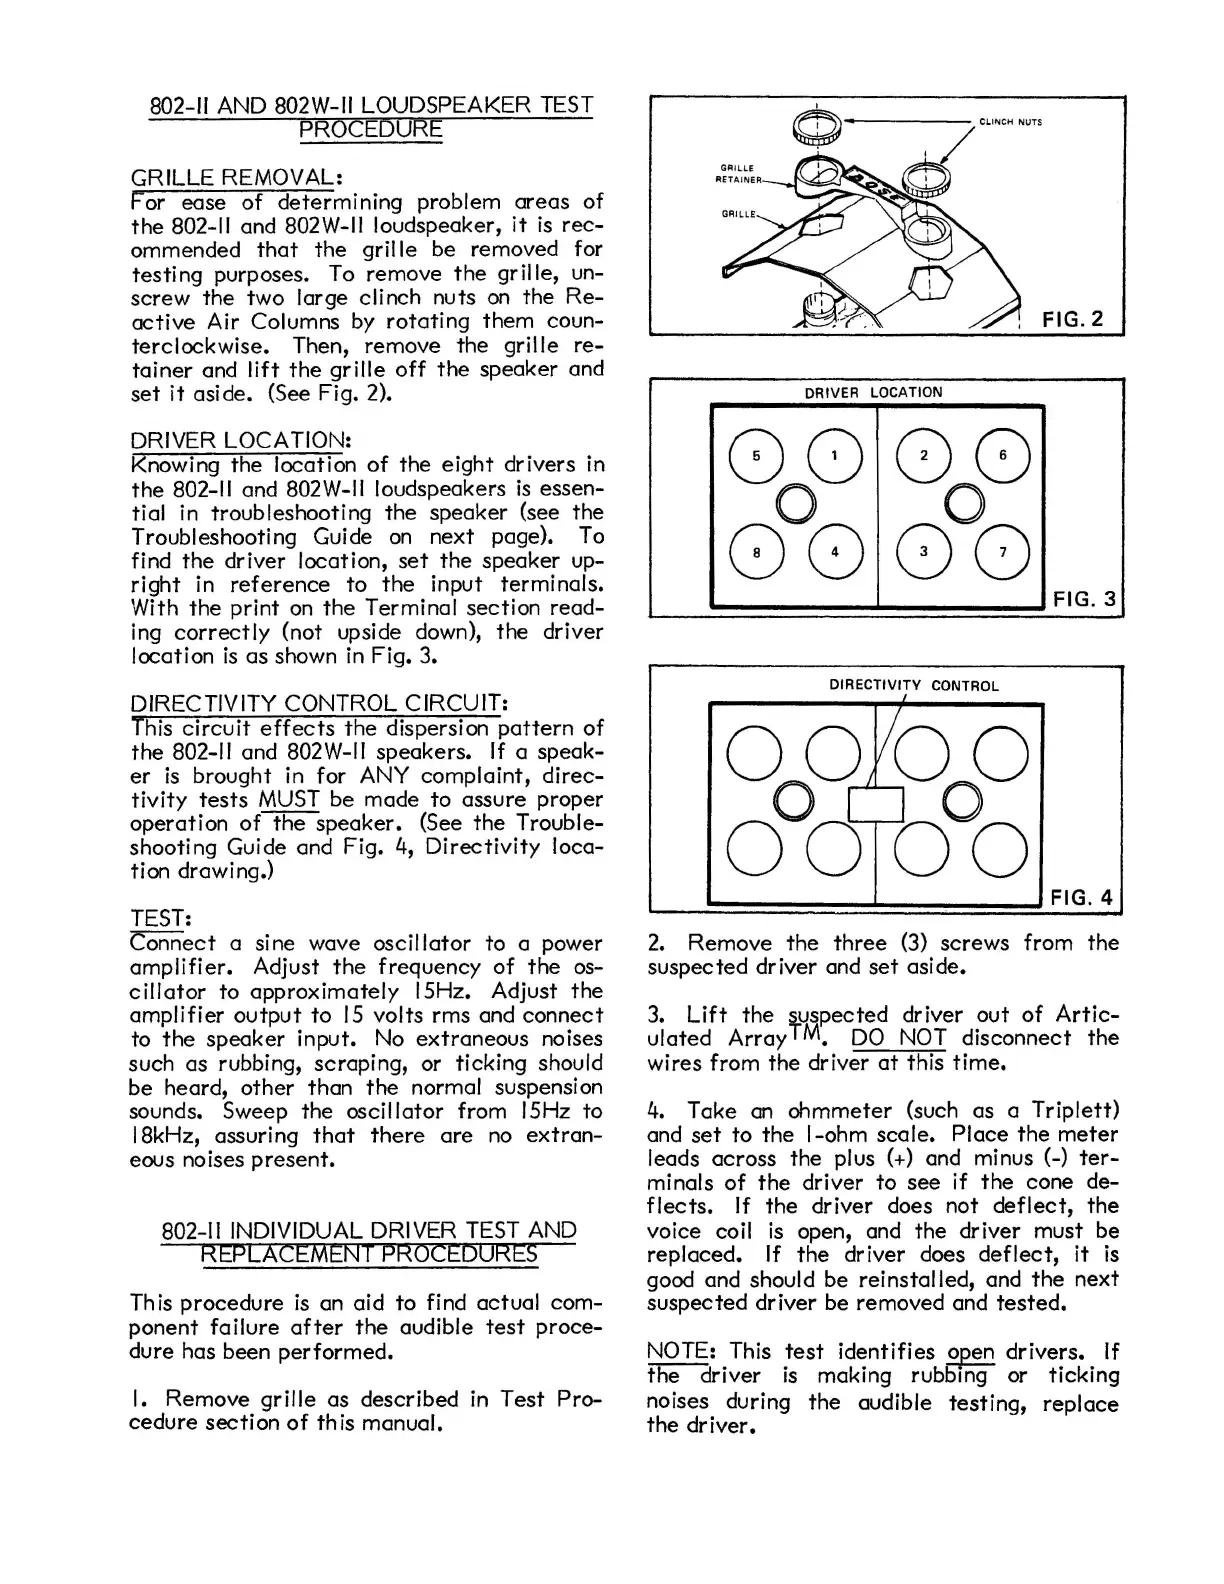
GRILLE REMOVAL:
For ease
of
determining problem
areas
of
the
802-11
and
802W-1I
loudspeaker,
it
is
rec-
ommended
that
the
grille be removed for
testing purposes.
To
remove
the
grille, un-
screw
the
two large clinch nuts
on
the
Re-
active
Air Columns by
rotating
them coun-
terclockwise. Then, remove the grille
re-
tainer
and
lift
the
grille
off
the
speaker and
set
it
asi de. (See Fig. 2).
DRIVER LOCATION:
Knowing the location
of
the eight drivers
in
the
802-11
and
802W-1I
loudspeakers
is
essen-
tial in troubleshooting the speaker (see the
Troubleshooting Guide
on
next page).
To
find
the
driver location,
set
the
speaker up-
right
in
reference
to
the
input terminals.
With
the
print
on
the
Terminal section read-
ing
correctly
(not upside down), the driver
location
is
as
shown
in
Fig.
3.
DIRECTIVITY CONTROL CIRCUIT:
This
circuit
effects
the
dispersion
pattern
of
the
802-11
and
802W-1I
speakers.
If
a speak-
er
is
brought
in
for
ANY
complaint, direc-
tivity
tests
MUST
be made to assure proper
operation
of
the
speaker. (See
the
Trouble-
shooting Guide and Fig. 4,
Directivity
loca-
tion drawing.)
TEST:
Connect
a sine wave oscillator to a power
amplifier. Adjust
the
frequency
of
the
os-
cillator
to approximately 15Hz. Adjust
the
amplifier
output
to
/5
volts rms and
connect
to
the
speaker input.
No
extraneous noises
such as rubbing, scraping, or ticking should
be heard,
other
than
the
normal suspension
sounds. Sweep the oscillator from 15Hz
to
18kHz, assuring
that
there
are
no
extran-
eous noises
present.
802-11
INDIVIDUAL
DRIVER
TEST
AND
REPLAcEMENT
PROCEDURES
This procedure
is
an aid to find actual com-
ponent failure
after
the
audible
test
proce-
dure has been performed.
I.
Remove grille
as
described
in
Test Pro-
cedure section
of
this manual.
0-'--
GRILLE
RETAINER_~~~~
I
FIG.2
DRIVER LOCATION
80
08
0 0
80
00
FIG.3
DIRECTIVITY CONTROL
00
1
/00
o00~OOo
FIG.4
2.
Remove
the
three
(3) screws from
the
suspected driver and
set
aside.
3.
Lift
the
S,.uspected driver out
of
Artic-
ulated Array
TM.
DO
NOT
disconnect
the
wires from the driver
at
this time.
4.
Take
an
ohmmeter (such as a Triplett)
and
set
to the I-ohm scale. Place
the
meter
leads across the plus (+) and minus (-)
ter-
minals
of
the
driver
to
see if
the
cone de-
flects.
If
the
driver does not
deflect,
the
voice coil
is
open, and the driver must be
replaced.
If
the
driver does
deflect,
it
is
good and should be reinstalled, and
the
next
suspected driver be removed and
tested.
NOTE: This
test
identifies open drivers.
If
the
driver
is
making rubbmg or ticking
noises during the audible testing, replace
the
driver.
 Loading...