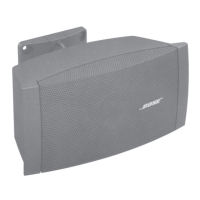
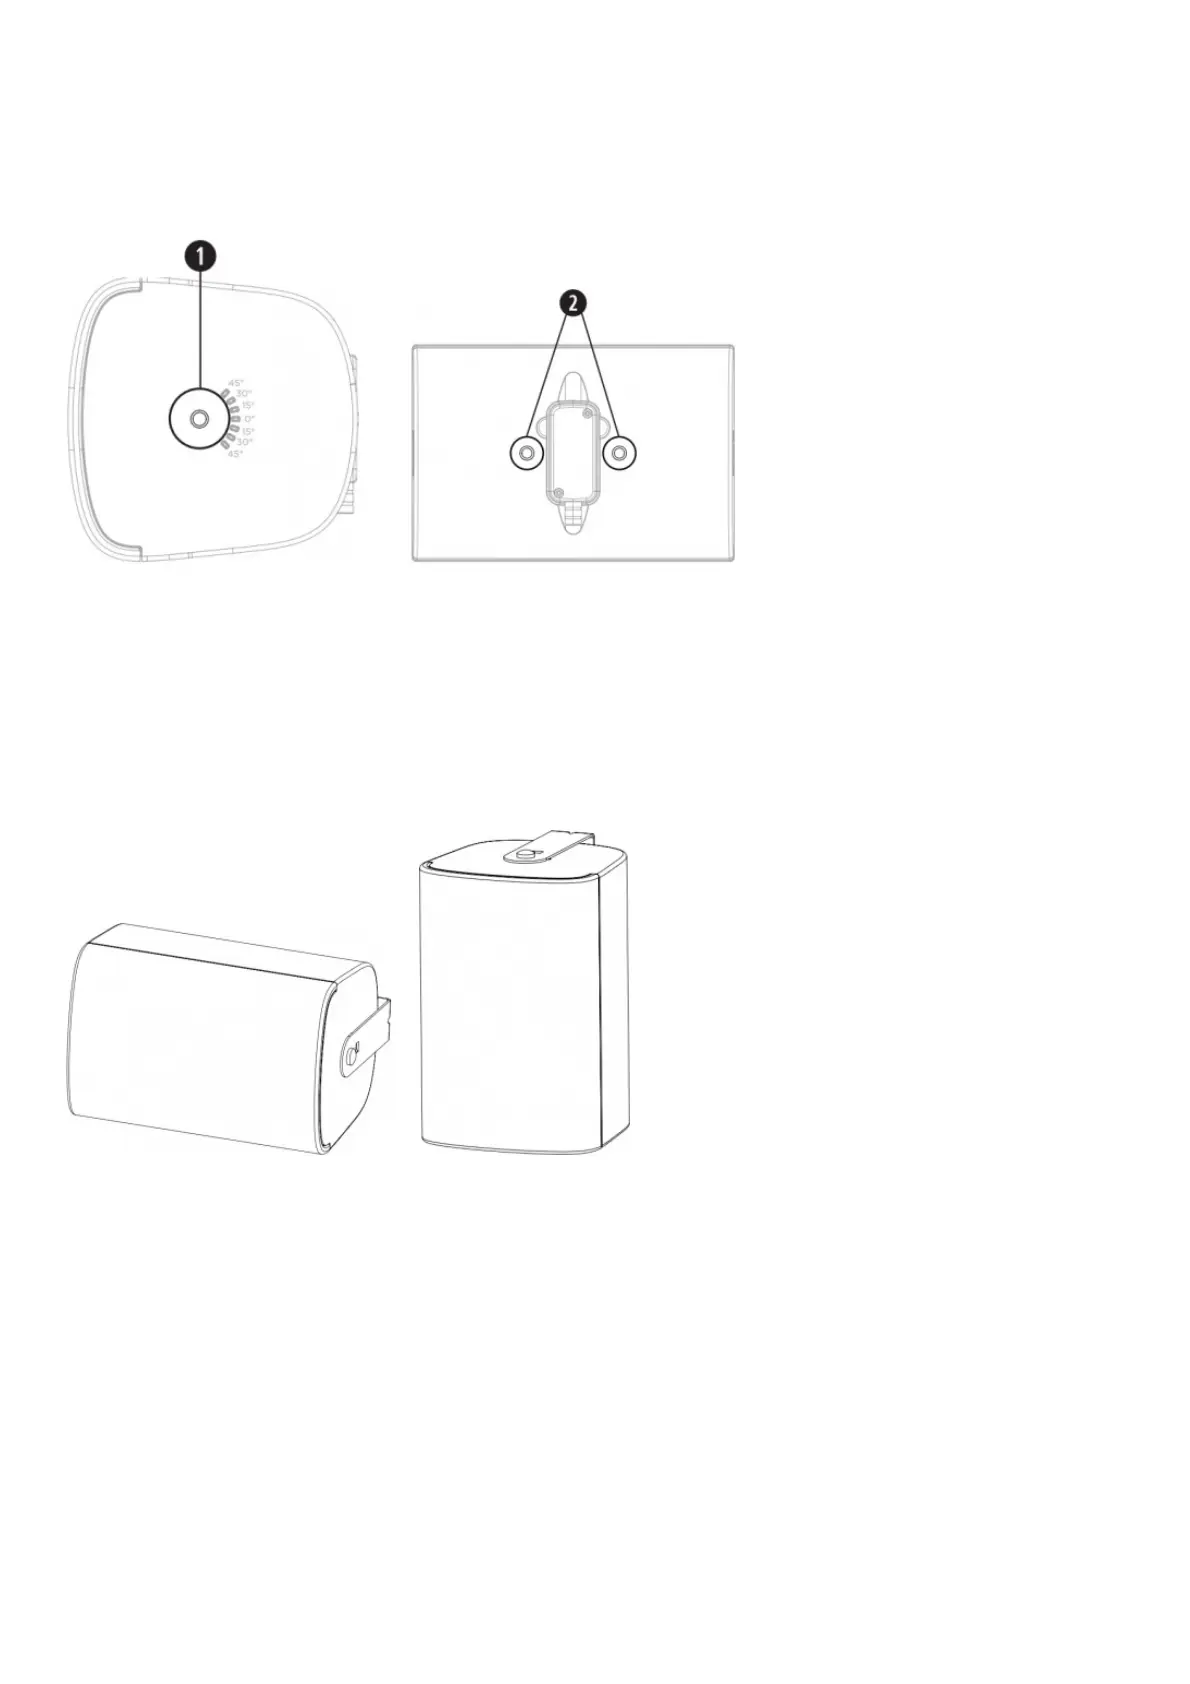
A safety cable can be attached to the loudspeaker using one of the threaded inserts on either the rear or the sides of the
enclosure. If installing the loudspeaker using the included mounting bracket, use one of the rear threaded inserts (2). If installing
the loudspeaker with one of the optional accessory brackets (see page 4), use one of the side threaded inserts (1). See the
diagram to the right for safety attachment points.
The side inserts (1) are sized for M8 screws (not included) with a depth of 11 millimeters (0.43 inches). The rear inserts (2) are
sized for M8 screws with a depth of 15 millimeters (0.59 inches).
Installation
Loudspeaker Orientation
Choose the loudspeaker orientation best suited for your installation.
(1) Horizontal
(2) Vertical
(1) (2)
Installing the Bracket
Note: When choosing an installation location, at least two of the mounting bracket’s attachment points must be secured to a
support structure. Attachment points not secured to a support structure must be secured using appropriate hardware for the
installation. Choose fasteners that are consistent with all local building codes and requirements.
Note: Choose appropriate fasteners to support the weight of the loudspeaker (3.42 kg [7.55 lb]).
1. Mark the drill holes.
2. Drill four holes (sized for appropriate fasteners) into the wall.
3. Secure the bracket to the wall with two screws (not included). Note: Use M6 or 1/4″-20 sized screws.
(1) (2) (3)
 Loading...