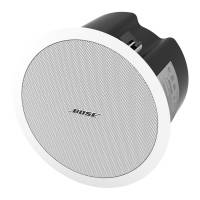
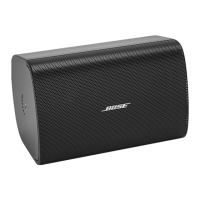
Wiring the Connector
1. Feed the wires through the center hole of the bracket.
2. Insert the wires through the bottom of the input cover. See Preparing the Input Cover on page 4.
3. Wire the connector. For wiring information, see Wiring the Loudspeaker on page 5.
(1) (2)
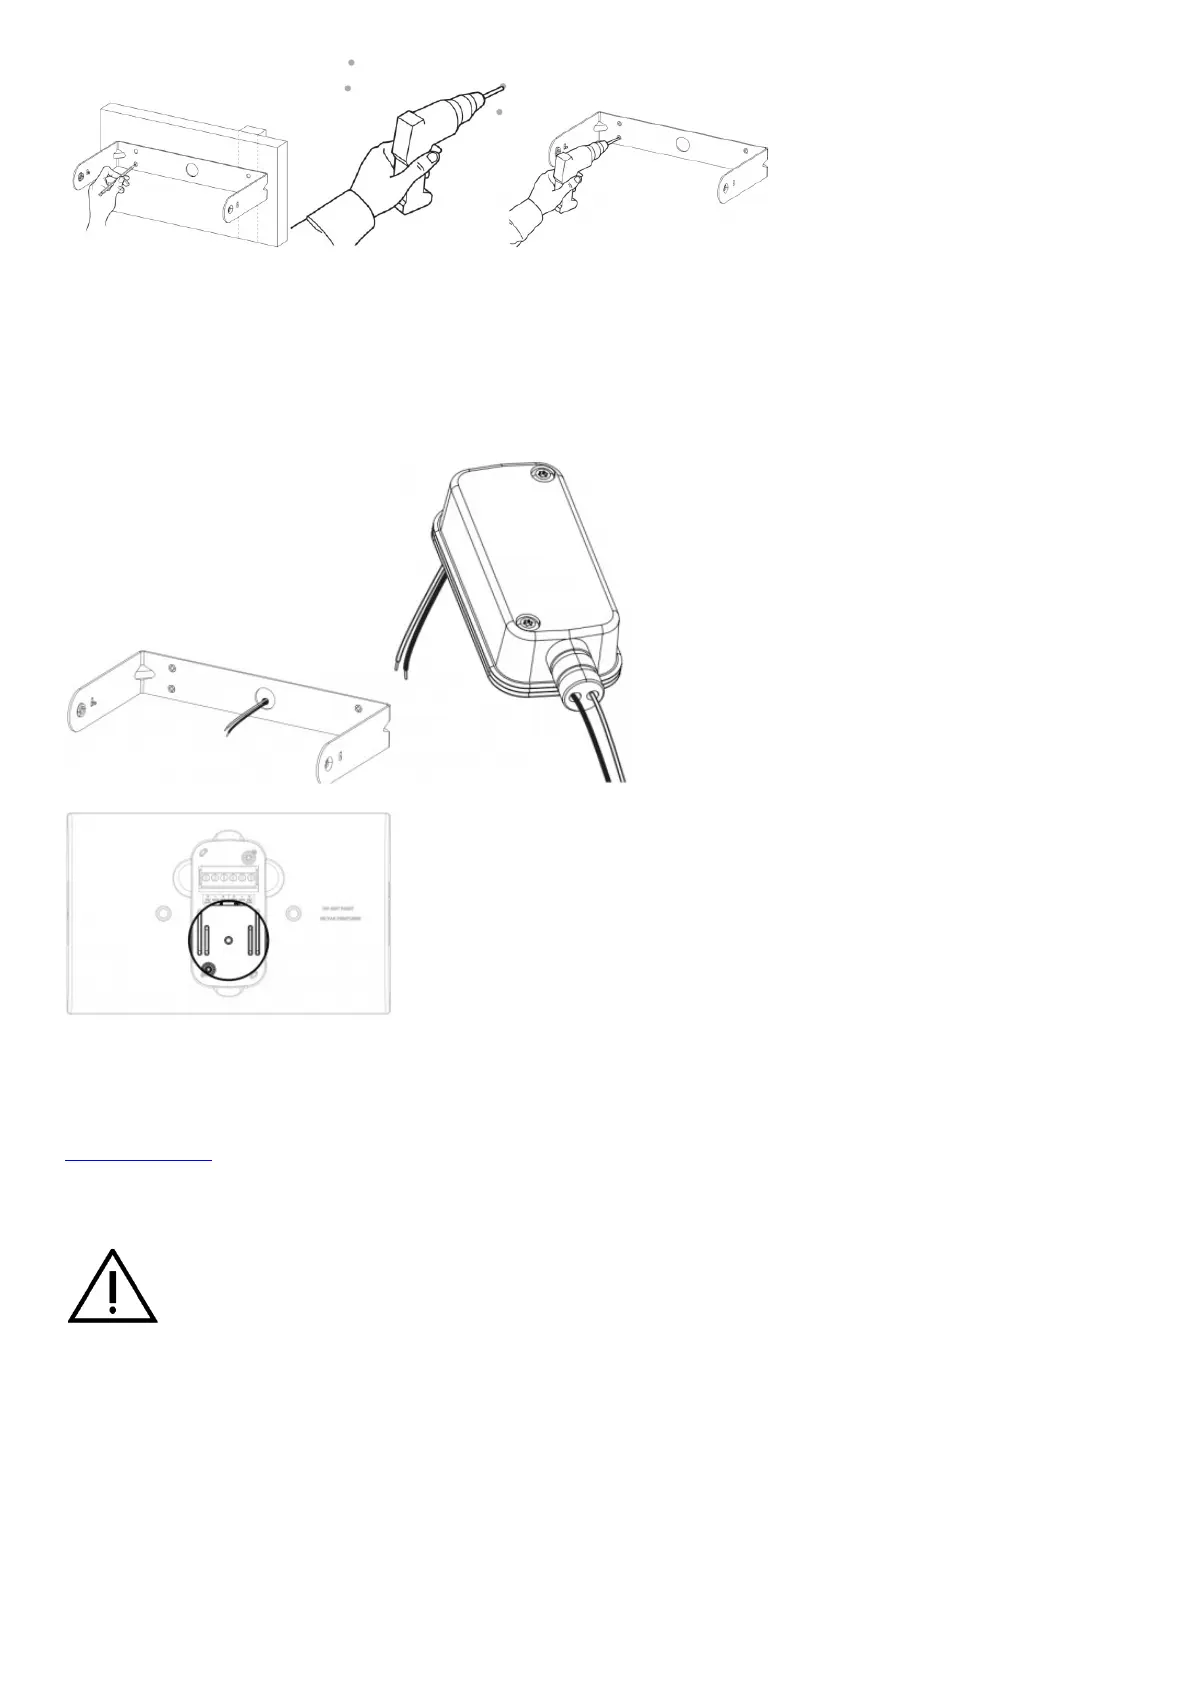
Ceramic Terminal Attachment Point
The FreeSpace FS4SE is compatible with an optional ceramic terminal accessory. See the diagram for the location of the
ceramic terminal attachment point. For more information on the ceramic terminal, see the ceramic terminal installation guide at
PRO.BOSE.COM.
Installing the Loudspeaker
WARNING: Failure to follow the steps below could lead to an unsafe mounting condition, which could create a
falling hazard.
1. Attach the wired connector to the loudspeaker.
2. Place the input cover over the connector and press it firmly against the loudspeaker to create a tight seal. Use the two
included input cover screws to secure the input cover. See Preparing the Input Cover on page 4.
3. Hold the loudspeaker in between the bracket arms and insert one of the included bracket screws into each side of the
loudspeaker using the threaded inserts.
4. Align the pins on the mounting bracket with the angle slots appropriate for your installation and snap the bracket into the
loudspeaker.
Note: The angle of the loudspeaker can be adjusted to 0°, ±15°, ±30°, or ±45°.
Note: In outdoor applications, do not install the loudspeaker with an upward pitch.
5. Tighten the screws on both sides of the loudspeaker to secure the loudspeaker to the mounting bracket. Do not over-torque
 Loading...