EasyManua.ls Logo

Brother HE-800A Service Manual

Brother HE-800A
162 pages
To Next Page IconTo Next Page
To Previous Page IconTo Previous Page
Page #79 background imageLoading...
Page #79 background image
3. ASSEMBLY
HE-800A
71
3-21. Thread breakage detection mechanism
1. Provisionally install the thread guide (2) to the thread breakage perceiving shaft (1) with the plain washers (3)
and (4) and the screw (5), and then insert the thread breakage perceiving shaft (1) into the arm.
2. Provisionally install the thread breakage sensor assembly (6) with the two screws (7).
3. Install the cutter bar fixing plate (8) to the thread breakage perceiving shaft (1) with the set screw (9).
4. Install the balancer (10) to the cutter bar fixing plate (8) with the screw (11).
5. Install the lever stopper (12) at the correct angle with the screw (13).
6. Provisionally install the lever stopper (14) with the screw (15).
* After installing, carry out the steps in “4-17. Adjusting the thread breakage detector”.
4261Q 4262Q
4260Q

Table of Contents

Other manuals for Brother HE-800A

Question and Answer IconNeed help?

Do you have a question about the Brother HE-800A and is the answer not in the manual?
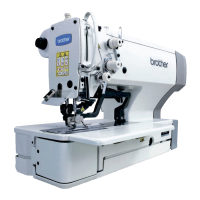
Brother HE-800A Specifications

General IconGeneral
BrandBrother
ModelHE-800A
CategorySewing Machine
LanguageEnglish

Summary

SAFETY INSTRUCTIONS

1. Safety indications and their meanings

Explains safety indications and symbols used in the manual and on the machine.

Installation

Provides guidelines for safe and proper installation of the sewing machine.

4. ADJUSTMENT

4-1. Notes on making adjustments

Important notes and precautions before performing machine adjustments.

4-14. Adjusting the upper thread trimming

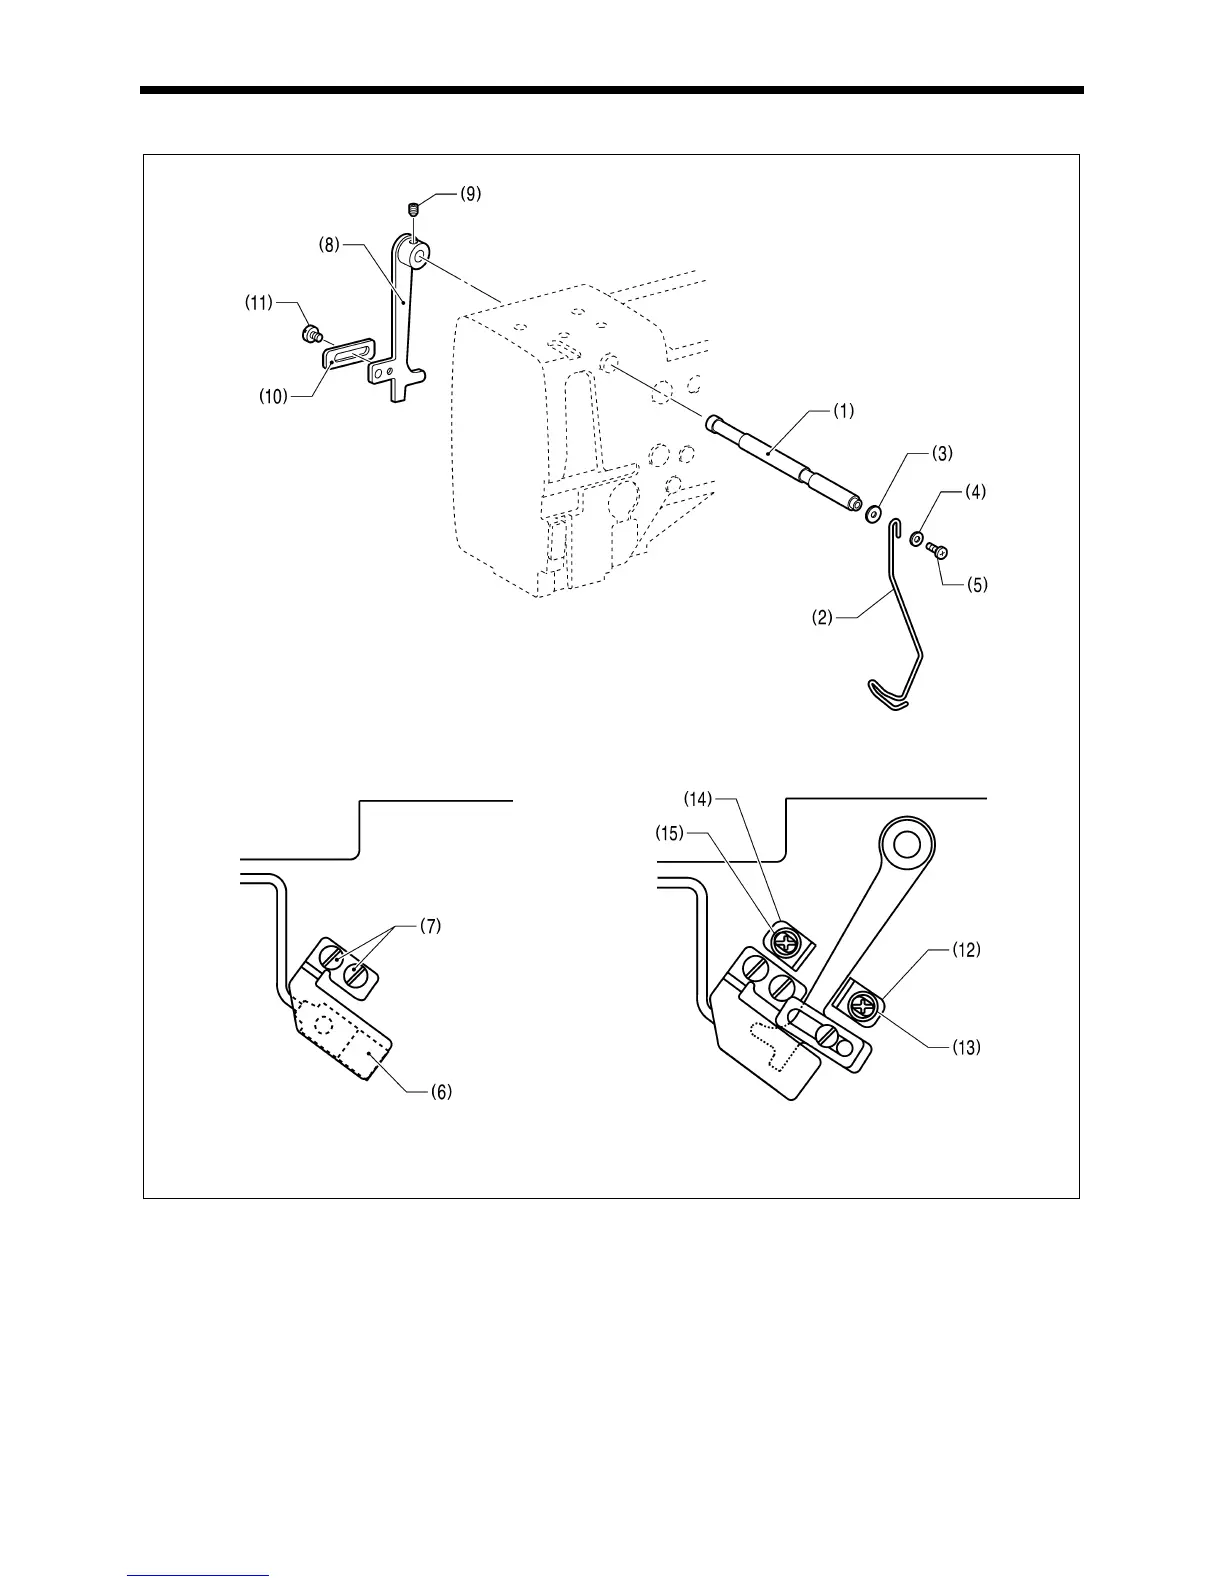
Guides for adjusting the upper thread trimming mechanism.

4-15. Adjusting the lower thread trimming

Guides for adjusting the lower thread trimming mechanism.

5. TROUBLESHOOTING

5-1. Upper thread breakage

Troubleshooting steps for upper thread breakage issues.

6. ELECTRIC COMPONENTS AND SOFTWARE

6-1. Precautions at the time of adjustment

Safety precautions when working with the control box and electrical components.

6-9. Error code table

List of error codes, their causes, and remedies.

Related product manuals