SSS
™
1127
|
14
Visit Static Control
®
on the web @ www.scc-inc.com
SSS
™
1127
STEP 5.1
STEP 5.2
STEP 5.3
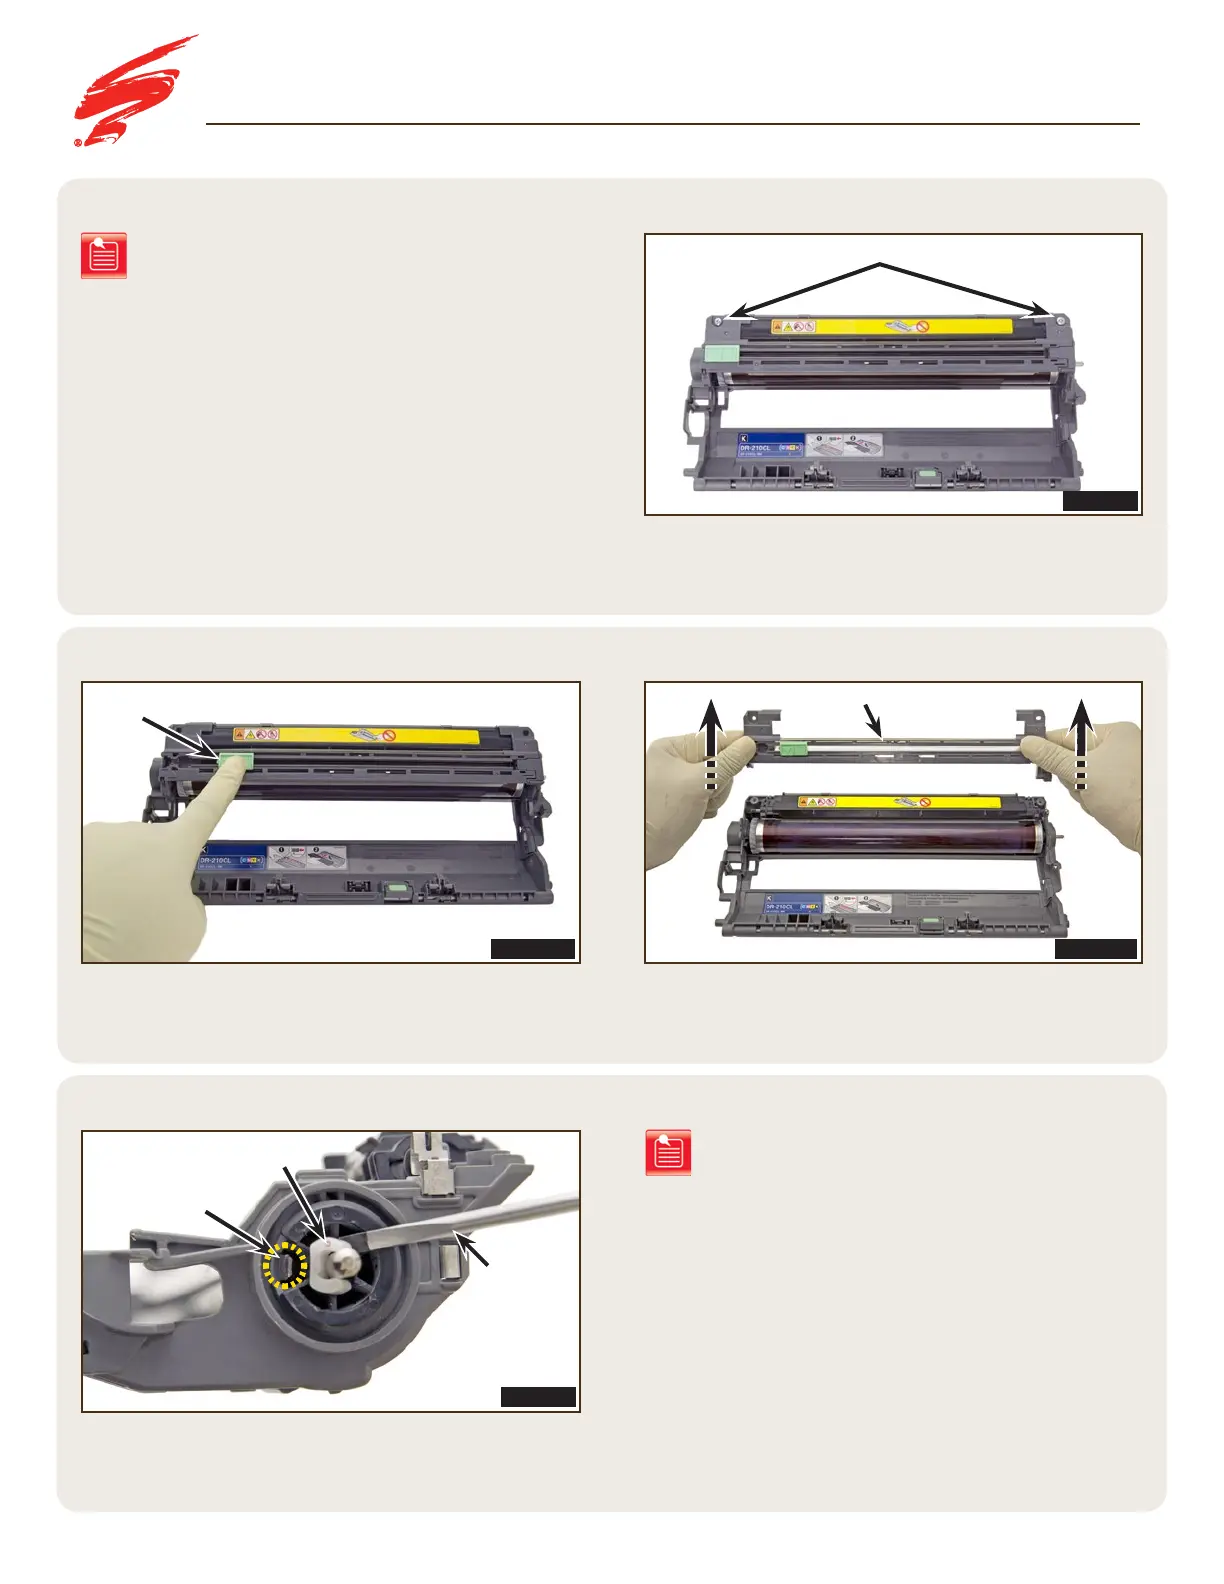
Remove the two screws securing the corona assembly on the
drum unit (Figure 5.1).
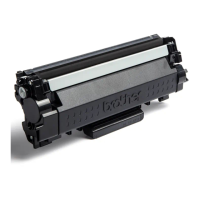
On the contact side of the drum unit, locate the white drum axle
locking c-clip. Using a small slotted screwdriver, remove the
c-clip as shown in Figure 5.3.
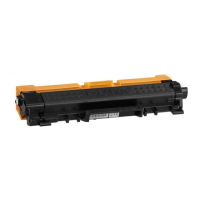
Slide the green corona cleaning tab to the unlock position to
release the corona as shown in Figure 5.2A. Lift the corona
assembly and remove it from the drum unit (Figure 5.2B).
FIGURE 5.2BFIGURE 5.2A
FIGURE 5.1
FIGURE 5.3
DISASSEMBLING THE DRUM UNIT
Note: A metal e-clip can be used to secure the drum
axle and is removed similarly (see page 4).
Note: For instruction purposes, the DR-210CL-K unit
is shown.
Corona Assembly
C-clip
Tab
Screws
Small Slotted
Screwdriver
Tab