14
E
Preparations
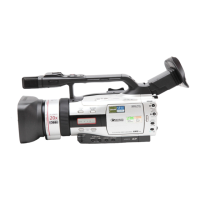
Preparing the Camcorder
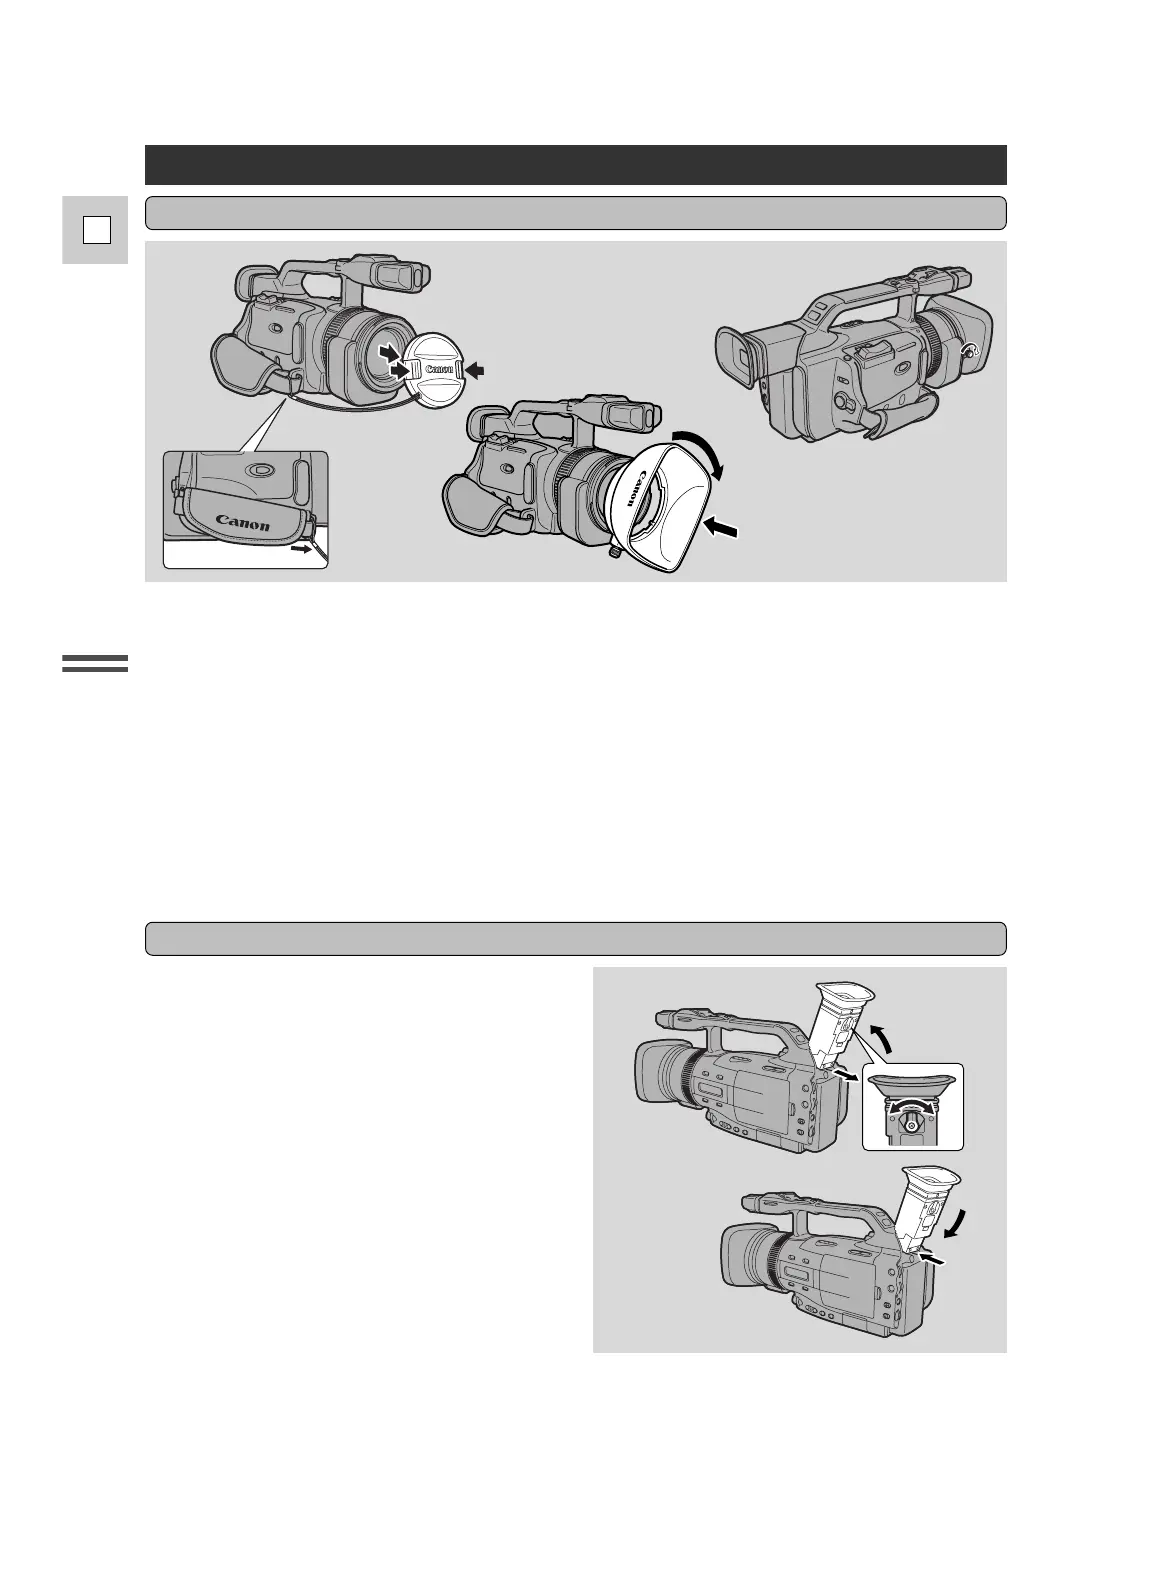
1. Remove the lens cap.
• When you purchase the GL2, the lens cap cord is attached to the middle of the Velcro grip
belt. Open the Velcro and slide the lens cap cord to the position as shown in the illustration.
2. Align the hood to the lens with the Canon logo facing to the left.
3. Twist it into position (clockwise), so that the Canon logo is to the top.
• You do not need to assert any pressure — screw the hood lightly into place.
4. Finally, tighten the locking screw.
• To remove, reverse the above procedure.
Since the lens hood cuts stray light that may cause flare and ghost images and protects the lens, be
sure to attach the hood when you are recording.
Attaching the Lens Hood
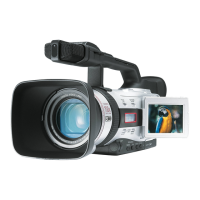
Adjusting the Viewfinder
• In record pause mode, adjust the viewfinder
focusing lever to suit your eyesight.
• The viewfinder extends straight out and rotates
upwards for comfortable viewing. Store the
camcorder with the viewfinder flush with the
body of the camcorder.
• To view with the viewfinder, make sure the
LCD panel is either turned so that the subject
can monitor the screen, or totally closed with
the screen facing inwards.
• Be careful not to leave the viewfinder exposed
to bright sunlight as it may melt. (The light is
concentrated by the viewfinder lens.)