71
Recording Movies
• To adjust brightness when shooting with the Time Lapse “Night Scene”, use “
S
”
(Shutter Speed) on the Control Panel (page 37) to adjust the shutter speed.
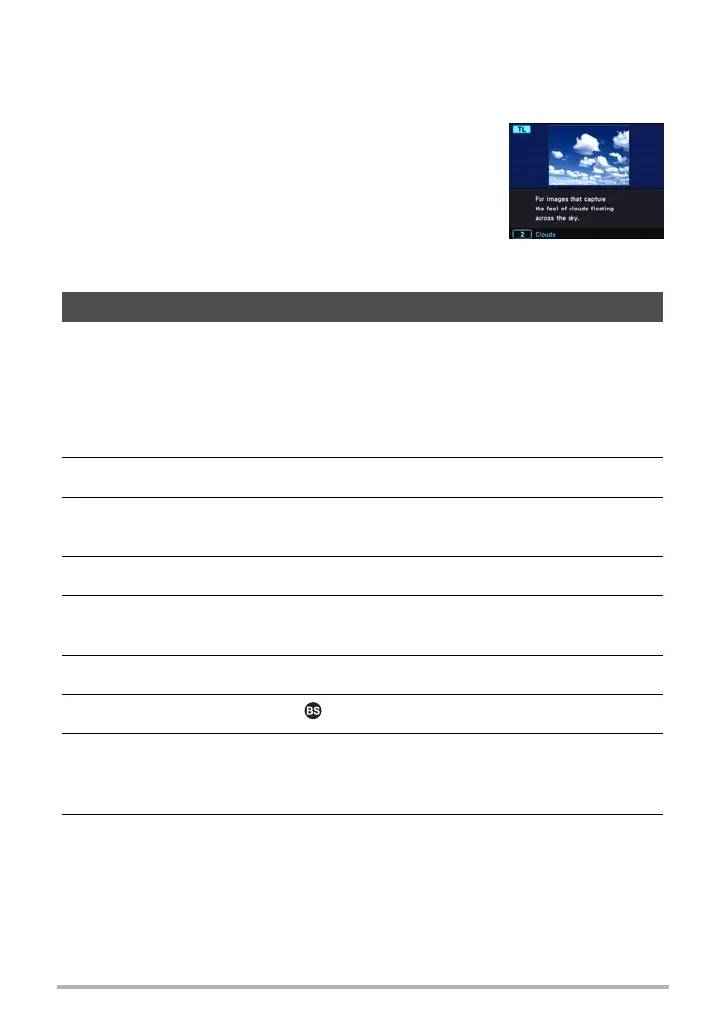
. Using the Scene Information Screen
To find out more about a scene, select it with the boundary
on the scene menu and then rotate the zoom controller in
either direction.
• To return to the scene menu, rotate the zoom controller
again.
• To scroll between scenes, use [4] and [6].
• To configure the camera with the settings for the currently
selected scene, press [SET].
The “For YouTube” scene records movies in a format that is optimal for uploading to
the YouTube movie site, which is operated by YouTube, LLC. “For YouTube” can be
used when shooting a standard (STD) movie, a high-definition (FHD) movie, or a high
speed (HS) movie.
1. Align the mode dial with [b] (BEST SHOT).
2. Press [MENU].
3. Press [4], use [8] and [2] to select the “
r
REC MENU” tab, and then
press [SET].
4. Use [8] and [2] to select “Movie Quality” and then press [6].
5. Use [8] and [2] to select the movie mode you want to use for shooting
and then press [SET].
6. Press [SET].
7. Use [8] and [2] to select , and then press [SET].
8. Use [8], [2], [4], and [6] to select the “For YouTube” scene and then
press [SET].
This causes Ê to appear on the monitor screen.
9. Record the movie.
The movie file will be stored in a camera folder named “100YOUTB”.
• To exit “For YouTube”, align the mode dial with [P] (Program Auto) or
[Ÿ] (Premium Auto Pro).
Recording a Movie for YouTube (For YouTube)

 Loading...