E-3
Introduction
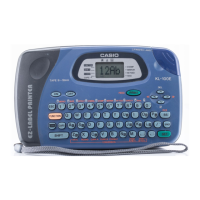
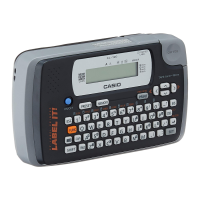
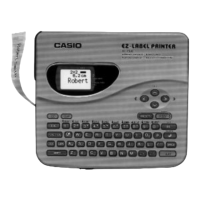
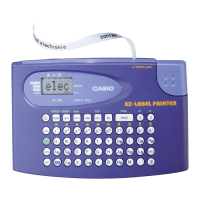
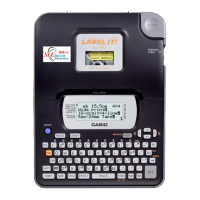
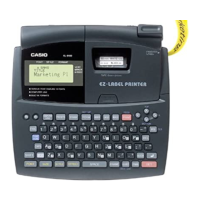
Congratulations on your selection of the CASIO KL-100 Label Printer. This CASIO
Label Printer makes it possible for you to print adhesive labels for a wide variety
of applications, such as: name tags, cassette tape labels, floppy disks, binders,
and other applications.
You can produce attractive, original labels thanks to such features as:
• Variable tape sizes (6mm, 9mm, 12mm, 18mm)
• Attractive sans-serif font
• Font effects (shading, underline, box)
• Character Styles (normal, outline, shadow, raised)
• Frames
• Built-in symbols
• Text memory
You can even use tapes with optionally available holders to create your own
stamps.
All of this makes the CASIO label Printer the perfect tool for just about all of your
labeling needs!
Important!
• Contact a nearby dealer whenever you require servicing.
• Note that the manufacturer shall not be held liable for any loss or
claims by third parties which may arise out of the use of this product.
• Note that the manufacturer shall not be held liable for any damages
incurred as a result of data loss caused by malfunctions, repairs, or
interruption of power supply.
• It is up to the user to keep backup records of important data.
• Keep this manual on hand for future reference.
Contents
Important Safety Precautions ....................................................... 1
Part 1 Getting Acquainted.......................................................... 4
Important Precautions ..................................................................................... 4
General Guide ................................................................................................. 5
Label Printer Menus ........................................................................................ 5
Part 2 Getting Ready .................................................................. 5
Power Supply .................................................................................................. 5
Replacing Batteries ......................................................................................... 6
To load the batteries ............................................................................... 6
AC Adaptor ...................................................................................................... 7
AC Adaptor Cap ...................................................................................... 7
To connect the AC adaptor ..................................................................... 7
Turning Power On and Off .............................................................................. 7
Resetting the Memory ..................................................................................... 7
To reset the memory ............................................................................... 7
Auto Power Off Function ................................................................................. 7
Tape Cartridges ............................................................................................... 7
To load a tape cartridge .......................................................................... 8
Tape Width Specification ................................................................................. 8
To specify 6mm tape width ..................................................................... 8
Part 3 Inputting Characters and Symbols ................................ 9
Display Symbols and Indicators ...................................................................... 9
Basic Alpha-Numeric Input ............................................................................ 10
To input alpha-numeric characters ........................................................ 10
About the CODE key… ................................................................................. 10
Special Symbols ........................................................................................... 10
To input special symbols ....................................................................... 10
Part 4 Deleting and Inserting Characters ............................... 11
Moving the Cursor ......................................................................................... 11
To move the cursor ............................................................................... 11
Deleting Individual Characters ...................................................................... 11
To delete characters using the BS key ................................................. 11
To delete characters using the DEL key ............................................... 11
Clearing the Display ...................................................................................... 11
To clear the display ............................................................................... 11
Text Editing ................................................................................................... 11
To insert new characters ....................................................................... 11
To change existing characters to different ones .................................... 12
 Loading...