EN-23
English
Editing a Tone
You can use the procedures below to edit tones and
apply effects to the desired Upper 1 (main) tone.
1.
Specify Upper 1 as the tone to be edited.
2.
Touch bp MENU.
3.
On the MENU screen, touch “TONE”.
4.
Touch “Edit”.
5.
Touch “Edit”.
This displays the editing screen.
6.
Touch the item whose setting you want to
change.
• The setting items that appear on the editing screen
depend on the tone you select.
• For information about editable parameters, see the
explanations about each tone category table from
“Editable Melody Tone Parameters” (page EN-25)
through “Editable Hex Layer Tone Parameters” (page
EN-30).
7.
Change parameter settings as desired.
8.
After you finish with your edits, press
br EXIT.
9.
After editing everything you want, touch
“Write”.
10.
Touch “Rename”.
11.
Input a name for the tone.
12.
After inputting the tone name, touch “Enter”.
13.
Touch the destination tone number.
• If the tone number already has data assigned to it,
there will be an asterisk (*) next to it.
14.
Touch “Execute”.
If the selected preset number does not have any data
assigned to it, the message “Sure?” will appear. If it
does have data assigned to it, the message “Replace?”
will appear.
15.
Touch “Yes”.
This stores the data.
• To return to the screen in step 13 without saving,
touch “No”.
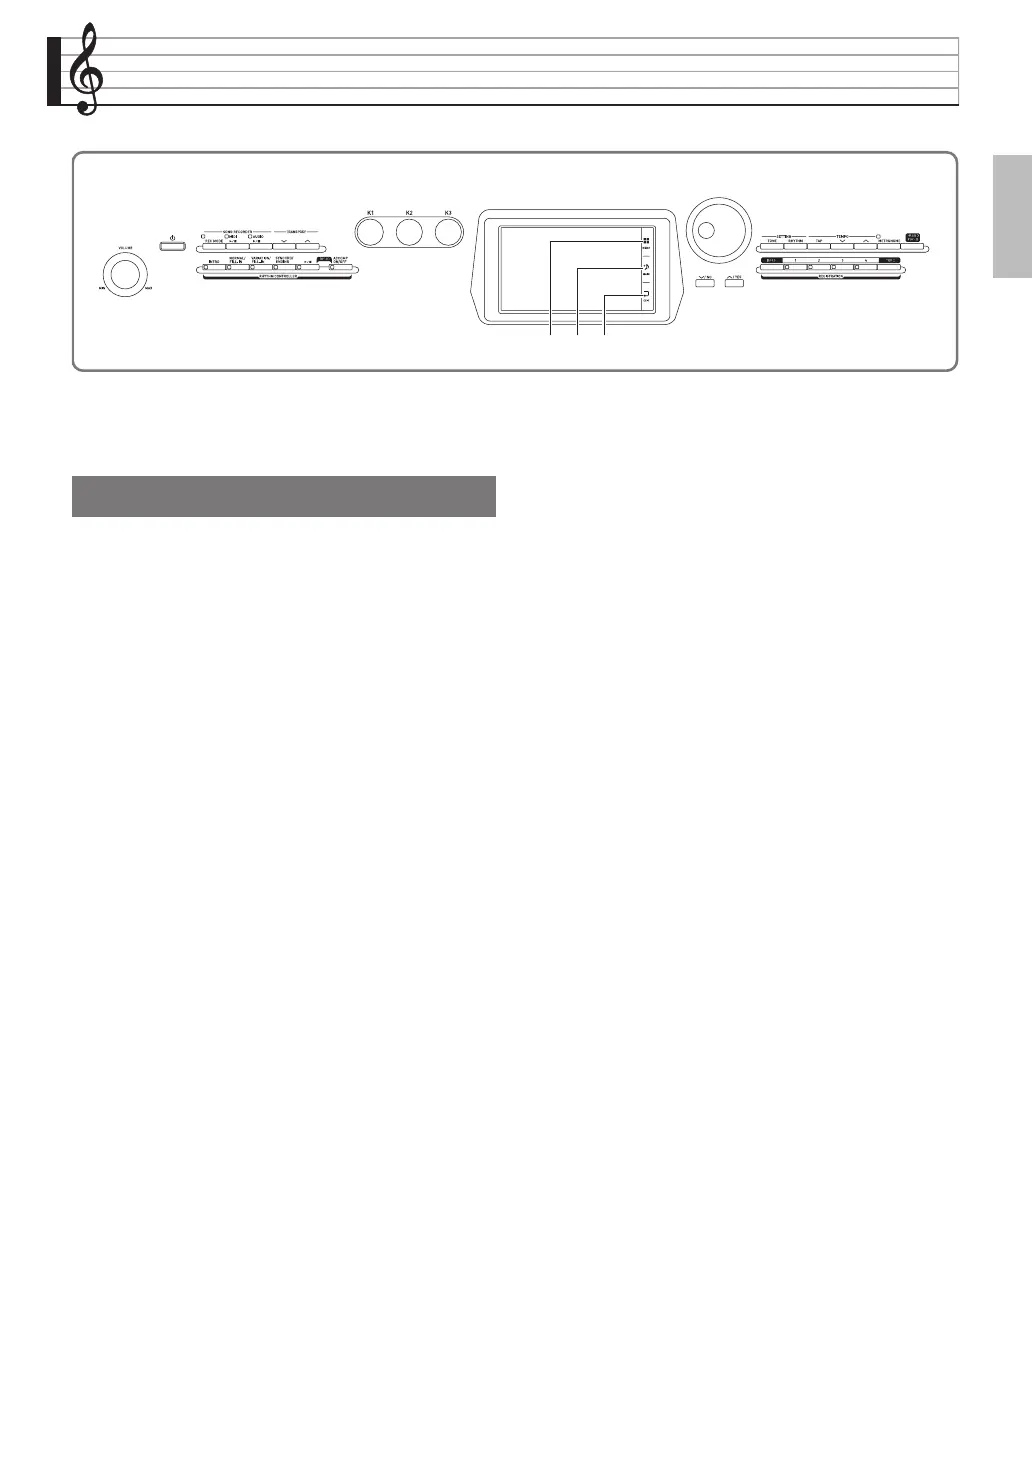
bqbp br
Editing a Tone
PX560-ES-1A.indd 25 2015/06/18 14:53:44
 Loading...