Recording and Playback
EN-21
Anything played on the Digital Piano is recorded to the
USB flash drive as audio data (WAV files*). If you play
along on the Digital Piano as you play back data stored
in song memory, the memory playback and your
keyboard play are both recorded to USB flash drive.
* Linear PCM, 16bit, 44.1 kHz, Stereo
Recording Capacity
• 99 files (TAKE01.WAV to TAKE99.WAV)
• Approximately 25 minutes maximum recording per
file.
Recorded Data
• Everything played on the Digital Piano and
operation sounds are recorded.*
• Individual part recording is not supported.
* If you do not want operation sounds to be recorded,
turn them off. Refer to “ Operation tone” in the
“Parameter List” on pages EN-28 through EN-33.
Recording Data Storage
Each new recording of audio data to a USB flash drive
is automatically assigned a new file name, so existing
data is not overwritten.
Recording Digital Piano Play
(Audio Recorder)
• Be sure to format the USB flash drive on the Digital
Piano before using it. See “USB Flash Drive (PX-
870)” on page EN-35 for more information.
1.
Insert the USB flash drive into the Digital
Piano’s USB flash drive port.
• When you plug in a USB flash drive, the Digital Piano
initially needs to “mount” the USB flash drive and
prepare for data exchange. Note that Digital Piano
operations are momentarily disabled while a USB
flash drive mounting sequence is being performed.
The Digital Piano’s L/R lamps flash while the
mounting process is in progress. It may take up to 10
or 20 seconds or even longer for a USB flash drive to
be mounted. Do not attempt to perform any
operation on the Digital Piano while a mounting
sequence is in progress (while L/R lamps are
flashing). A USB flash drive needs to be mounted
each time it is connected to the Digital Piano.
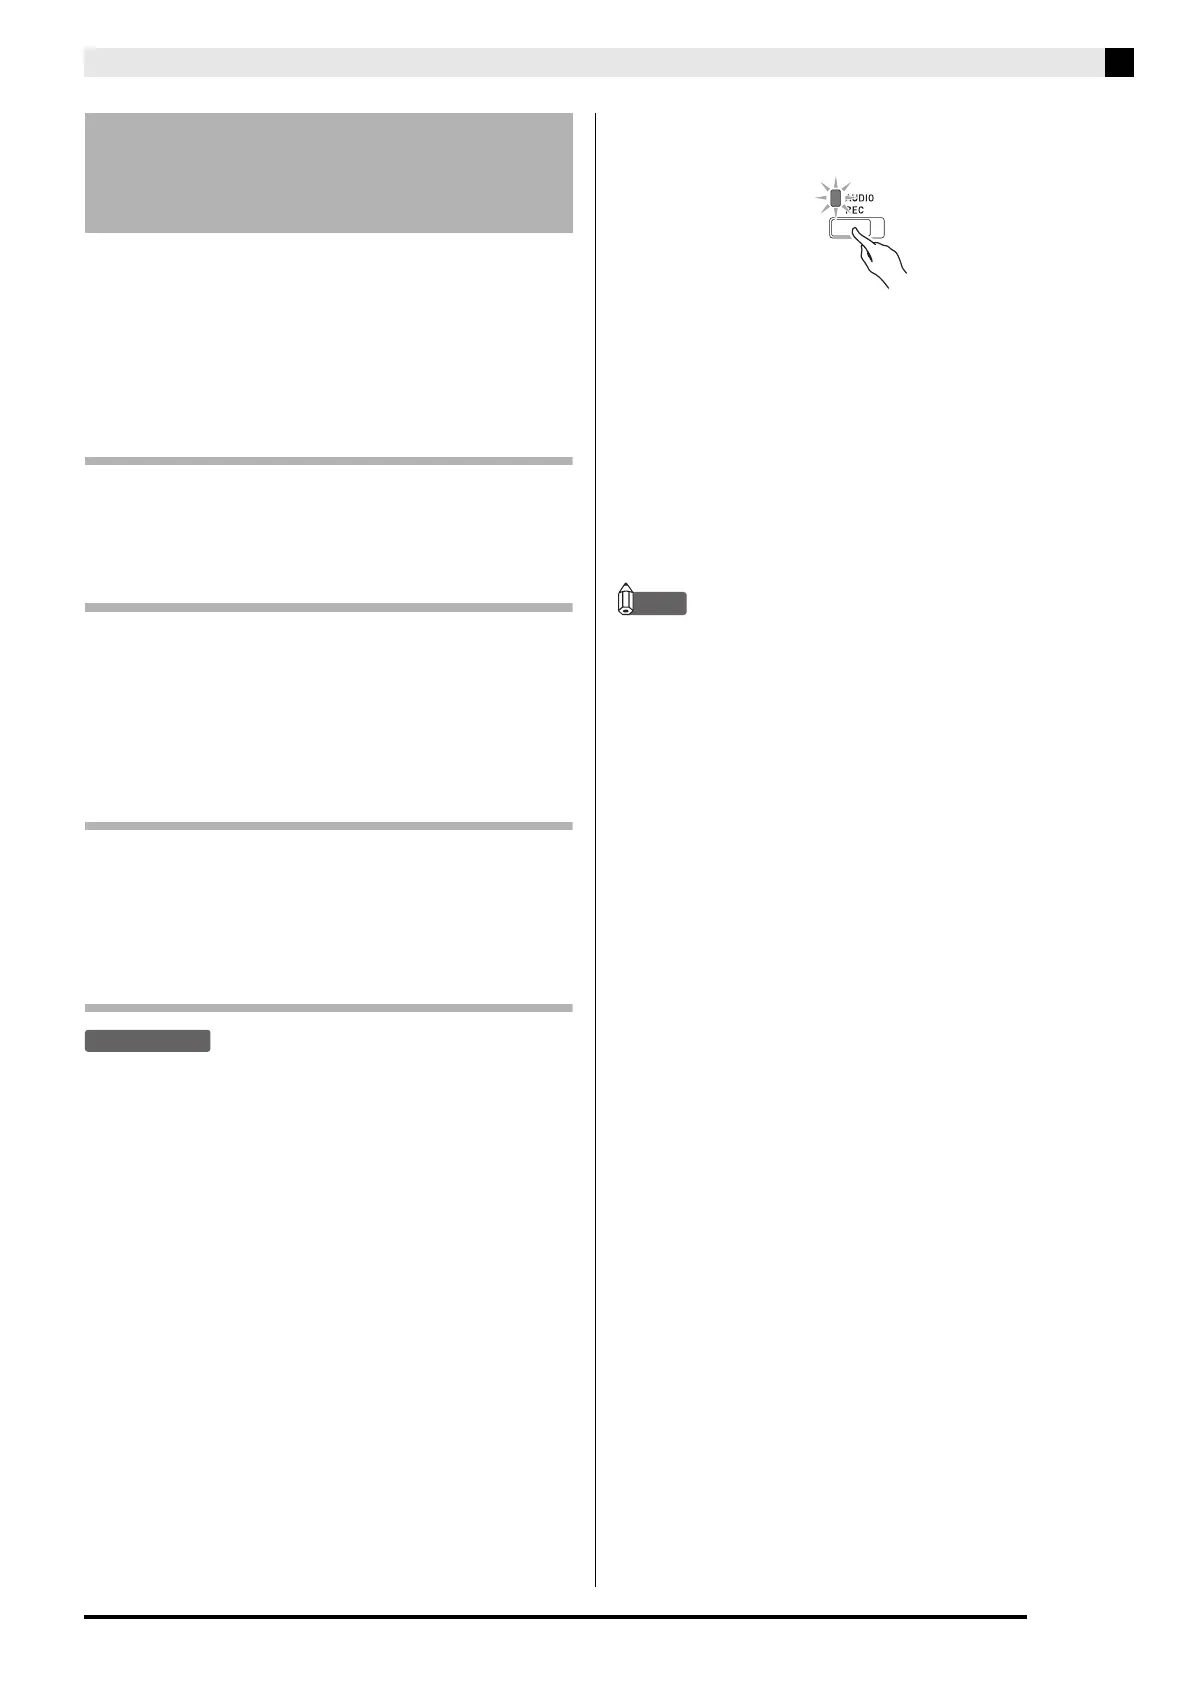
2.
Press the AUDIO REC button once or twice
so the AUDIO REC lamp is flashing.
3.
To start recording, press the a button or
start playing.
This starts recording to the USB flash drive.
• Recording can also be started by pressing a pedal or
performing another operation.
• If, while recording is in progress, you want to re-
record from the beginning, hold down the AUDIO
REC button until the Digital Piano beeps. This
discards the current recording data and enters
recording standby.
NOTE
• Do not remove the USB flash drive from the USB
flash drive port while the AUDIO REC lamp is
flashing. Doing so interrupts recording and may
corrupt data.
4.
To stop recording, press the a button or
AUDIO REC button.
• If you want to continue recording, perform the
operations from step 2 of this procedure. If you want
to play back what you recorded, perform the
operations from step 3 under “Playing Back Data
Recorded on a USB Flash Drive” (page EN-22). To
exit the audio record/playback operation, press the
AUDIO REC button so its lamp becomes unlit.
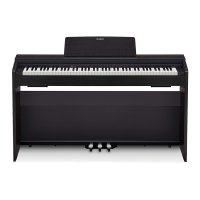
Recording to a USB Flash
Drive (Audio Recorder)
(PX-870)
 Loading...