7
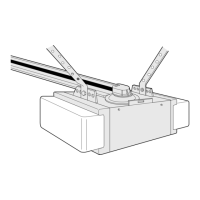
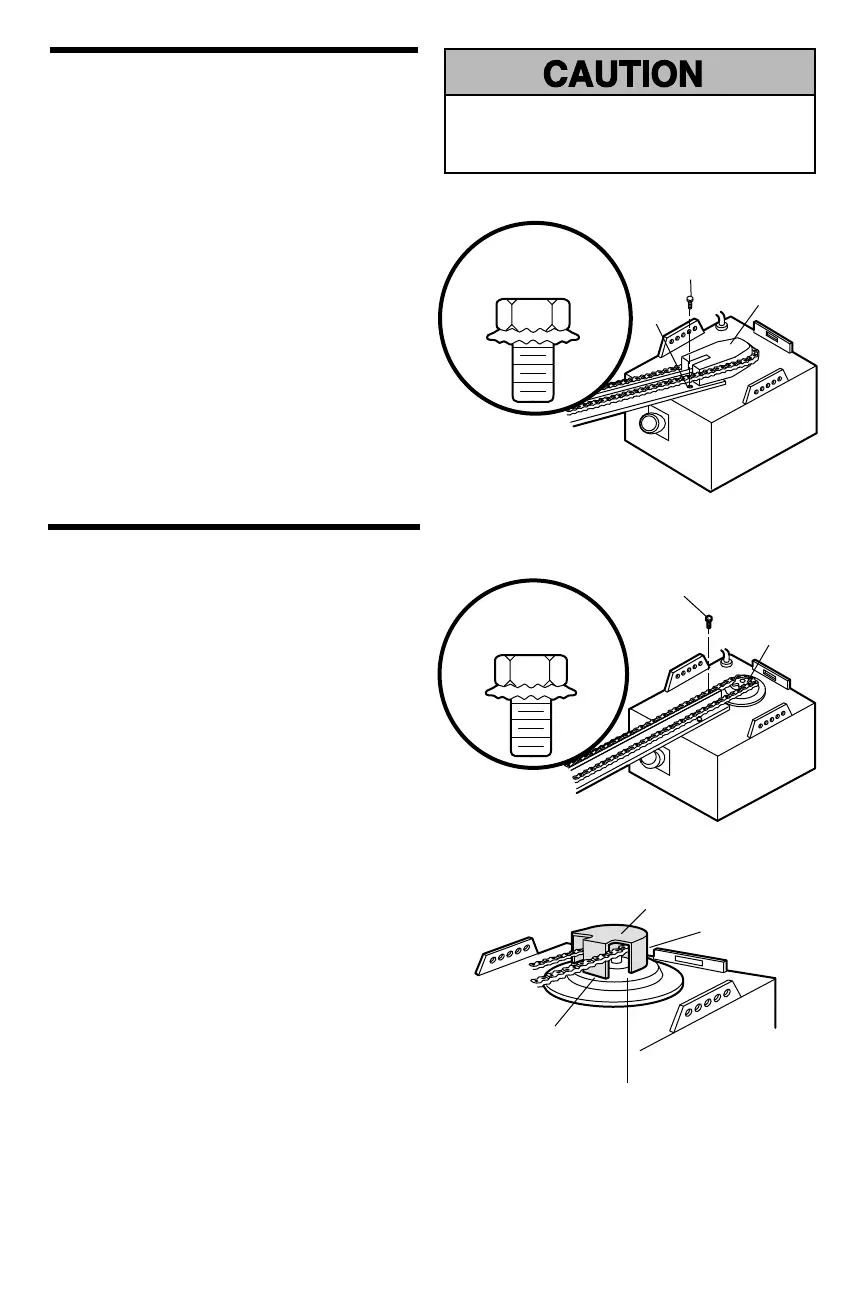
ASSEMBLY STEP 1
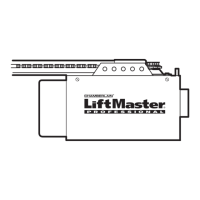
Fasten the Rail to the Motor Unit
MODELS 1355M AND 1345M ONLY
(For Models 1356M and 1346M see page 8)
• Remove the two washered bolts mounted in top of
motor unit.
• Position rail at an angle to opener so one hole in rail
and motor unit line up.
• Thread one of the washered bolts part way in.
Use only these bolts! Use of any other bolts will cause
serious damage to door opener.
• Align rail and styrofoam over sprocket. Cut tape from
rail, chain and styrofoam.
• REMOVE STYROFOAM.
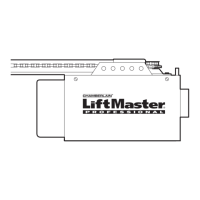
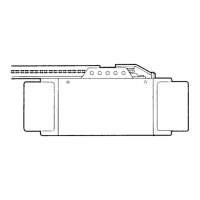
ASSEMBLY STEP 2
Attach the Chain to the Sprocket and Install
the Sprocket Cover
MODELS 1355M AND 1345M ONLY
• Position chain over the sprocket. If necessary, loosen
the outer nut on the trolley to obtain more chain slack.
• Insert the second washered bolt. CAUTION: Use only
the bolt previously removed from motor unit!
• Tighten both screws securely through the rail into the
motor unit as shown.
• Install the sprocket cover: Insert the back tab in the
slot. Squeeze the cover slightly and insert the front tab
in the slot on the mounting plate.
Proceed to Assembly Step 5.
To avoid SERIOUS damage to garage door opener,
use ONLY those bolts/fasteners mounted in the top of
the opener.
Sprocket Cover
Back Tab Slot
Front Tab Slot
Mounting Plate
USE ONLY THIS
TYPE AND SIZE
BOLT
Washered Bolt
5/16"-18x1/2"
Washered Bolt
5/16"-18x1/2"
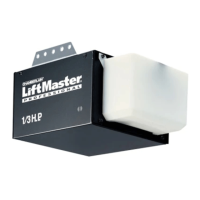
Motor Unit
Sprocket
Styrofoam
Rail
Hole
USE ONLY THIS
TYPE AND SIZE
BOLT
 Loading...