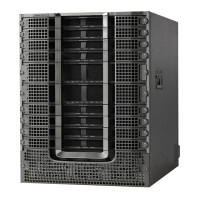
Attaching the Cable-Management Brackets
The rear RF cable-management brackets mount to the right rear side of the chassis to provide cable-management to coaxial cables
exiting the RF PIC modules. These brackets provide a reference configuration that allows installation and removal of cables and
modules in the rear of the chassis.
Each RF cable-management bracket for the Cisco cBR chassis contains four independent "U" type cable-management provisions,
with two captive screws for attaching to the chassis, and provides cable dressing of each RF PIC card slot.
Before You Begin
Required Tools and Equipment
•
#2 Phillips torque screwdriver
Procedure
Step 1
Align the cable-management bracket captive screws to the right rear side panel captive nuts of the chassis. There are
multiple positions that allow you to determine the position of the bracket that best suits your installation.
Step 2
If the captive screws are accessible, use a #2 Phillips torque screwdriver to secure them to the chassis. Else, tighten the
knurled captive screws using your fingers.
14

 Loading...