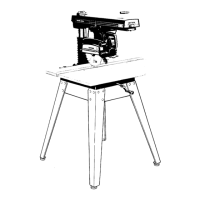
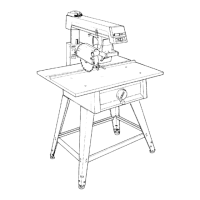
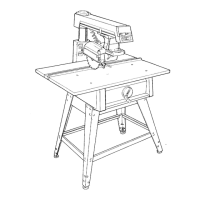
maintenance and lubrication
MAINTENANCE
WARNING: FOR YOUR OWN SAFETY, TURN SWITCH
"OFF" AND REMOVE PLUG FROM POWER SOURCE
OUTLET BEFORE MAINTAINING OR LUBRICATING
YOUR SAW.
When you receive your new Craftsman radial saw, it
requires no lubrication. The radial saw has been partially
aligned and all bearings are lubricated and sealed for life. In
time, however, in order to keep your saw in perfect
working order and accurate, it will be necessary to lubricate
and realign. In fact, your radial saw needs more of a
cleaning than a lubrication.
Make sure the teeth of the ANTI KICKBACK pawls are
always sharp. Replace if not sharp.
LUBRICATION
Your saw is precision built and should be kept clean and
properly lubricated. Before describing the various points
which may periodically require lubrication, IT IS MORE
IMPORTANT TO FIRST MENTION THE VARIOUS
POINTS WHICH SHOULD NOT BE LUBRICATED.
NO LUBRICATION REQUIRED
Do not lubricate carriage ball bearings or motor bearings as
these are sealed ball bearings and require no added
lubrication.
PERIODICALLY LUBRICATE THESE POINTS
Use SAE No. 10W-30 automotive engine oil and refer to
Parts List for locations. Apply a few drops of oil along the
swivel latch pin and bevel index pin only if the pin has a
tendency to stick. Remove the left-hand carriage cover and
use oil sparingly to prevent it from getting on the ball
bearings or races.
A light film of oil should be wiped on the face of the
column tube to lubricate the fit between the column tube,
and column support.
CAUTION: Excessive oil at any location will attract
airborne dust particles and sawdust.
I
recommended accessories
ITEM CAT.NO.
Stand .................................. 9-22205
Steel Legs ............................... 9-22238
Casters ................................. 9-2220'8
Key Chuck ............................... 9-2980
*Molding Head Guard - 7-inch ............... 9-29524
*Molding Head Guard - 8-inch ............... 9-29523
Rotary Surface Planer - Carbide Tip .......... 9-29513
Sanding Wheel - 8-inch ..................... 9-2274
Sanding Wheel - 10-inch ................... 9-22723
Dust Collector ........................... 9-16999
Dust Collector ........................... 9-29517
Taper Jig ................................. 9-3233
*Satin Cut Dado - 7-inch ..................... 9-3257
*Satin Cut Dado - 8-inch ..................... 9-3253
*Molding Head Single Cutter .................. 9-3215
*Molding Head Three Cutter .................. 9-3218
Sanding Drum - 3-inch .................... 9-25246
• Lower Retractable Guard ................... 9-29009
"Power Tool Know How Handbook"
Radial Saw .............................. 9-2917
*Before purchasing or using any of these accessories, read
and comply with additional safety instructions No. "(D)2"
on p. 5 of this manual.
The above recommended accessories are current and were
available at the time this manual was printed.
• Meets OSHA Requirements as of 8-73.
NOTE: This lower retractable guard is designed to provide
additional protection to the operator in an axial direction
to the sawblade (perpendicular to the plane of the
sawblade):
(a) When NOT in the cut (guards in full clown position
(touching the table) and carriage in full rear position
behind fence):
(b) When saw is set up to perform 90 ° crosscut operations
(sawblade 90 ° to table surface and arm in 90 ° crosscut
position).
33

 Loading...