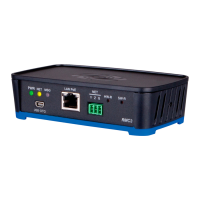
3-Series Room Media Controller Crestron RMC3
Installation
The RMC3 can be mounted onto a flat surface or standard DIN rail using
the included mounting bracket. The RMC3 is shipped with the mounting
bracket attached. For surface mounting instructions, refer to “Surface
Mounting” below. For DIN rail mounting instructions, refer to
“DIN Rail Mounting” on page 18.
Rack m
ount and pole mount kits (sold separately) are also available as
mounting options. For rack mount instructions, refer to the Crestron
RMK-IFE-1U IFE Rack Mount Kit Installation Guide (Doc. 7627).
For pole mount instructions, refer to the Crestron PLMK-IFE-101 IFE
Pole Mount Kit Installation Guide (Doc. 7615). The manuals are
available at www.crestron.com/manuals
.
Ventilation
The RMC3 should be used in a well-ventilated area. The venting
holes should not be obstructed under any circumstances.
To prevent overheating, do not operate this product in an area that
exceeds the environmental temperature range listed in the table of
specifications. Consideration must be given if installed in a closed
area since the operating ambient temperature of the environment may
be greater than the room ambient temperature. Contact with thermal
insulating materials should be avoided on all sides of the unit.
Surface
Mounting
The RMC3 can be mounted horizontally or vertically onto the top or
bottom of a flat surface.
To mount the RMC3 onto a flat surface, perform the following steps
(refer to the illustration on the next page):
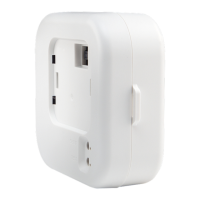
1. Detach the RMC3 from the mounting bracket by pulling the left
and right flanges of the bracket outward to release the tabs that
hold the RMC3 in place.
2. Attach the mounting bracket to the flat surface using the four
mounting holes (one hole in each corner of the bracket) and the
appropriate mounting screws (not included).
3. Align the slots on the bottom of the RMC3 with the RMC3
mounting tabs of the bracket, and then press the RMC3 into the
bracket until the RMC3 snaps into place.
4. (Optional) Secure the RMC3 in the mounting bracket by using
the two included #6-32 x 3/8” Phillips pan head screws and the
hole on the left and right sides of the assembly.
16 Room Media Controller: RMC3 Operations & Installation Guide – DOC. 7558B
 Loading...