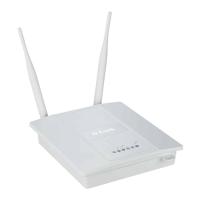
6D-Link DAP-1522 Quick Install Guide
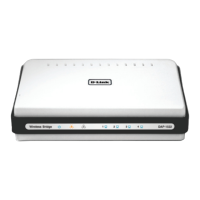
1. Insert the AC/DC Power Adapter cord into the power receptacle located
on the rear panel of the DAP-1522 and plug the adapter into a suitable
nearby power source. (This unit is to be used only with the power supply
provided by the manufacturer.)
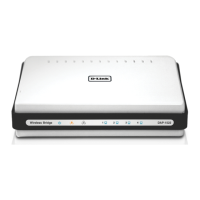
2. Check the status of the DAP-1522 by checking the LED (orange LED
blinks at bridge mode and blue LED blinks at AP mode).
Push the button
on the right hand side of the DAP-1522 to initiate a secured wireless
connection.
3. Within 120 seconds, push the WPS button on the router to link them
together.
Note: To use this method, the router must be WPS ready.
4. Once the WPS button stops blinking, you can move the DAP-1522 to the
desired location.
5. Plug the Ethernet cable between the device you wish to use and the
DAP-1522, and then power on the DAP-1522.
4 3 LAN 2 1 LAN 0
PA
E
G
DIRB
RESET
5V 3A
4 3 LAN 2 1 LAN 0
PA
E
G
DIRB
RESET
5V 3A
4 3 LAN 2 1 LAN 0
PA
EGDIRB
RESET
5V 3A
4 3 LAN 2 1 LAN 0
PA
EGDIRB
RESET
5V 3A
Med ia Bri dge D AP-15 55
0 1 2 3 4
ROUTE R
1 2 3 4
ROUT ER
1 2 3 4
Medi aBri dge DAP- 1555
0 1 2 3 4
Medi aBri dge DAP- 1555
0 1 2 3 4
Medi aBrid ge DAP- 1555
0 1 2 3 4
Medi aBrid ge DAP- 1555
0 1 2 3 4
Med ia Bri dge D AP-15 55
0 1 2 3 4
ROUTE R
1 2 3 4
4 3 LAN 2 1 LAN 0
P
A
E
G
DIRB
RESET
5V 3A
4 3 LAN 2 1 LAN 0
P
A
E
G
DIRB
RESET
5V 3A
4 3 LAN 2 1 LAN 0
PA
EGDIRB
RESET
5V 3A
4 3 LAN 2 1 LAN 0
PA
EGDIRB
RESET
5V 3A
e
g
d
i
r
B
a
i
d
e
M
D
A
P
1
-
5
5
5
0
1
2
3
4
e
g
d
i
r
B
a
i
d
e
M
D
A
P
1
-
5
2
2
1
2
3
4
ROUT ER
1 2 3 4
RESETRESET
Push Button Setup
Note: If you are using AP mode, please see the manual for more information on AP
mode setup.
 Loading...