6
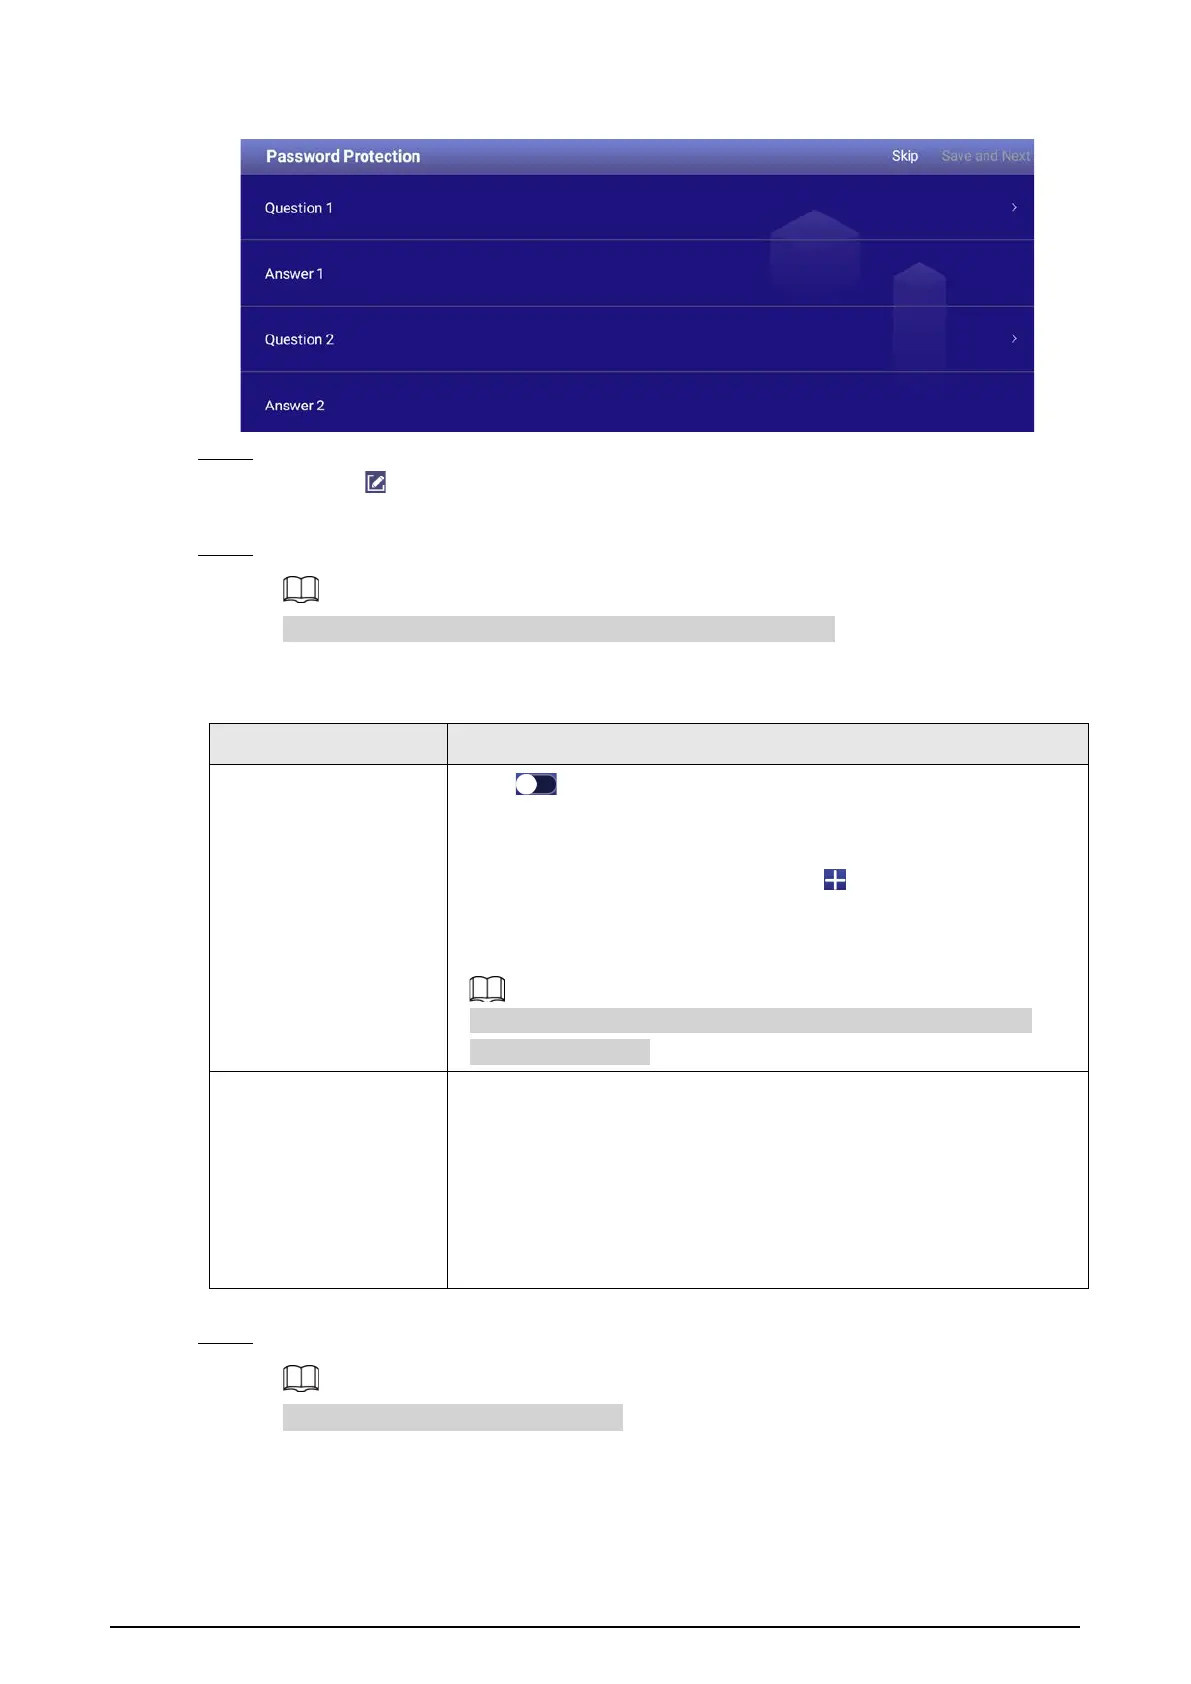
Figure 4-1 Password protection
Step 6 Set the device name.
1. Click to set the device name.
2. Click
Save and Next
.
Step 7 Configure network settings.
Click
Skip
if you do not want to configure the network settings.
1. Select a network type and then configure network settings.
Table 4-1 Network settings
Network type Description
WLAN
Click when Wi-Fi is available near the box.
●
Auto search: Click a Wi-Fi network, enter its password, and then
click
Connect
.
●
Connect to the Wi-Fi manually: Click , and then on the
Add
network
page, enter network SSID, select a security option, and
then click
Save
.
We recommend you choose a secure authentication method to
connect to the Wi-Fi.
Ethernet
Connect the box to the network by Ethernet. There are 2 methods to
set the IP address of the box.
●
DHCP: When there is a DHCP server on the network, select
DHCP
to allow the box to get an IP address from the DHCP server
automatically.
●
Static IP: After you select
Static IP
, configure
IP Address
,
Gateway
, and
Netmask
according to your network plan.
2. Click
Save and Next
.
Step 8 Register the box to the platform.
Click
Skip
to skip platform registration.
1. Enter the IP address or domain name, port of the platform (MPS or ICC), and the
department ID.
 Loading...