38
Troubleshooting
When the Oil Cooling Unit does not work well, first check the following points.
If the problem persists, contact DAIKIN Contact Center with information on the following 1), 2) and 3) items.
(For phone/fax number and address of DAIKIN Contact Center, see the back cover.)
1) Machine name (Full Model No.)
2) Manufacture No. (MFG. No.)
3) Condition of the Oil Cooling Unit (as closely as possible)
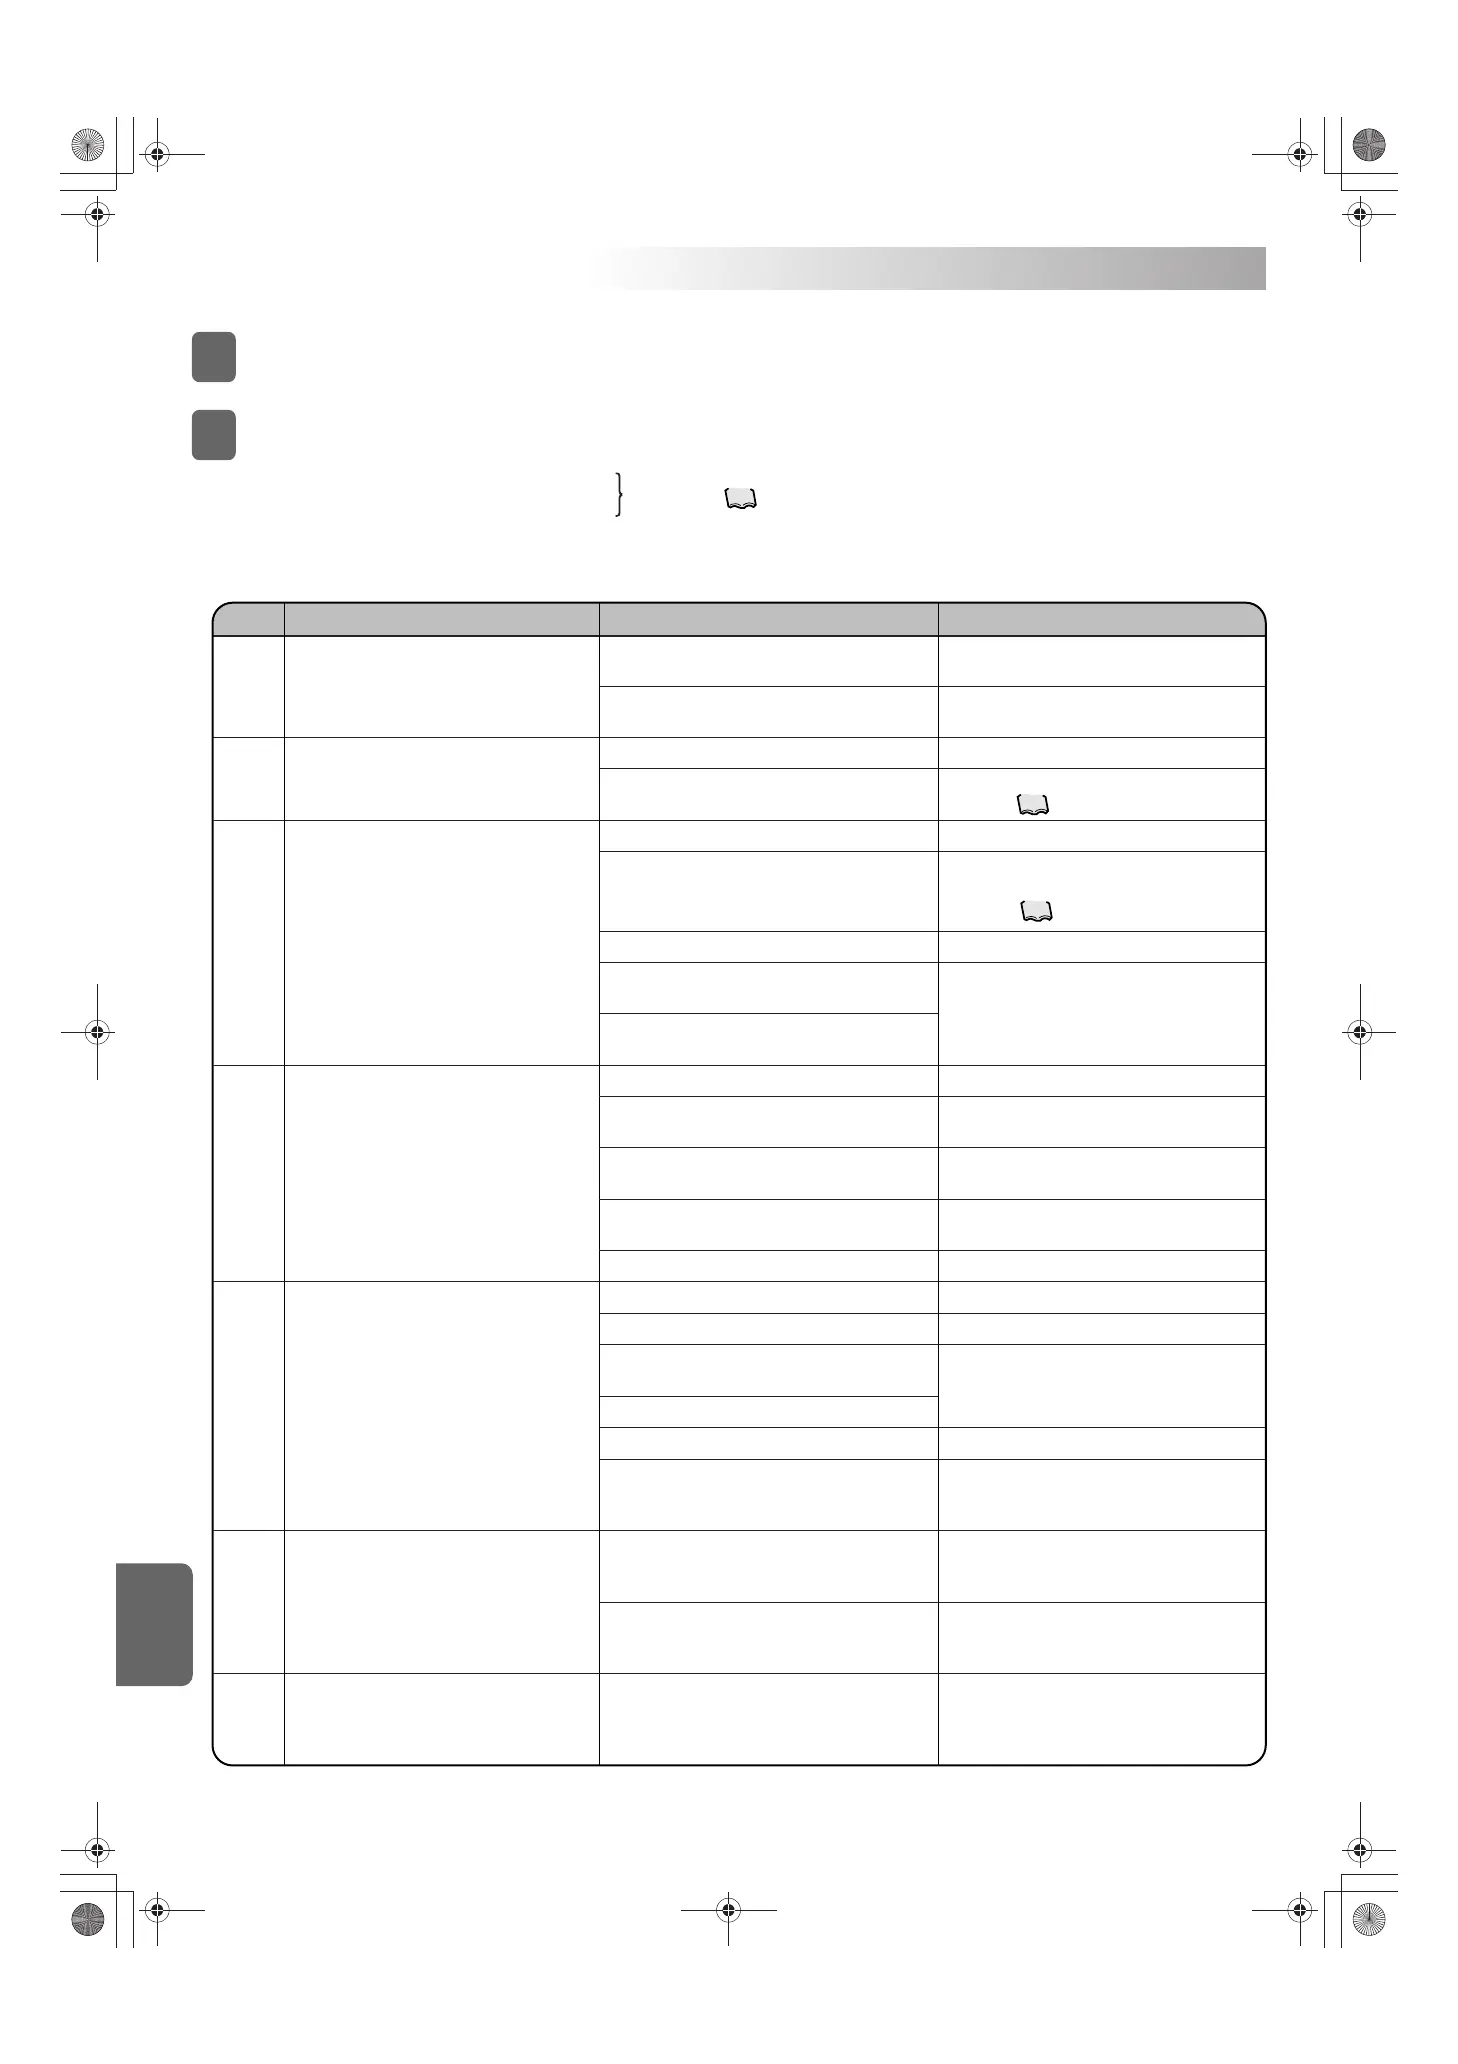
When the unit operation seems abnormal although no alarm is activated
Item Condition Cause Corrective action
The unit does not run at all.
(The POWER lamp on the control panel is unlit.)
The compressor does not run, although the
pump is running.
Although both pump and compressor are
running, oil cannot be cooled.
Alarm output operation ([64] or [65]) is different
from that of conventional signal output.
Operation setting cannot be performed.
The pump does not run.
Oil does not flow, although the pump is running.
Because the oil circulation quantity is insufficient,
the pump sound level is large.
–––
1
2
3
4
5
6
7
1
2
See page .
4
1) The main power supply is OFF, or the power
cable (L1, L2) is disconnected.
4) Because of a large pressure loss in the oil
discharge pipe, the pump relief valve is activated.
5)
Because of a large pressure loss in the oil suction
pipe, cavitation has occurred with the pump.
2) The compressor restart prevention timer has
been activated.
3)
The low oil temperature protection device has been
activated. (Inlet oil temperature is 2˚C or lower.)
6) If the exhaust air temperature is almost equal to
the room temperature although the compressor is
in operation, the refrigerant gas is running short.
1) If “---” appears on the data display, the
temperature sensor corresponding to the
selected operation mode is not connected.
2) If “---” instantaneously appears when the [ENT]
key (at the right end of the control panel) is press-
ed, the protect switch is set to ON.
4)
The low ambient temperature protection device has
been activated. (Room temperature is –2˚C or lower.)
1) The remote control input ([10]–[11]) is OFF.
1) The pump suction pipe connection is loose.
2) The suction strainer is clogged.
3) The oil level in the oil tank has decreased.
1)
The compressor is stopped under temperature control.
5) The capacity setting is 0% (Mode 9).
1)
There is an obstacle near the air intake/exhaust port.
2) The air filter is clogged.
3) The unit is running under capacity suppressing
control, because the room temperature is high.
1) The alarm output signal connection has been
partially changed.
4) Heat load is large.
5) The temperature setting is high.
2) The unit has been set to the operation lock mode.
(With the factory setting, the operation Lock mode is selected.)
2) The connector for the transformer disconnected,
or the thermal fuse of the transformer melted.
Check if the power cable is connected to the
power supply terminal.
Increase the oil pipe diameter, and shorten the
pipe length.
Check if the compressor starts after elapse of the
timer preset time.
Check if the compressor normally operates at
5
˚
C or higher oil temperature.
Check if the compressor normally operates at
0
˚
C or higher room temperature.
Turn OFF the protect switch (SW1) on the control
board.
Check the capacity in the operating temperature
range with the catalog, and select a model with
appropriate capacity.
The [60] to [63] outputs are compatible with
conventional models (AKS5 and AKZ6 series).
With the AKZ8 and AKZ9 series, however, signal
operations and connections of the [64] and [65]
outputs have been changed.
Connect the corresponding temperature sensor.
Cancel the Lock mode on the control panel.
(See page .)
Clean the suction strainer.
If the oil in the oil tank is dirty, replace the oil.
(See page .)
Check the connection of the remote control input.
Check the wire connection of the transformer. If
the fuse was melted, consult DAIKIN center.
Check the packing of the pipe, and re-tighten it securely.
Refill oil into the oil tank.
Change the operation mode to an appropriate setting.
Remove the obstacle.
Clean the air filter.
Re-fill refrigerant.
Change the temperature setting to an appropriate temperature.
17
37
NOTE: Customers should not perform any
repairs as it is dangerous. Our
service person will make repairs.
Maintenance
Troubleshooting
PIM00318A_EN.fm Page 38 Tuesday, October 26, 2010 12:37 PM
 Loading...