Instructions Valve installation
Start by deciding on the location of the valves,
using the enclosed technical drawing as a
guideline. If the drawing indicates a valve which
is in the path of electrical wiring, water ducts or
wooden joists, for example, the fittings can of
course be moved so that installation is not made
unduly difficult.
Guidelines for valve locations:
Air diffusion
Try to avoid placing air diffusion valves above
places where people may be located for long pe-
riods such as above sofas, beds, dining table, etc.
If the house has a wood-burning stove, it is best
to position the air diffusion valve nearby.
Extraction
Designed to remove moist ”contaminated” air
and should therefore be positioned as close as
possible to the source, i.e. above washbasins, in
shower cabinets, etc.
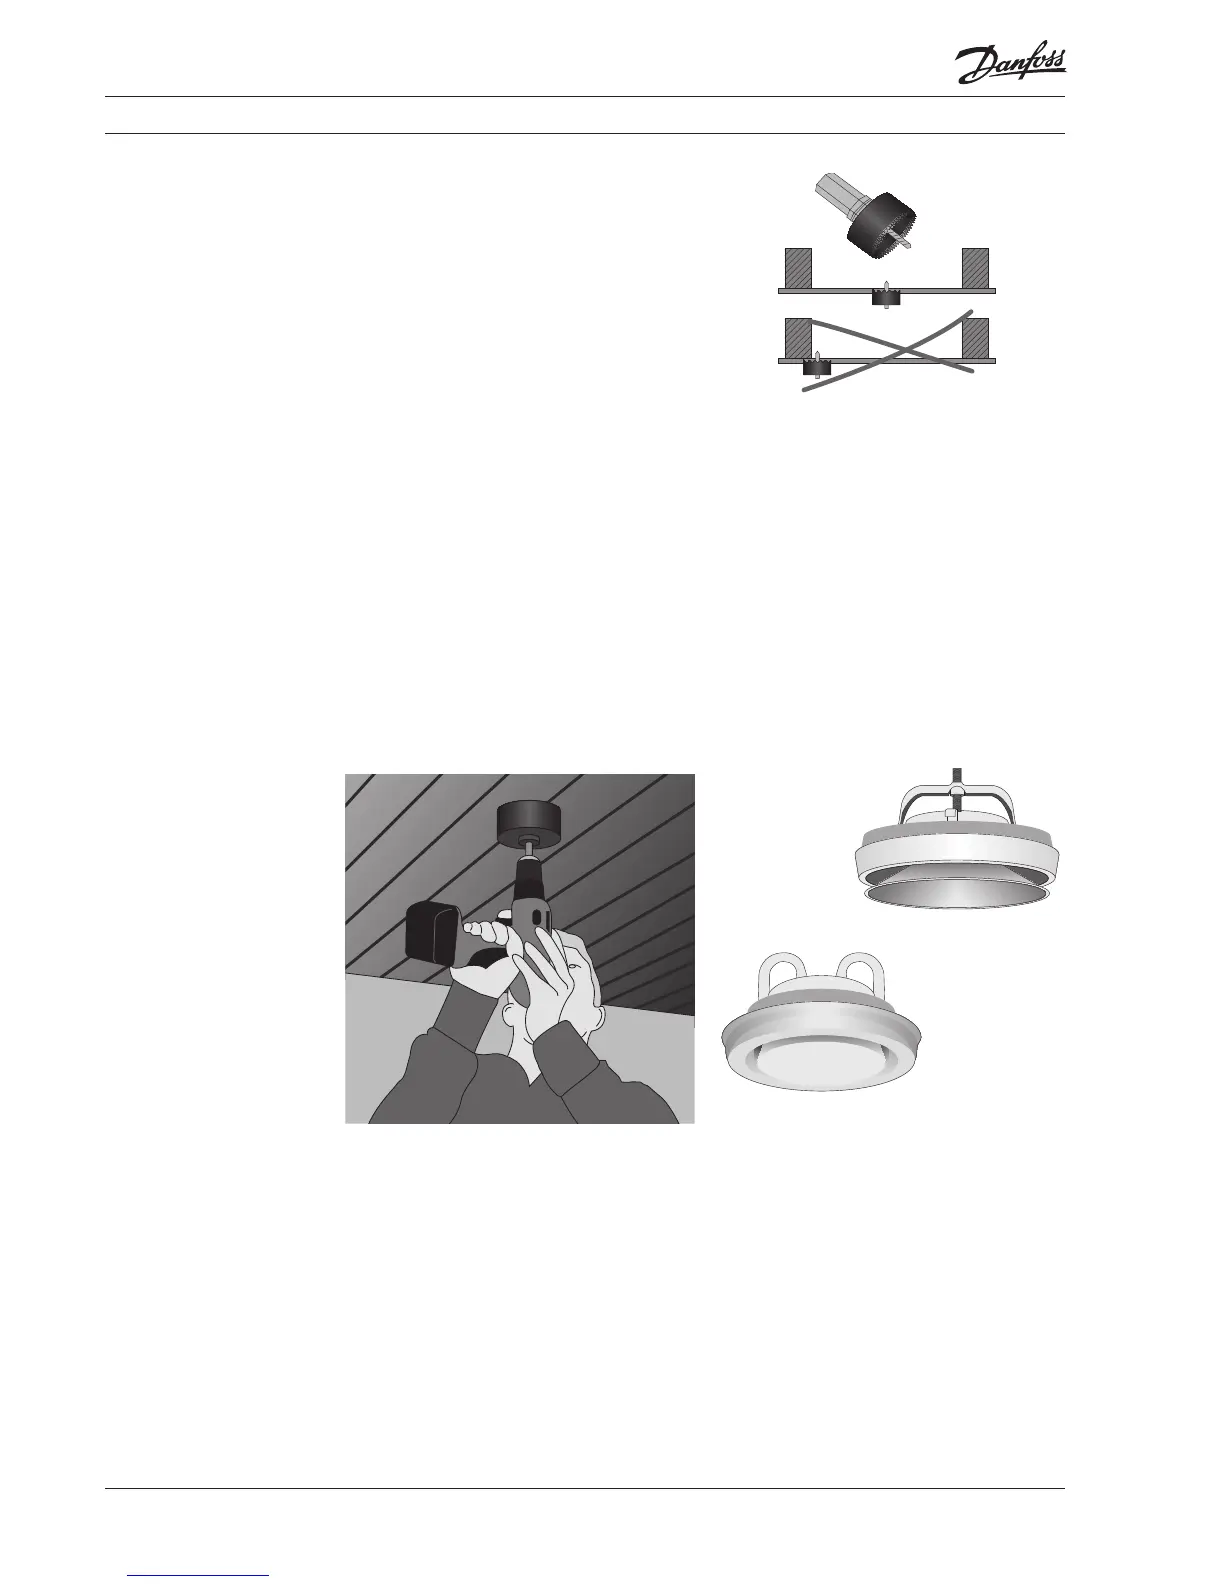
Use a cup drill/hollow drill to drill the holes for
the valves. Use the following drill sizes: For valves
that are 100 mm in diameter (both diffusion and
extraction) use a hollow drill with a diameter of
108 mm. For valves that are 125 mm in diameter
(both air diffusion and extraction) use a hollow
drill with a diameter of 133 mm.
NOTE:
• Avoiddamagingthedampcourseunneces-
sarily and always remember to repair it with
weatherproof tape from the ceiling side after-
wards.
• Thesizeandshapeofthevalvesvariesdepend-
ing on the air direction and volume.
Supply air valve
Extract air valve
5.1 Location of valves
5.2 Drilling holes in the
ceiling
16
VIEWA402
 Loading...