8 | © Copyright Danfoss Climate Solutions | 2023.01
AB432956914381en-010101
Service Manual Danfoss Icon2™
Danfoss Icon2™ Room Thermostat installer settings menu
Open the installer menu
Activate the thermostat. Press and hold
to open the basic menu (ME. 1 to 3).
Then press and hold again to access the installer menu ME. 4 to 7.
Use or to change menus and to confirm. Press to go back one step in the menu.
The ME.4 and ME.5 menu settings will only be available if the thermostat has
a floor sensor. Menu settings ME.6 and ME.7 will only be available if a cooling
application was selected.
ME. 1 : Set limits for room temperature setpoint adjustments
ME. 2 : Information/version number used to identify the product
ME. 3 : Perform a link test to test the connection with the Master Controller.
Test results are 0–100%, with 80% or higher indicating a strong connection.
ME. 4 : Floor sensor mode:
CO = Comfort mode. Uses both air and floor sensors.
FL = floor sensor mode. Desired floor temperature set by end user.
DU = dual mode. Thermostat controls one radiator and one or more floor heating
circuit(s).
Floor heating circuits maintain a comfortable set floor temperature and radiator
is used for peak loads.
ME. 5 : Minimum and maximum floor temperatures for use with CO and DU modes.
ME. 6 : Reference room. Set to ON to use this room’s thermostat as the reference for the
changeover between cooling and heating modes.
ME. 7 : Cooling ON/OFF. This setting is used to disable cooling, for example in a bathroom.
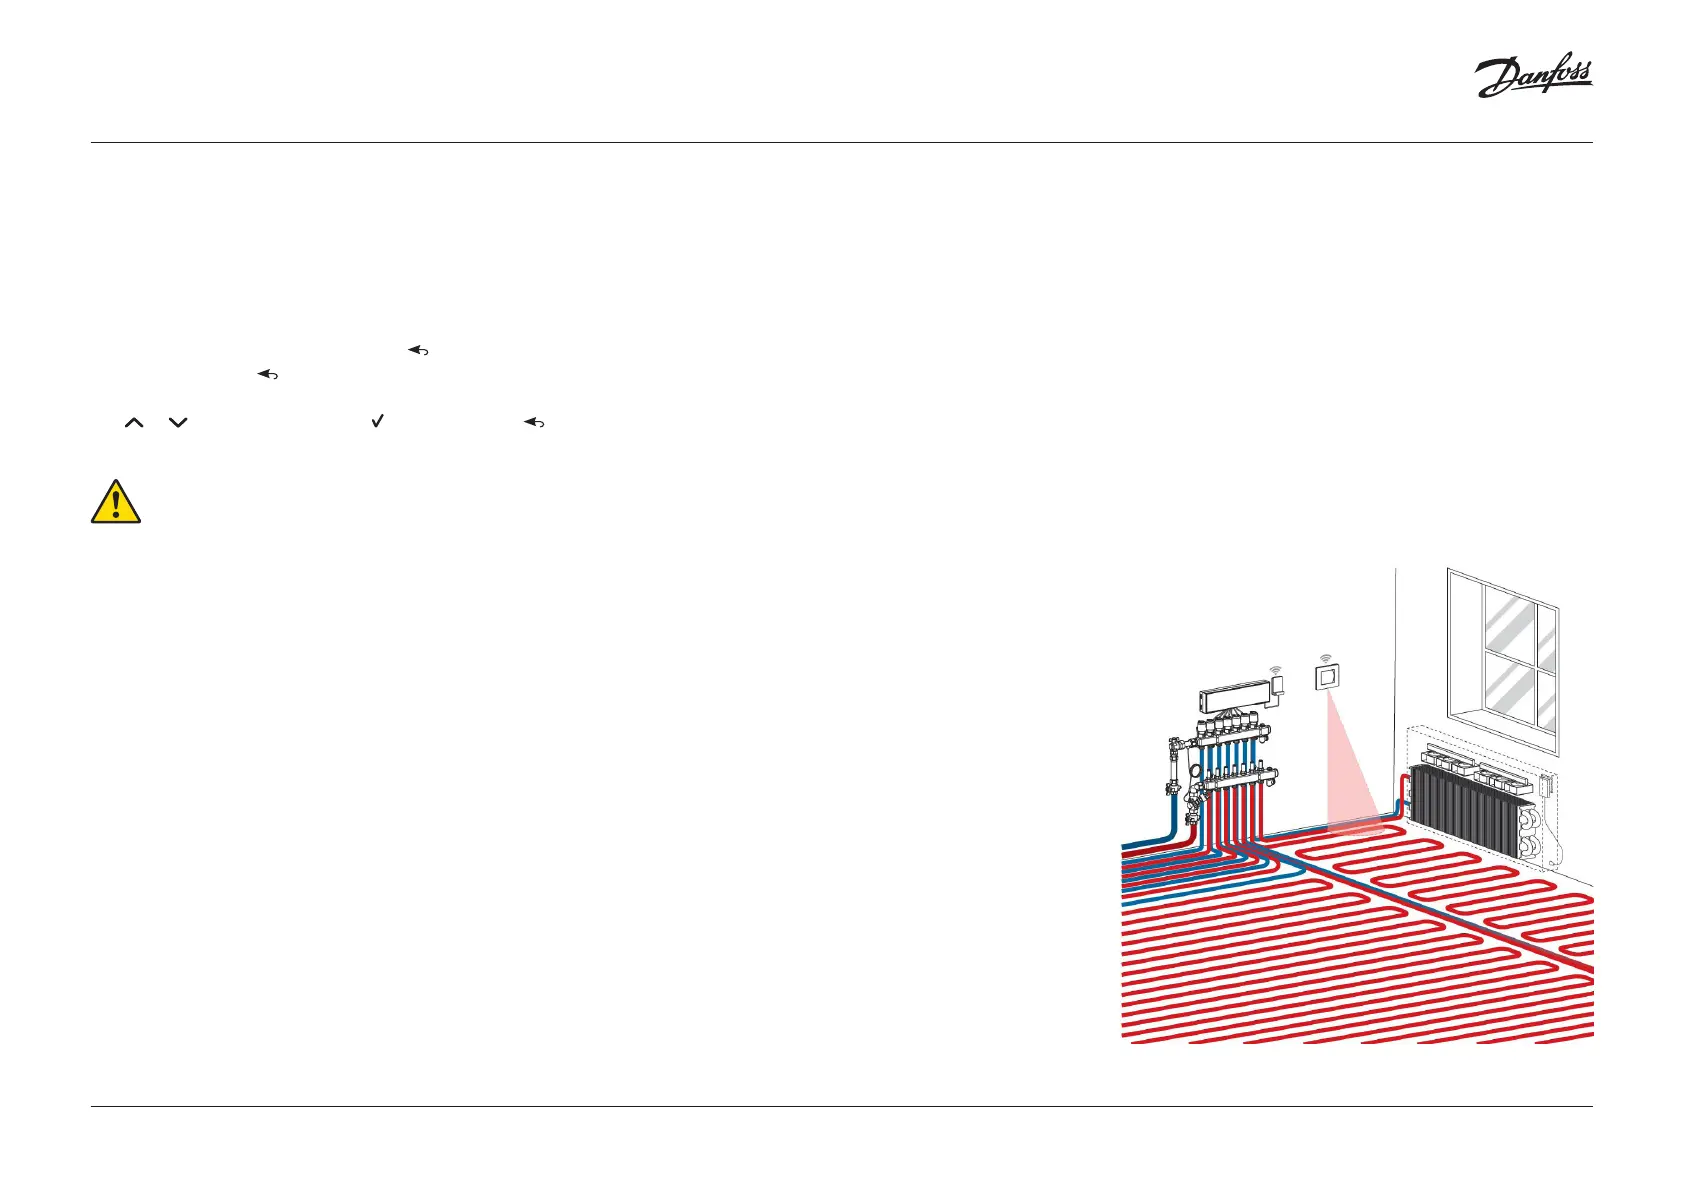
Explanation of dual mode
In rooms with a combination of floor heating and convectors, one thermostat can be
used to control both individually.
For this to be possible, the wireless or wired thermostat must have a floor sensor. On
the Master Controller, the actuator outputs for the floor heating must be configured
to SLOW and those for the convectors to FAST. Then the system will maintain a
comfortable, consistent floor temperature and activate the convector actuator outputs
if the desired room temperature isn’t being achieved.
 Loading...