10
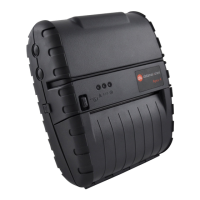
3.2 Connecting the Printer
The APEX 3 printer supports Serial RS232 and Bluetooth® has default configuration. IrDA
or 802.11g communication is also available as an optional feature.
Serial, IrDA, 802.11g and Bluetooth® communication settings can be changed via DIP
switches located on the control card.
Printer drivers for Windows
TM
95/98/NT/2000/XP and Vista are available.
PrinterCE
TM
print Control utility is available from Datamax-O’Neil for Windows
TM
CE
devices.
Printboy
TM
Print Utility from Bachmann Software
TM
or PalmPrint
TM
Utility, from
StevensCreek
TM
, are recommended for Palm Pilot devices.
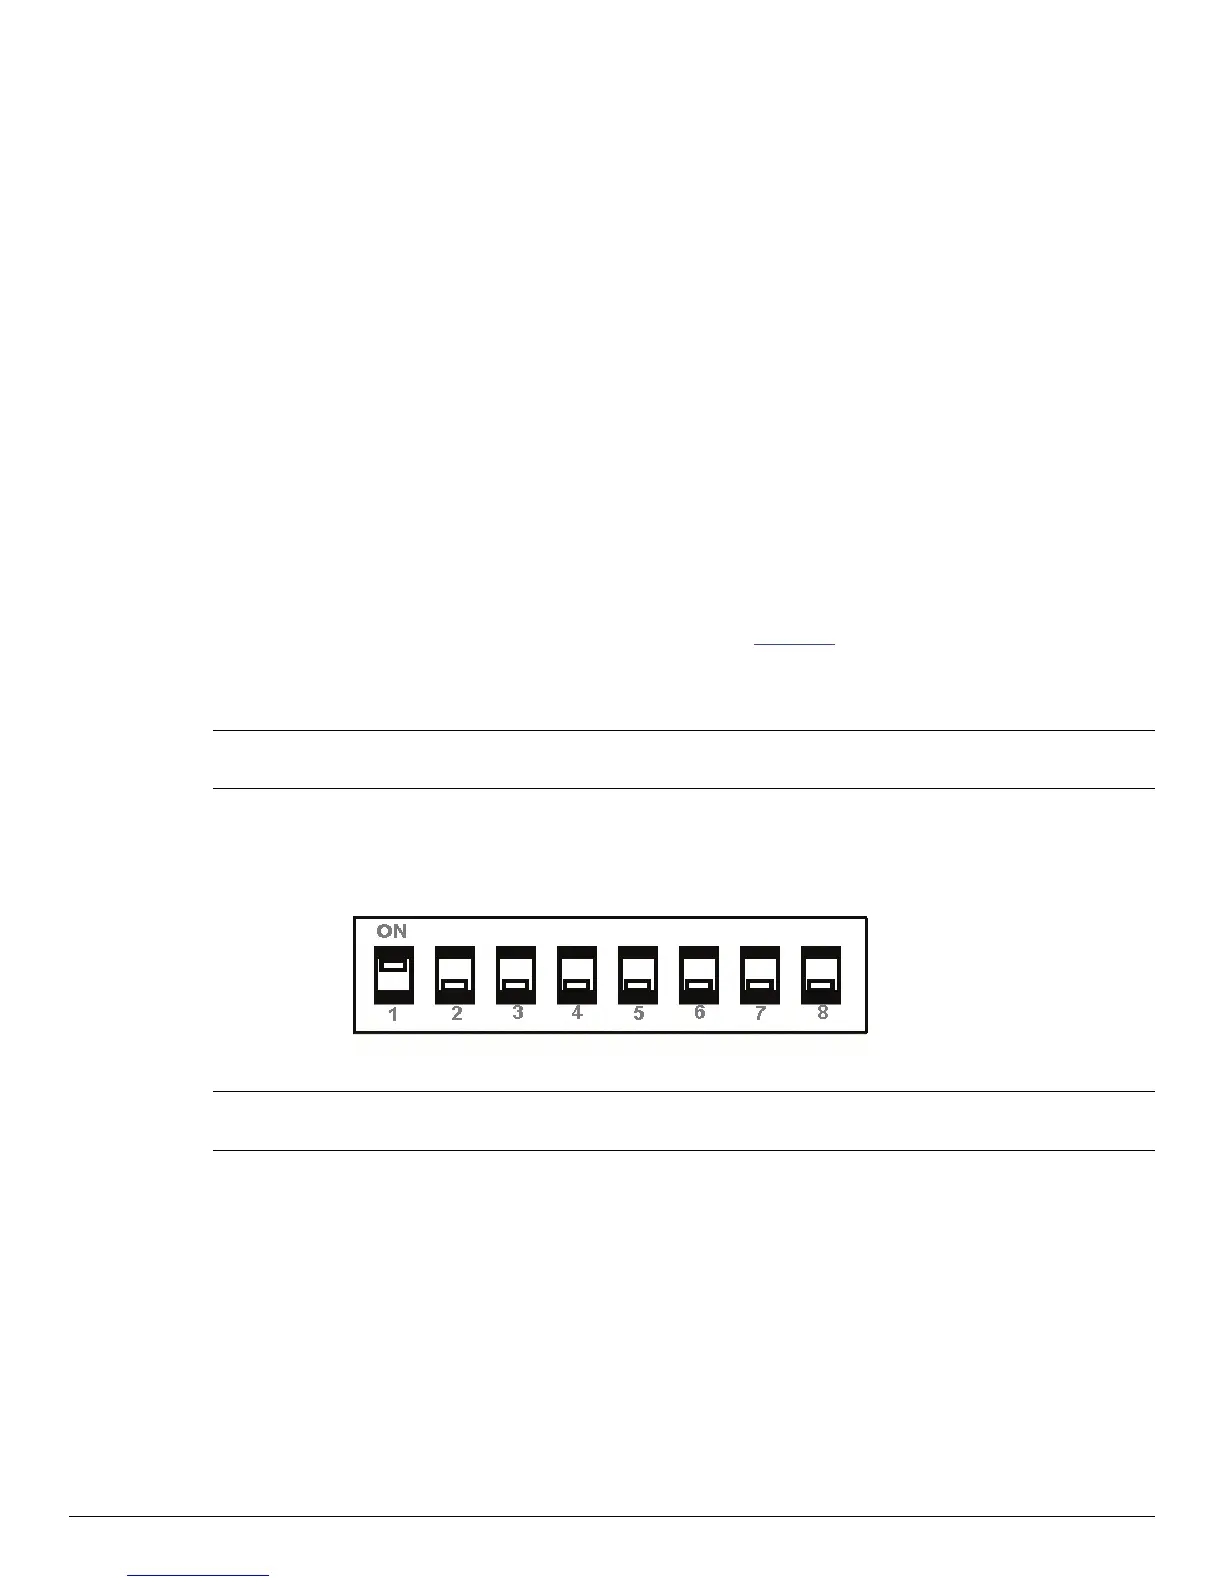
3.2.1 Dip Switch Location
The DIP switches are located inside the battery compartment.
The functions assigned to these switches are shown in Table 2.
If the Serial interface is selected, the communication parameters, Baud Rate, Data Bit and
Parity, must be set.
Note: Optional serial cable is available for Serial RS232 communication (part #
5892RJD9-1).
3.2.2 Setting Dip Switches
FIGURE 10: DIP SWITCH SETTINGS (SHOWING SETTING FOR IRDA)
Note: Use caution when changing dip switch settings. Carefully use a pointer on the
dip switch to toggle its position. DO NOT apply excessive force.
 Loading...