Removal and Replacement
4-4
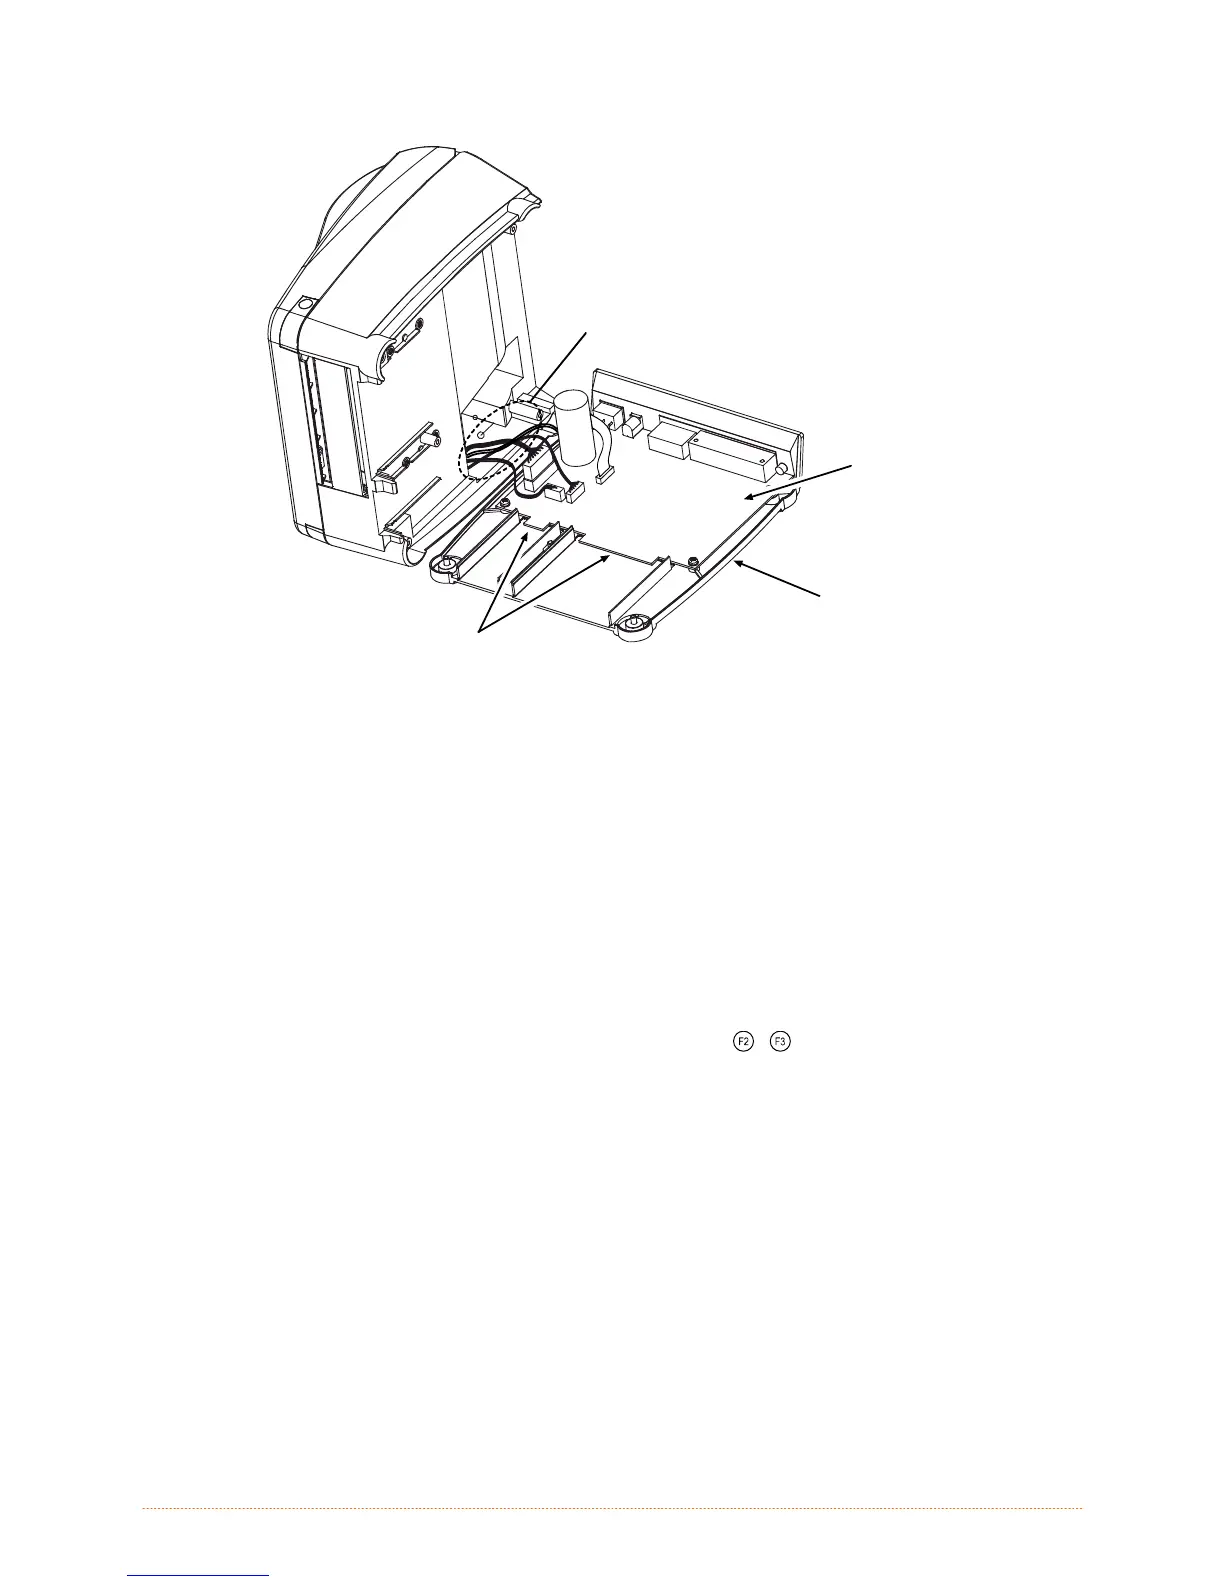
Cables
Main PCB
Electronics
Tray
Expansion
Ports
4. Remove any options from the Expansion Ports.
5. Remove all Cables connected to the Main PCB and then remove the Electronics Tray.
Replacement:
1. Reconnect all Cables to the Main PCB in the Electronics Tray.
2. Reinstall any options to the Expansion Ports.
3. Position the Bottom Enclosure onto the Electronics Tray and reinstall the five Screws.
4. Plug in and turn ON the printer. Calibrate the Media Sensor (see Section 2.7) and verify the
firmware version by printing a configuration label (press the
+
buttons simultaneously).
4.4 Print Mechanism
Removal:
1. Turn OFF and unplug the printer.
2. Remove the Electronics Tray; see Section 4.3 (removal of the expansion option is not required).
3. Unlatch then raise the Printhead Assembly. Remove the four Screws that secure the mechanism to
the Bottom Enclosure and the Cover (not shown).
 Loading...